3D Design for Laser Cutting: A Comprehensive Guide
Introduction
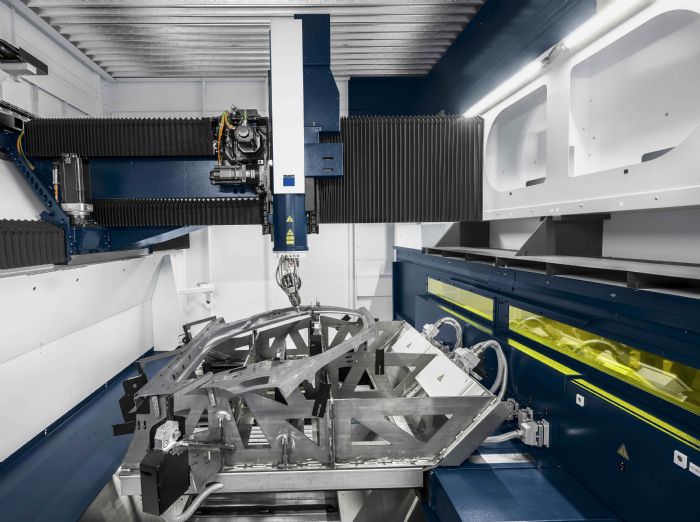
Laser cutting has revolutionized the manufacturing industry, enabling the precise cutting of complex shapes and designs from various materials. 3D design software plays a crucial role in creating these intricate designs, allowing engineers and designers to visualize and create virtual models that can be seamlessly integrated into laser cutting machines. This article explores the fundamentals of 3D design for laser cutting, providing a comprehensive guide for professionals and enthusiasts alike.


Table of Content
- 1 3D Design for Laser Cutting: A Comprehensive Guide
- 1.1 Introduction
- 1.2 H1: Choosing the Right 3D Design Software
- 1.3 H2: Designing for Laser Cutting
- 1.4 H1: Choosing the Right 3D Design Software
- 1.5 H3: Preparing Your Model for Cutting
- 1.6 H4: Laser Cutting Your Design
- 1.7 H5: Post-Processing and Finishing
- 1.8 Conclusion
- 1.9 FAQs
H1: Choosing the Right 3D Design Software
- Compatibility: Ensure the software is compatible with your laser cutting machine.
- Features: Evaluate the software’s features, including modeling capabilities, file import/export options, and simulation tools.
- User Interface: Choose software with an intuitive user interface that aligns with your workflow.
- Support: Consider the availability of technical support and online resources.

H2: Designing for Laser Cutting
Once you have chosen your software, it’s time to start designing. Here are some key considerations for designing 3D models for laser cutting:
- Material Thickness: Factor in the thickness of the material you will be cutting when designing your model.
- 3d Printed Christmas Tree Laser Cut 3D Printed Christmas Tree Laser Cut: A Festive And Sustainable Holiday Decoration
- 3d Laser Wood Cutter 3D Laser Wood Cutter: A Comprehensive Guide
- 3d Design Software For Laser Cutting H1: Unlocking Precision And Creativity: 3D Design Software For Laser Cutting
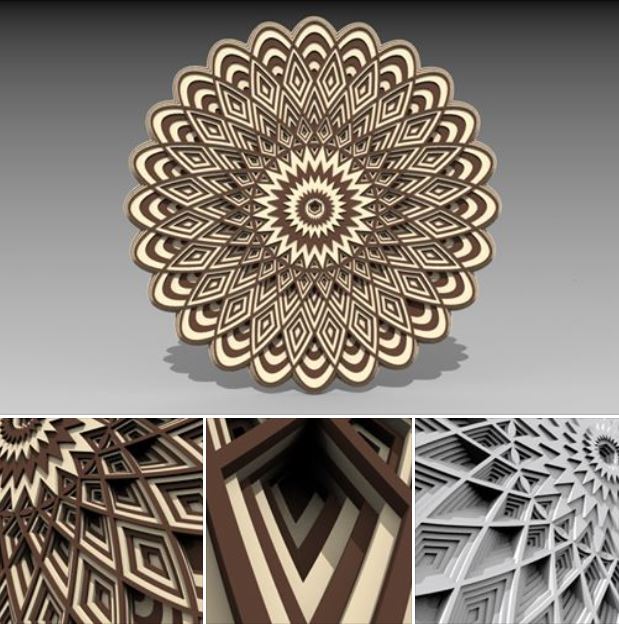
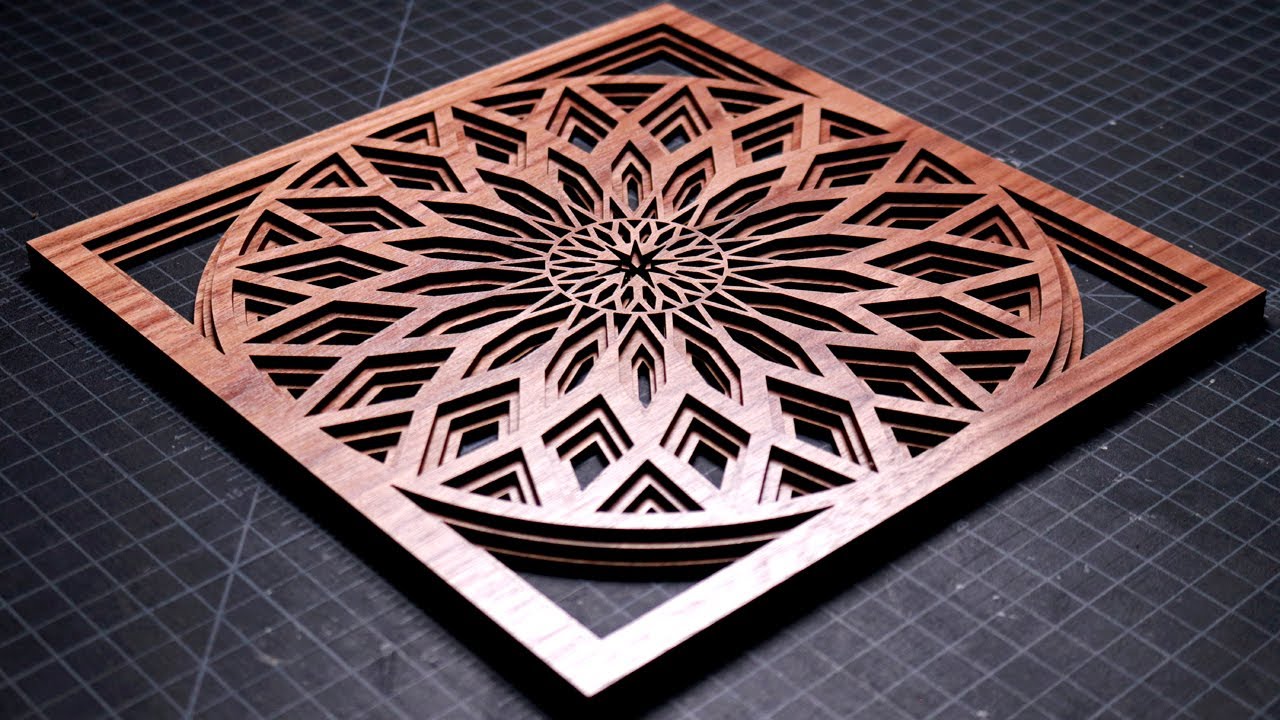
- 3d Laser Cut Wall Art 3D Laser Cut Wall Art: A Stunning Addition To Your Home Decor
- 3d Laser Cut Logo 3D Laser Cut Logo: Elevate Your Brand With Precision And Impact
- Compatibility: Ensure the software is compatible with your laser cutting machine.
- Features: Evaluate the software’s features, including modeling capabilities, file import/export options, and simulation tools.
- Kerf: Account for the kerf, or the width of the cut made by the laser beam, to ensure proper fit and assembly.
- Joinery: Design joints and connections that are compatible with the laser cutting process, such as tabs, slots, and dovetails.
- Optimization: Optimize your design for efficient material usage and minimize waste.
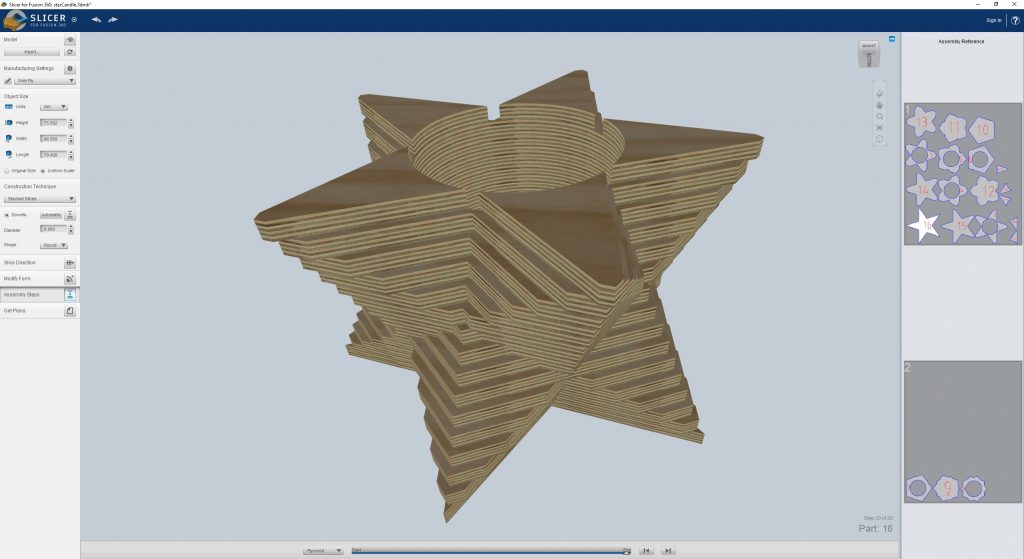
- Exporting the File: Export your model in a file format that is compatible with your laser cutter, typically DXF or SVG.
- Scaling and Nesting: Scale your model to the appropriate size and nest the parts efficiently to maximize material utilization.
- Simulation: Use simulation tools to verify the cutting path and identify any potential issues.
- Machine Setup: Calibrate your laser cutter and ensure it is properly aligned and focused.
- Material Placement: Securely place the material in the cutting bed and align it with the cutting path.
- Cutting Parameters: Set the appropriate laser power, speed, and focus settings for the material you are cutting.
- Monitor the Process: Monitor the cutting process closely to ensure it is proceeding smoothly.
- Deburring: Remove any burrs or sharp edges from the cut parts.
- Cleaning: Clean the parts to remove any debris or residue.
- Finishing: Apply any necessary finishes, such as painting, powder coating, or anodizing.
Laser cutting has revolutionized the manufacturing industry, enabling the precise cutting of complex shapes and designs from various materials. 3D design software plays a crucial role in creating these intricate designs, allowing engineers and designers to visualize and create virtual models that can be seamlessly integrated into laser cutting machines. This article explores the fundamentals of 3D design for laser cutting, providing a comprehensive guide for professionals and enthusiasts alike.
H1: Choosing the Right 3D Design Software
The first step in 3D design for laser cutting is selecting the appropriate software. Several software options are available, each with its strengths and weaknesses. Consider the following factors when making your decision:

H3: Preparing Your Model for Cutting
Before sending your model to the laser cutter, it’s essential to prepare it properly:

H4: Laser Cutting Your Design
With your model prepared, it’s time to cut it with the laser cutter. Follow these steps for successful laser cutting:

H5: Post-Processing and Finishing
Once the cutting is complete, there may be some additional post-processing required:
Conclusion
3D design for laser cutting is an essential skill for professionals in various industries. By understanding the principles outlined in this article, you can create complex and precise designs that can be seamlessly integrated into laser cutting machines. With the right software, careful design, and proper preparation, you can achieve optimal results and unlock the full potential of laser cutting technology.
FAQs
Q: What is the best 3D design software for laser cutting?
A: The best software depends on your specific needs and preferences. Consider factors such as compatibility, features, user interface, and support.
Q: How do I optimize my design for laser cutting?
A: Consider material thickness, kerf, joinery, and material utilization when designing your model.
Q: What are the important considerations for laser cutting?
A: Machine setup, material placement, cutting parameters, and monitoring the process are crucial for successful laser cutting.
Q: What post-processing steps are necessary after laser cutting?
A: Deburring, cleaning, and finishing may be required to complete the parts.