


H1: 3D Model to Laser Cut: A Comprehensive Guide to Converting Digital Designs into Tangible Objects
H2: Understanding 3D Modeling and Laser Cutting
3D Modeling
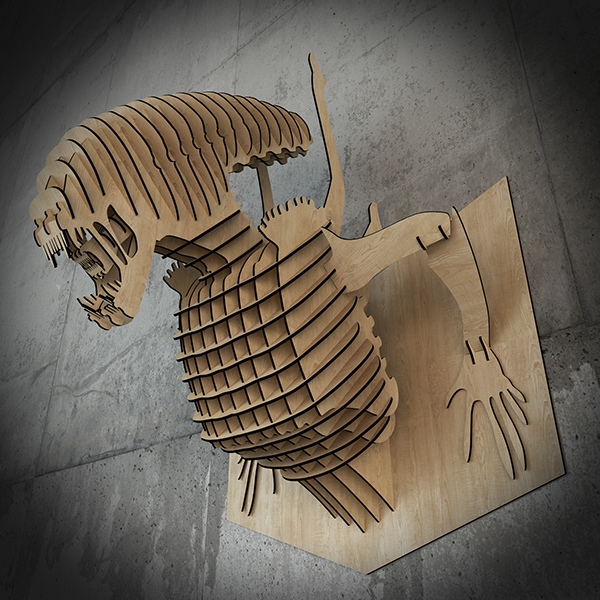

Table of Content
- 1 H1: 3D Model to Laser Cut: A Comprehensive Guide to Converting Digital Designs into Tangible Objects
- 1.1 H2: Understanding 3D Modeling and Laser Cutting
- 1.2 H2: Converting 3D Models to Laser Cutting Files
- 1.3 H2: Converting 3D Models to Laser Cutting Files
- 1.4 H2: Materials and Laser Cutter Setup
- 1.5 H2: Laser Cutting Process
- 1.6 H2: Applications of 3D Model to Laser Cut
- 1.7 H2: Conclusion
- 1.8 H3: Frequently Asked Questions (FAQs)
3D modeling is the process of creating a three-dimensional representation of an object using specialized software. It allows designers to create virtual models that can be viewed, manipulated, and shared.
Laser cutting is a fabrication technique that uses a laser to cut or engrave materials. It offers precise cutting, intricate designs, and the ability to process a wide range of materials, including wood, metal, acrylic, and fabric.
H2: Converting 3D Models to Laser Cutting Files
1. Exporting the 3D Model
- Export the 3D model from the modeling software in a file format compatible with laser cutting machines, such as SVG, DXF, or STL.
2. Vectorizing the Model
- Vectorization converts the 3D model into a set of lines and curves that can be cut or engraved by the laser cutter. This process ensures that the laser follows the precise contours of the model.

3D Modeling
- How To Laser Cut A 3d Model How To Laser Cut A 3D Model: A Comprehensive Guide
- 3d Laser Cut Trophy 3D Laser Cut Trophy: An Unparalleled Expression Of Achievement
- Laser Cut 3d Angel Laser Cut 3D Angel: A Celestial Masterpiece For Home Decor And Gift Giving
- Sketchup For Laser Cutting SketchUp For Laser Cutting: A Comprehensive Guide
- 3d Laser Cut Cat 3D Laser Cut Cat: A Unique And Personalized Home Decor
3D modeling is the process of creating a three-dimensional representation of an object using specialized software. It allows designers to create virtual models that can be viewed, manipulated, and shared.
Laser Cutting

Laser cutting is a fabrication technique that uses a laser to cut or engrave materials. It offers precise cutting, intricate designs, and the ability to process a wide range of materials, including wood, metal, acrylic, and fabric.
H2: Converting 3D Models to Laser Cutting Files
1. Exporting the 3D Model
3. Optimizing the File
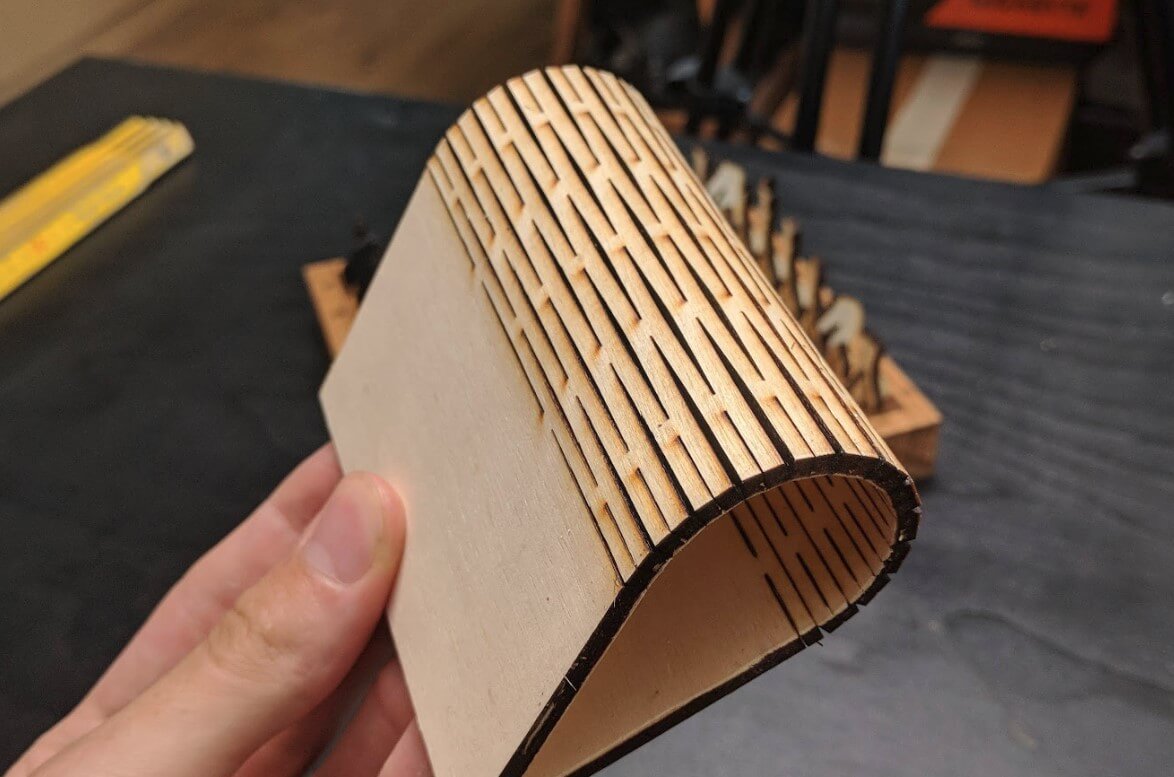
- Remove unnecessary details or small features that may not translate well into laser cutting.
- Adjust the line thickness and other parameters to ensure optimal cutting results.

H2: Materials and Laser Cutter Setup
Materials
- Choose the appropriate material for the intended application and laser cutter capabilities.
- Consider factors such as thickness, hardness, and compatibility with the laser wavelength.

Laser Cutter Setup
- Calibrate the laser cutter to ensure accurate cutting and engraving.
- Adjust the laser power, speed, and focus to optimize the results for the chosen material.

H2: Laser Cutting Process
1. Loading the File
- Import the laser cutting file into the machine’s software.
- Position the material on the cutting bed and secure it in place.
2. Initiating the Cut
- Start the laser cutting process and monitor its progress.
- Adjust the settings as needed to ensure optimal results.
3. Post-Processing
- Remove the cut or engraved object from the cutting bed.
- Clean and finish the object as necessary, such as sanding or polishing.
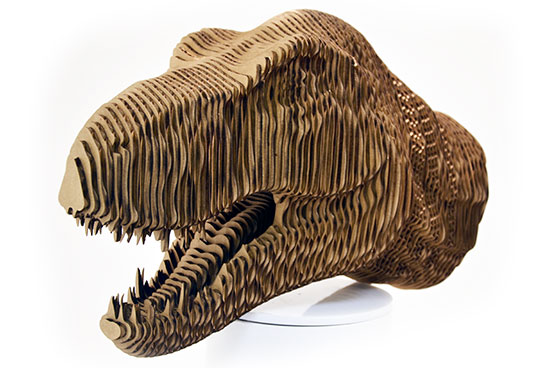
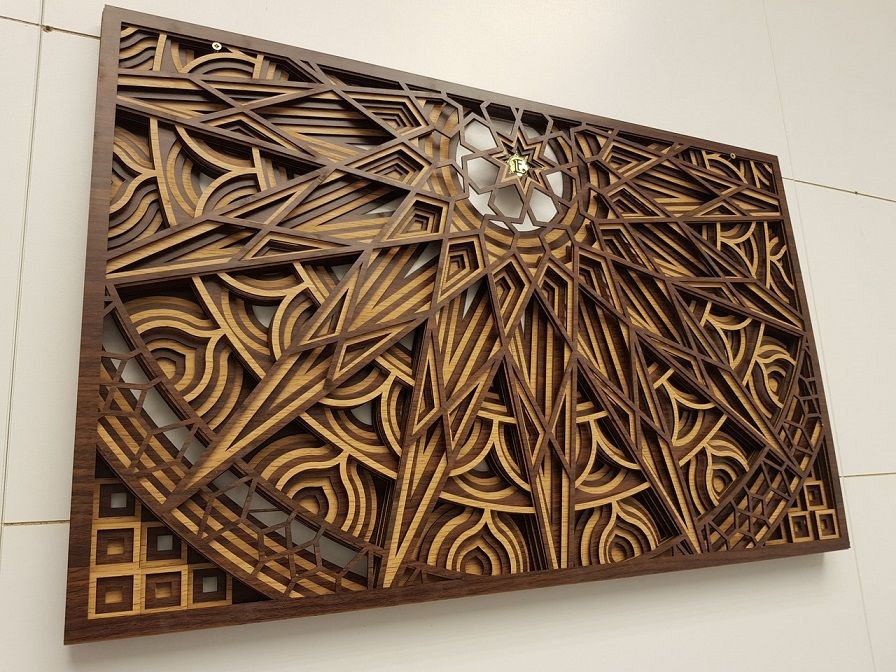
H2: Applications of 3D Model to Laser Cut
- Prototyping and Product Development: Create physical prototypes for testing and design iteration.
- Art and Decoration: Design and produce custom art pieces, home décor, and signage.
- Industrial Fabrication: Manufacture components for various industries, including automotive, aerospace, and manufacturing.
- Jewelry Making: Create intricate jewelry designs with precise cuts and engravings.
- Education and Research: Facilitate hands-on learning and research projects in engineering, design, and art.
H2: Conclusion
Converting 3D models into laser cutting files is a powerful technique that enables the creation of tangible objects from digital designs. By understanding the process, choosing appropriate materials, and setting up the laser cutter correctly, you can achieve precise and intricate results. The applications of this technology extend across various industries, offering opportunities for prototyping, product development, art, and fabrication.
H3: Frequently Asked Questions (FAQs)
Q: What are the benefits of using 3D models for laser cutting?
A: 3D models allow for precise and detailed cutting, rapid prototyping, and the ability to create intricate designs.
Q: What software is used for 3D modeling?
A: Popular 3D modeling software includes Autodesk Maya, Blender, and SolidWorks.
Q: What materials can be laser cut?
A: Laser cutters can process a wide range of materials, including wood, metal, acrylic, fabric, and leather.
Q: How do I optimize a 3D model for laser cutting?
A: Remove unnecessary details, adjust line thickness, and ensure the model is vectorized.
Q: What safety precautions should I take when laser cutting?
A: Wear appropriate protective gear, ensure proper ventilation, and never leave the laser cutter unattended.


