


Laser Cut Wooden Clock Plans: A Comprehensive Guide to Crafting Timepieces with Precision
Laser cutting has revolutionized the way we create wooden clocks, allowing for intricate designs and precise cuts that were once impossible to achieve by hand. With the right plans and a laser cutter, you can craft stunning and functional wooden clocks that will add a touch of elegance and functionality to any space.
H2: Choosing the Right Laser Cut Clock Plans
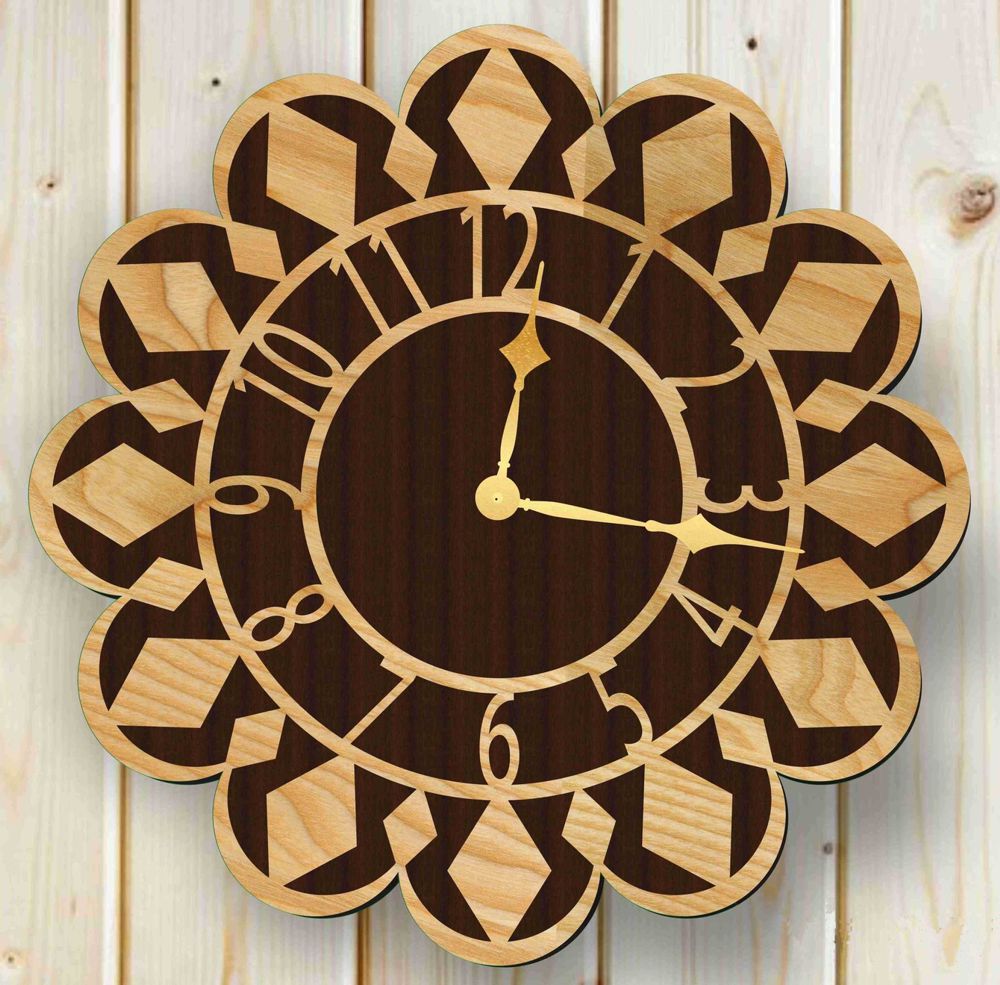

Table of Content
- 1 Laser Cut Wooden Clock Plans: A Comprehensive Guide to Crafting Timepieces with Precision
- 1.1 H2: Choosing the Right Laser Cut Clock Plans
- 1.2 H2: Preparing Your Laser Cutter
- 1.3 H2: Choosing the Right Laser Cut Clock Plans
- 1.4 H2: Cutting and Assembling the Clock
- 1.5 H2: Finishing the Clock
- 1.6 H2: Troubleshooting Common Issues
- 1.7 H2: FAQs
- 1.8 Conclusion
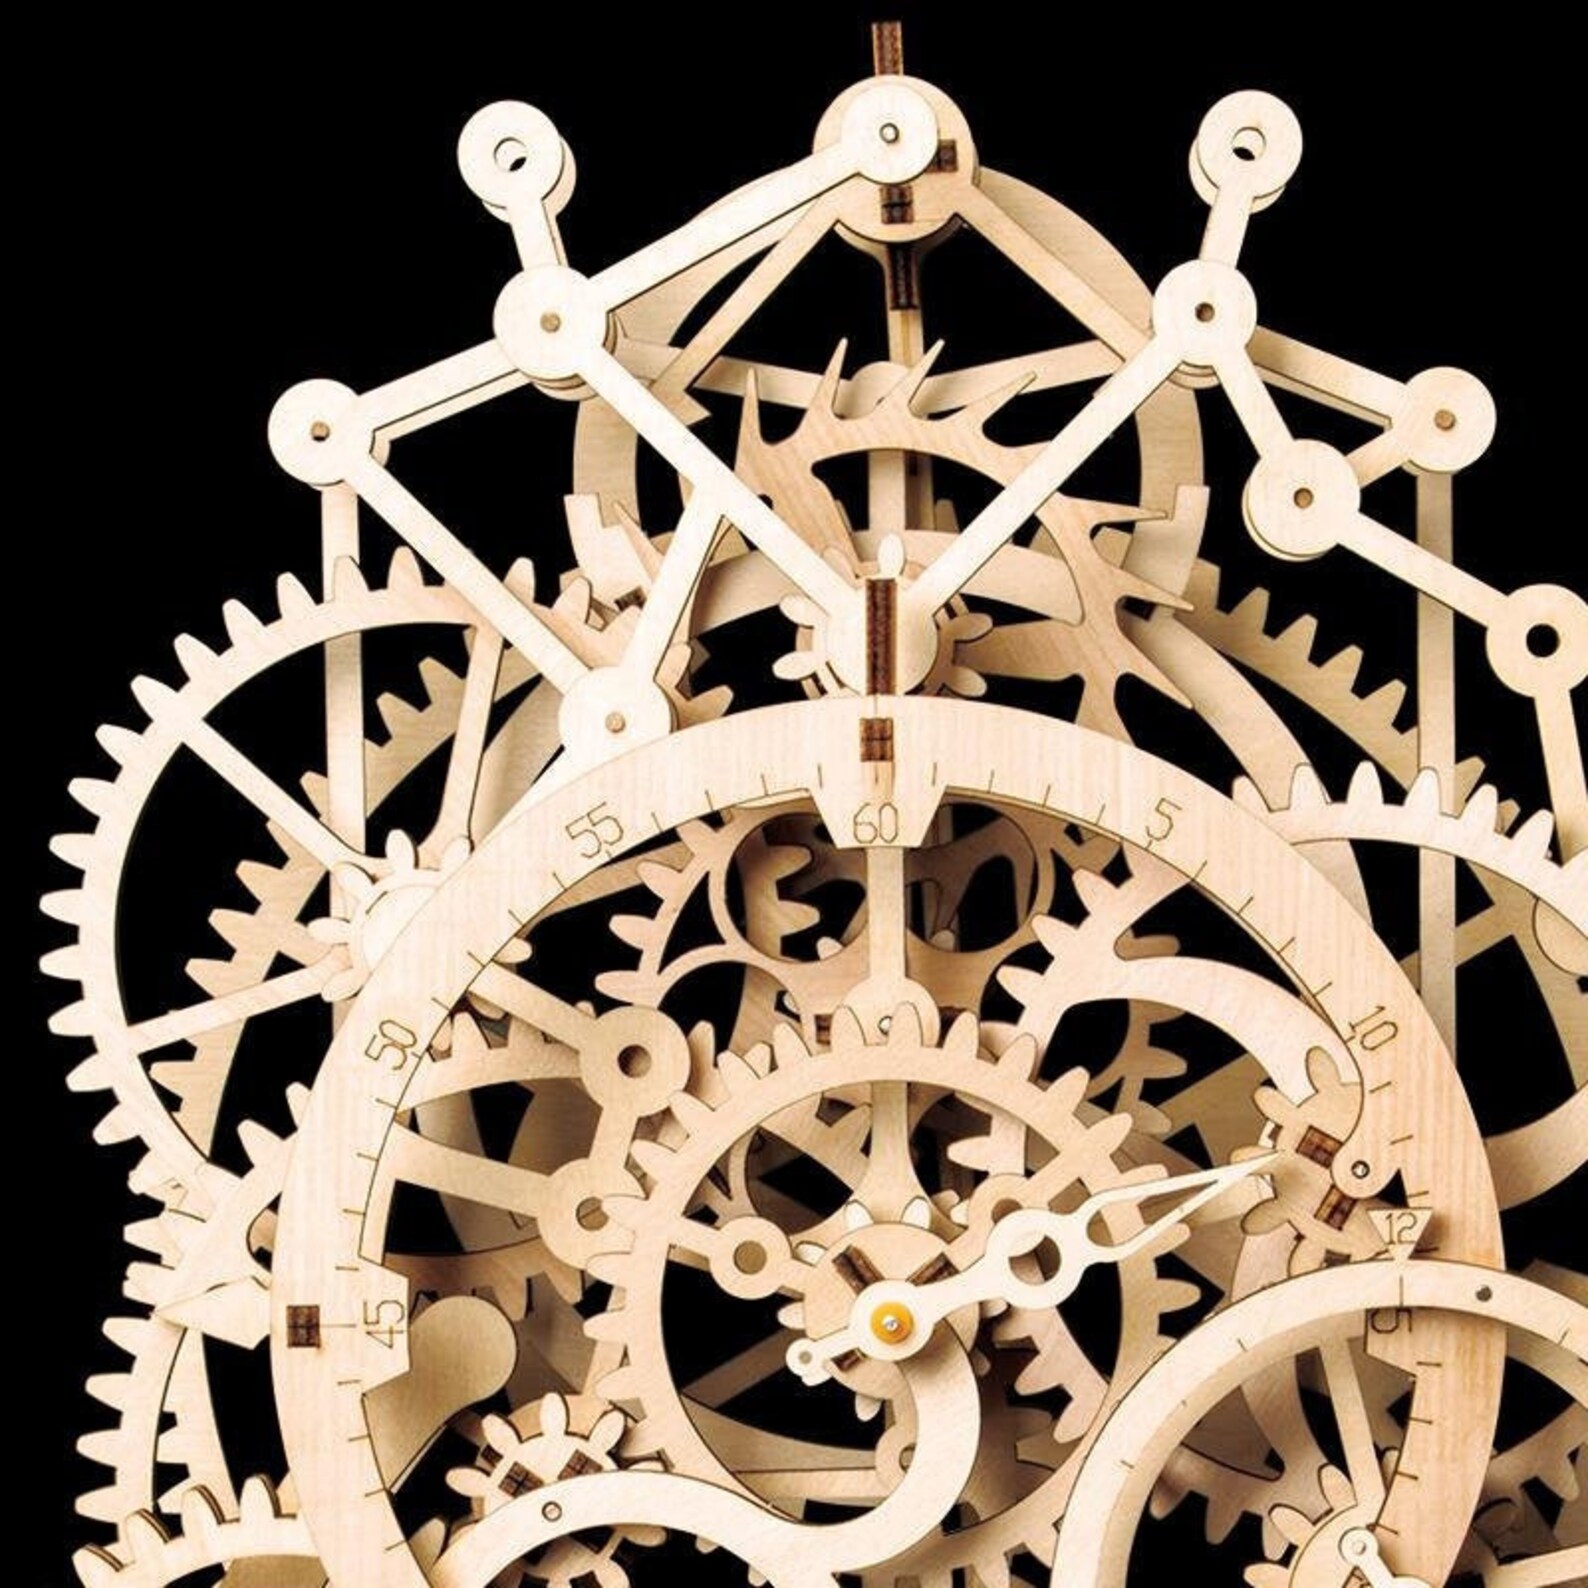
The first step in creating a laser cut wooden clock is to choose the right plans. There are countless plans available online, ranging from simple designs to complex masterpieces. Consider the following factors when selecting plans:
H2: Preparing Your Laser Cutter
Once you have chosen your plans, prepare your laser cutter for the project. Follow these steps:
DOWNLOAD SVG FILES FOR LASER CUTTING
- Install Software: Install the laser cutting software and ensure it is compatible with your laser cutter.
- Set Laser Parameters: Adjust the laser settings, such as power, speed, and focus, according to the material and thickness being used.
- Align Laser Head: Calibrate the laser head to ensure accurate cutting.
- Laser Cut Wood Items Laser Cut Wood Items: A Comprehensive Guide To Crafting Unique And Precise Creations
- Good Wood For Laser Engraving Good Wood For Laser Engraving: A Comprehensive Guide To Choosing The Perfect Material
- Laser Cut Wooden Medals Laser Cut Wooden Medals: A Unique And Sustainable Way To Recognize Achievement
- Laser Cut Wood Signs Laser Cut Wood Signs: A Comprehensive Guide
- Laser Cut Wood Products Laser Cut Wood Products: A Comprehensive Guide
- Skill Level: Choose plans that match your skill level. If you’re a beginner, start with simpler designs.
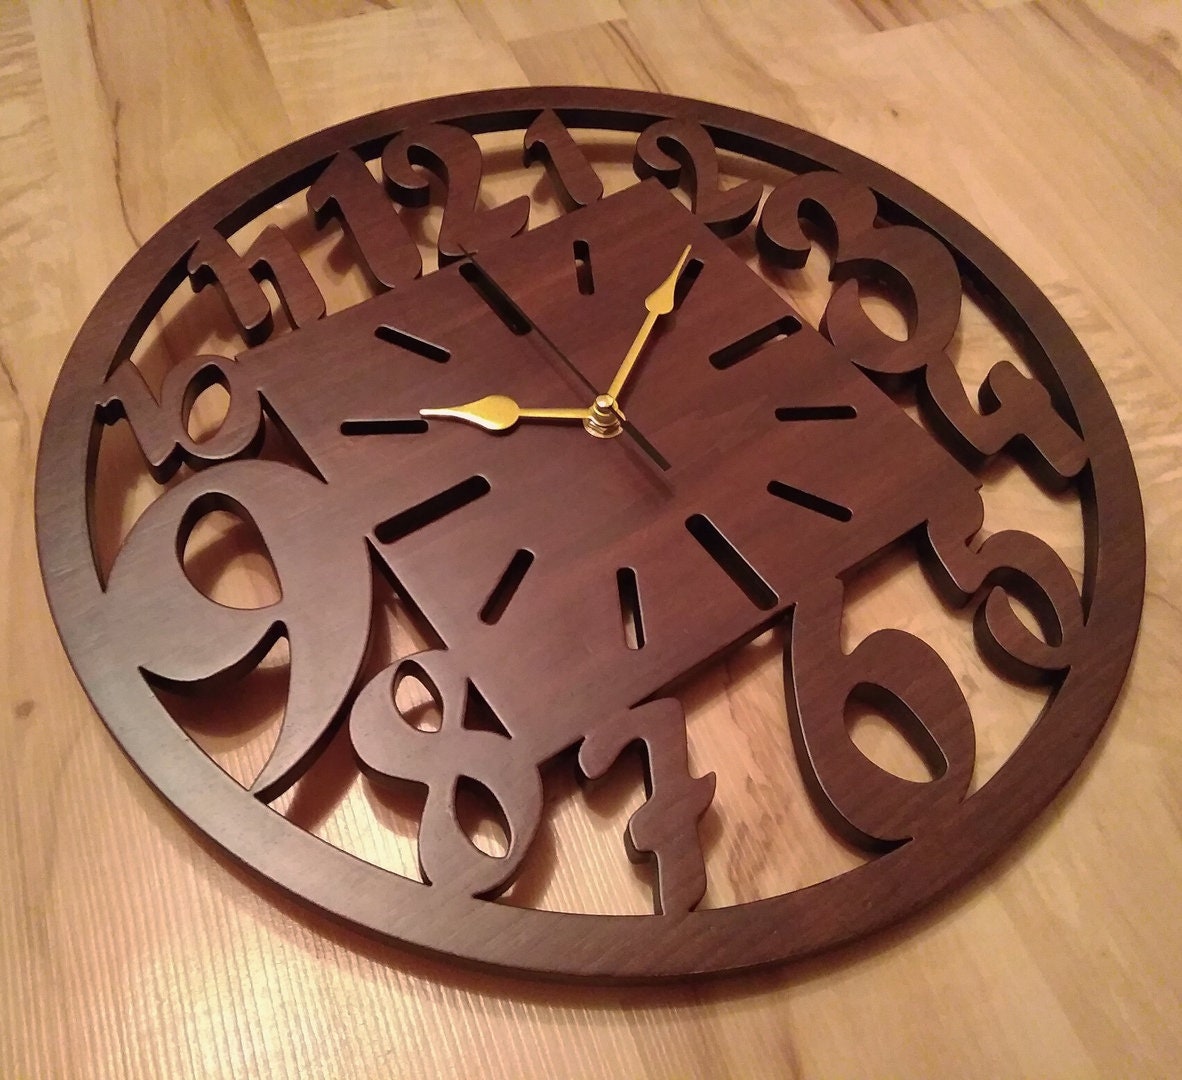
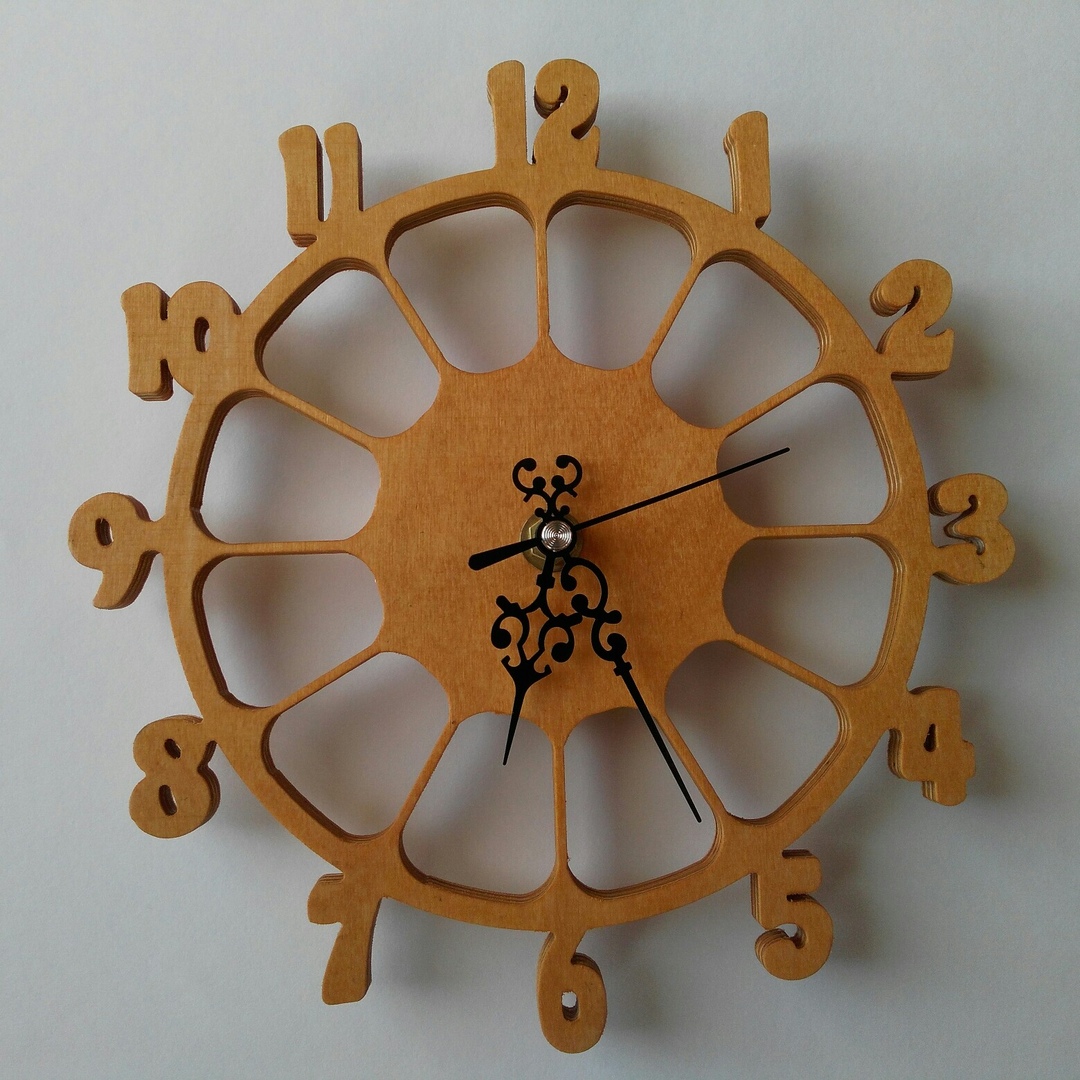
- Design: Select plans that align with your aesthetic preferences and the intended use of the clock.
- Material: Ensure that the plans specify the type and thickness of wood required.
- Import the clock plans into the laser cutting software.
- Position the wood on the laser bed and secure it with clamps.
- Start the cutting process and monitor it closely.
- Once the cutting is complete, remove the pieces from the laser bed and carefully assemble them.
- Use wood glue and clamps to secure the joints.
- Allow the glue to dry completely before proceeding.
- Sanding: Sand the clock to remove any rough edges or splinters.
- Staining or Painting: Apply a stain or paint to enhance the appearance of the wood.
- Clock Movement Installation: Install the clock movement and set the time.
- Mounting: Choose a suitable location for the clock and mount it securely.
- Blurry or Incomplete Cuts: Check the laser focus and power settings.
- Scorched Wood: Reduce the laser power or increase the speed.
- Excessive Smoke: Ensure proper ventilation in the cutting area.
- Laser Malfunctions: Contact the manufacturer for support.

H2: Choosing the Right Laser Cut Clock Plans
The first step in creating a laser cut wooden clock is to choose the right plans. There are countless plans available online, ranging from simple designs to complex masterpieces. Consider the following factors when selecting plans:
DOWNLOAD SVG FILES FOR LASER CUTTING

H2: Cutting and Assembling the Clock
Now it’s time to cut and assemble the clock.
Cutting:
Assembling:

H2: Finishing the Clock
After assembly, it’s time to finish the clock:
H2: Troubleshooting Common Issues
Encountering issues during the laser cutting process is common. Here are some troubleshooting tips:
H2: FAQs
Q: What type of wood is best for laser cutting clocks?
A: Hardwoods like oak, maple, and cherry yield the best results.
Q: Can I use my own designs for laser cutting clocks?
A: Yes, you can create your own designs using vector-based software like Adobe Illustrator or Inkscape.
Q: How long does it take to make a laser cut wooden clock?
A: The time required depends on the complexity of the design and the size of the clock.
Q: Are laser cut wooden clocks durable?
A: Yes, laser cut wooden clocks are durable and can last for many years if properly cared for.
Conclusion
Creating laser cut wooden clocks is a rewarding experience that combines precision, creativity, and craftsmanship. By following the steps outlined in this guide, you can craft stunning and functional timepieces that will enhance your home or make thoughtful gifts. Remember to choose the right plans, prepare your laser cutter carefully, and troubleshoot any issues that arise. With patience and attention to detail, you can create beautiful and timeless wooden clocks that will be cherished for years to come.


