


H1: Small Wooden Laser Cut House: A Comprehensive Guide to Crafting a Mini Architectural Masterpiece
H2: Introduction
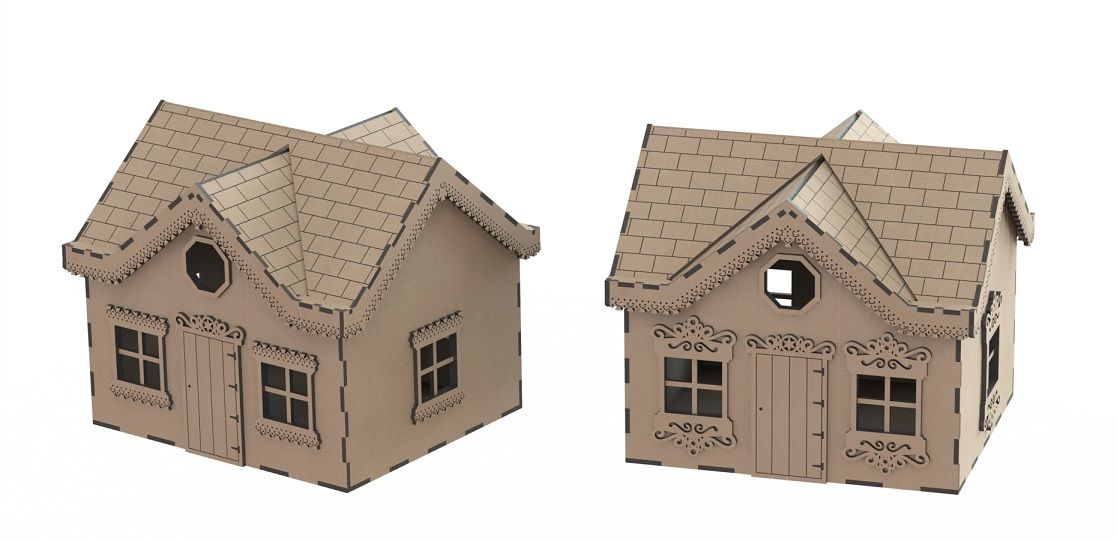
Laser cutting technology has revolutionized the way we create intricate and detailed objects, including small wooden houses. These miniature masterpieces offer endless possibilities for creativity and personalization, making them a popular choice for hobbyists, architects, and interior designers alike. In this comprehensive guide, we will delve into the fascinating world of small wooden laser cut houses, exploring their design, construction, and the techniques involved in crafting these exquisite structures.


Table of Content
- 1 H1: Small Wooden Laser Cut House: A Comprehensive Guide to Crafting a Mini Architectural Masterpiece
- 1.1 H2: Introduction
- 1.2 H2: Design and Planning
- 1.3 H2: Laser Cutting and Materials
- 1.4 H2: Assembly and Finishing
- 1.5 H2: Design and Planning
- 1.6 H2: Techniques and Tips
- 1.7 H2: Conclusion
- 1.8 H2: FAQs
H2: Design and Planning
The first step in creating a small wooden laser cut house is to develop a concept and find inspiration. Consider the purpose of the house, whether it’s for display, play, or as a decorative element. Draw inspiration from architectural styles, real-life buildings, or your imagination.
H3: Sketching and Drafting
Once you have a concept, sketch out the design of your house, paying attention to the proportions, windows, doors, and other details. You can use a pencil and paper or digital design software to create your plans.
H2: Laser Cutting and Materials
H3: Laser Cutting Process
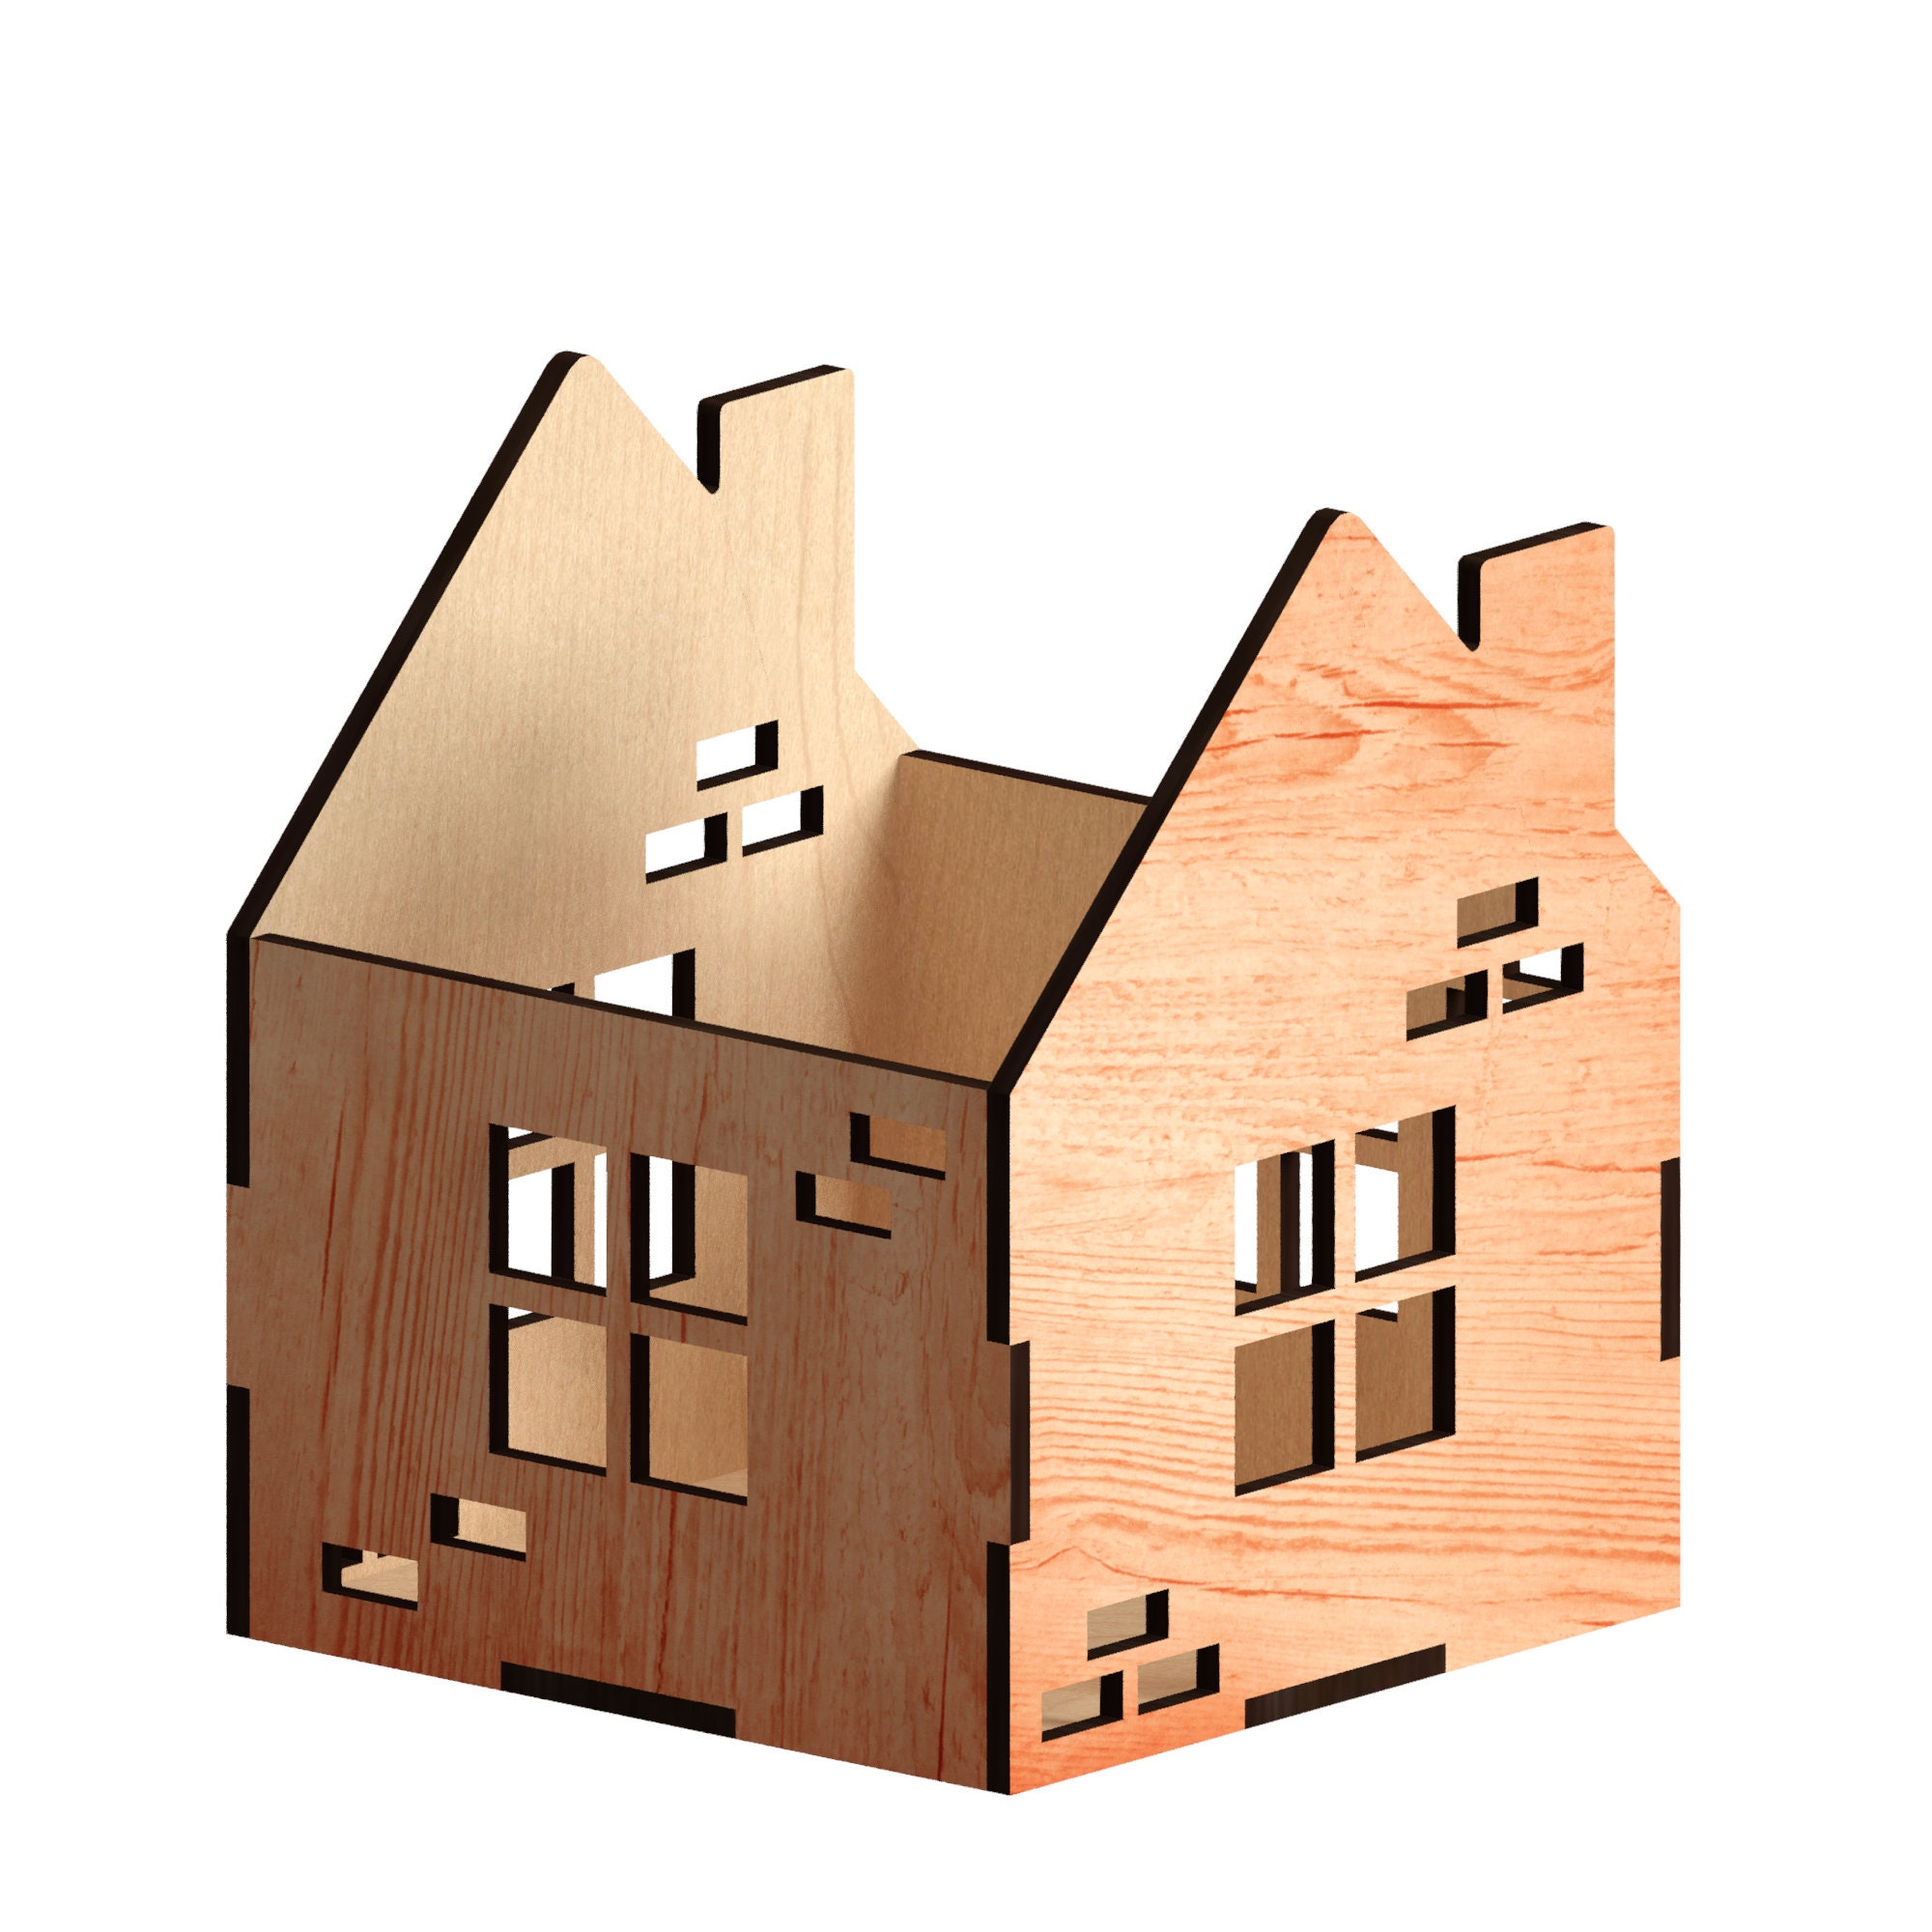
Laser cutting involves using a laser beam to precisely cut intricate shapes from a material, in this case, wood. The laser beam is controlled by a computer, allowing for high accuracy and precision.
DOWNLOAD SVG FILES FOR LASER CUTTING

H3: Wood Selection
The choice of wood for your laser cut house is crucial. Consider the thickness, grain, and color of the wood. Common choices include plywood, MDF, and balsa wood.
H2: Assembly and Finishing
H3: Assembling the House
Laser cutting technology has revolutionized the way we create intricate and detailed objects, including small wooden houses. These miniature masterpieces offer endless possibilities for creativity and personalization, making them a popular choice for hobbyists, architects, and interior designers alike. In this comprehensive guide, we will delve into the fascinating world of small wooden laser cut houses, exploring their design, construction, and the techniques involved in crafting these exquisite structures.
- Laser Cut Wood Wall Panels Laser Cut Wood Wall Panels: A Guide To Elegance And Functionality
- Co2 Laser Wood Cutter CO2 Laser Wood Cutter: A Comprehensive Guide For Precision Cutting
- Wooden Laser Cut Family Tree H1: Embracing Family Bonds With Wooden Laser Cut Family Trees
- Wooden Laser Cut Doll House Wooden Laser Cut Doll House: A Miniature Masterpiece For Endless Imagination
- Wooden Laser Cut Christmas Ornaments Wooden Laser Cut Christmas Ornaments: A Timeless And Personalized Holiday Tradition
H2: Design and Planning
H3: Concept and Inspiration
DOWNLOAD SVG FILES FOR LASER CUTTING
The first step in creating a small wooden laser cut house is to develop a concept and find inspiration. Consider the purpose of the house, whether it’s for display, play, or as a decorative element. Draw inspiration from architectural styles, real-life buildings, or your imagination.
H3: Sketching and Drafting
Once you have a concept, sketch out the design of your house, paying attention to the proportions, windows, doors, and other details. You can use a pencil and paper or digital design software to create your plans.
Once the pieces are cut, it’s time to assemble the house. Use wood glue or small nails to connect the walls, roof, and other components. Ensure the pieces fit snugly and are aligned correctly.
H3: Finishing Touches
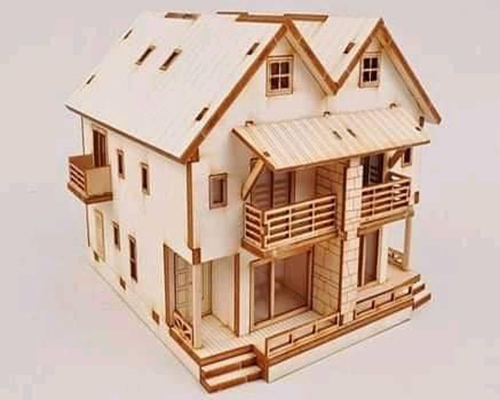
After assembly, you can add finishing touches to your house. This could include painting, staining, or adding decorative elements such as windows, doors, and balconies.
H2: Techniques and Tips

H3: Kerf Adjustment
Kerf refers to the narrow cut made by the laser beam. Adjust the kerf settings to ensure the pieces fit together properly.
H3: Grain Direction
Pay attention to the grain direction of the wood when cutting. Cutting against the grain can weaken the material.
H3: Sanding and Smoothing
Sand the edges of the cut pieces to remove any rough edges and create a smooth finish.
H2: Conclusion
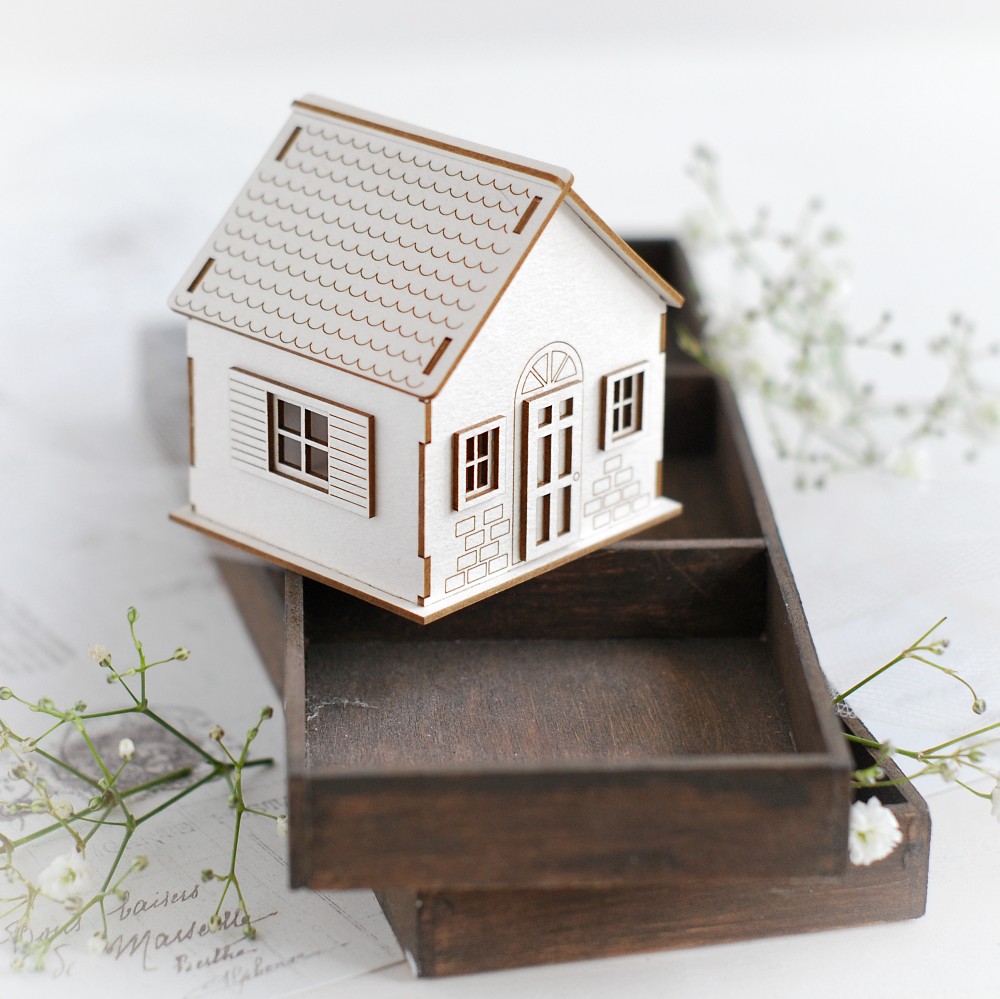
Creating small wooden laser cut houses is a rewarding and creative endeavor that combines artistry, precision, and craftsmanship. By following the steps outlined in this guide, you can design and construct your own miniature architectural marvel. Whether for display, play, or decoration, these houses add a touch of charm and uniqueness to any space.
H2: FAQs
Q: What is the best type of wood for laser cutting houses?
A: Common choices include plywood, MDF, and balsa wood.
Q: How do I ensure the pieces fit together properly?
A: Adjust the kerf settings and pay attention to the grain direction of the wood.
Q: Can I paint or stain my laser cut house?
A: Yes, you can add finishing touches such as painting, staining, or adding decorative elements.


