Laser Cut Wooden Hearts: A Guide to Crafting Unique and Personalized Creations
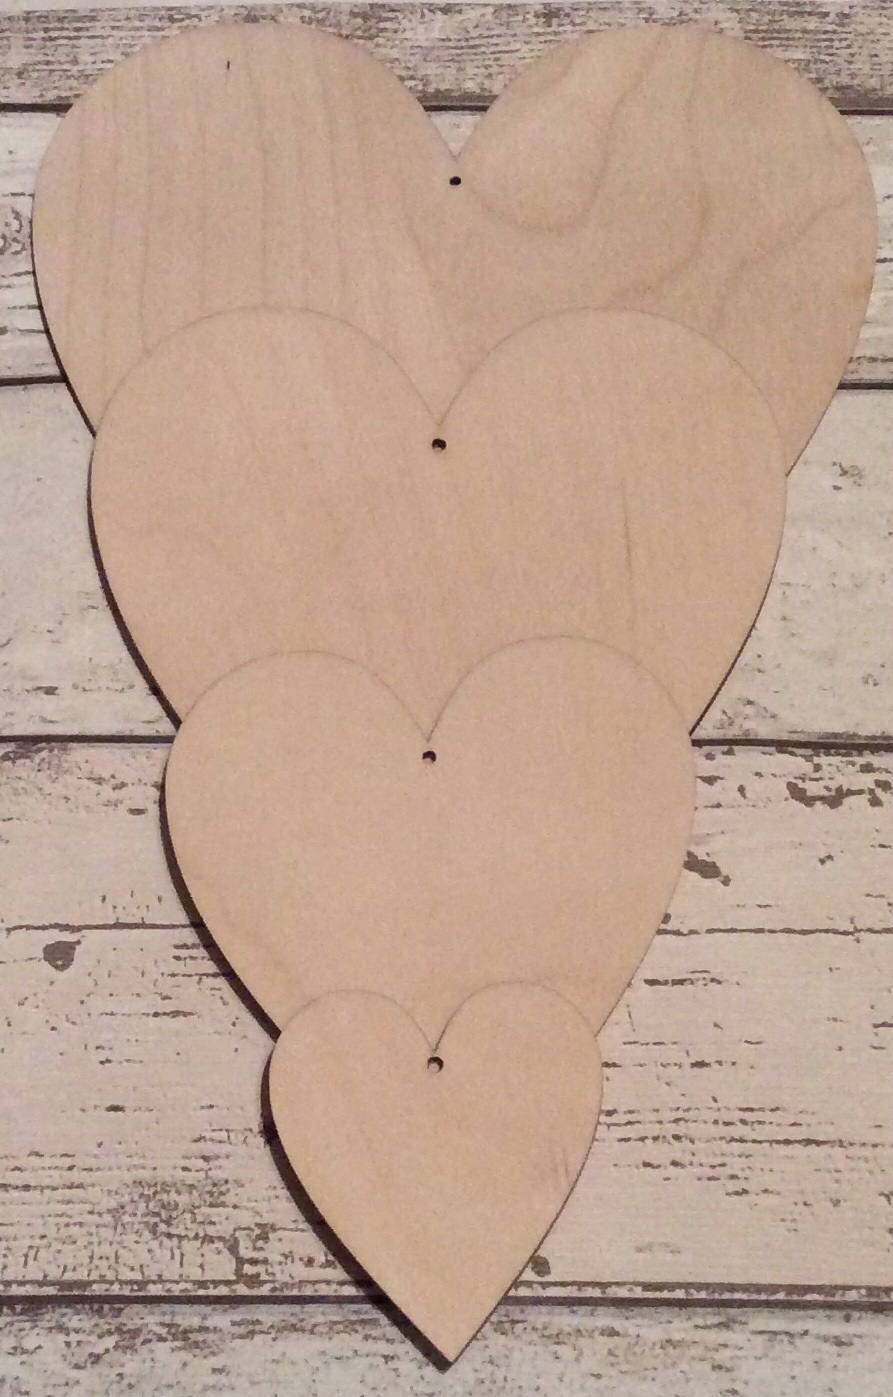
Laser cut wooden hearts are a versatile and charming way to add a personal touch to your home décor, gifts, and special occasions. With the precision and versatility of laser cutting technology, you can create intricate and delicate designs that showcase the natural beauty of wood.
H1: Understanding Laser Cut Wooden Hearts


Table of Content
- 1 Laser Cut Wooden Hearts: A Guide to Crafting Unique and Personalized Creations
- 1.1 H1: Understanding Laser Cut Wooden Hearts
- 1.2 H3: Choosing the Right Wood for Laser Cutting
- 1.3 H1: Understanding Laser Cut Wooden Hearts
- 1.4 H2: Benefits of Laser Cut Wooden Hearts
- 1.5 H4: Designing Your Laser Cut Wooden Hearts
- 1.6 H2: Cutting and Finishing Laser Cut Wooden Hearts
- 1.7 H3: Cutting
- 1.8 H4: Finishing
- 1.9 H2: Applications of Laser Cut Wooden Hearts
- 1.10 H2: Conclusion
- 1.11 FAQs
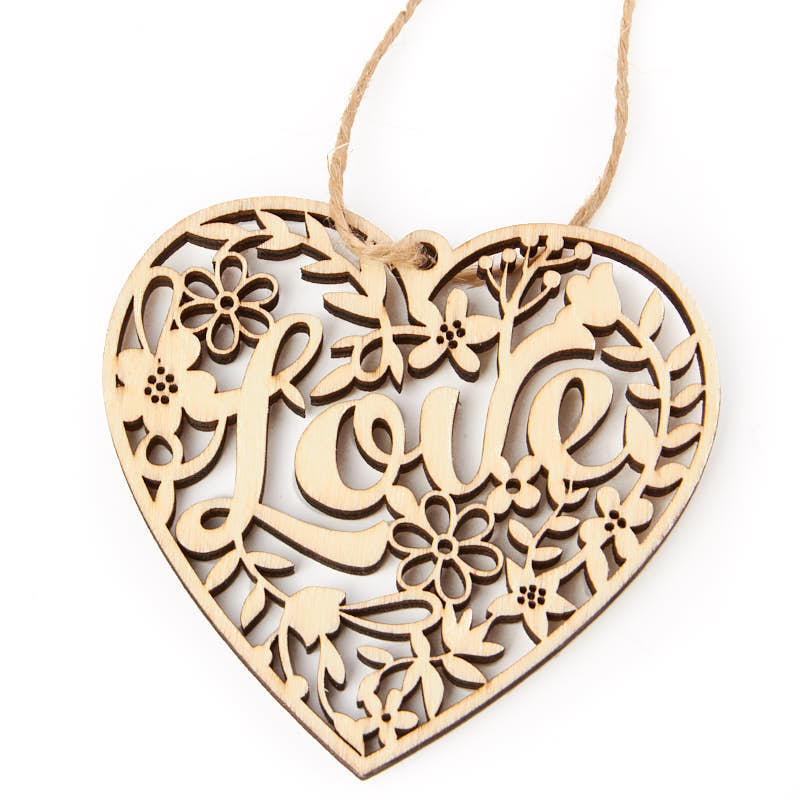
Laser cutting involves using a highly focused laser beam to precisely cut and engrave materials, including wood. This process allows for precise and intricate designs, making it ideal for creating wooden hearts with complex patterns, text, and images.
- Customization: Laser cutting enables you to create unique and personalized hearts with your own designs or messages.
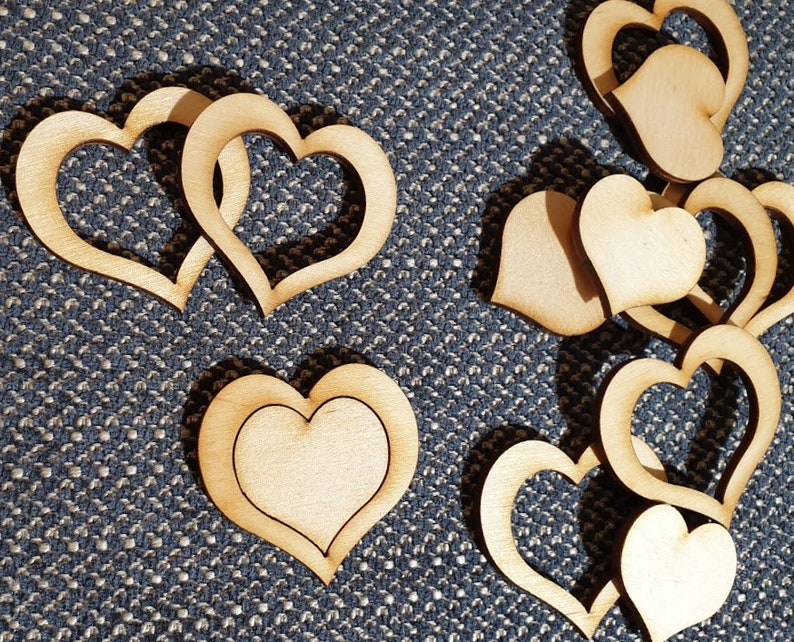
- Intricate Designs: The laser’s precision allows for intricate and delicate designs, adding an elegant touch to your creations.
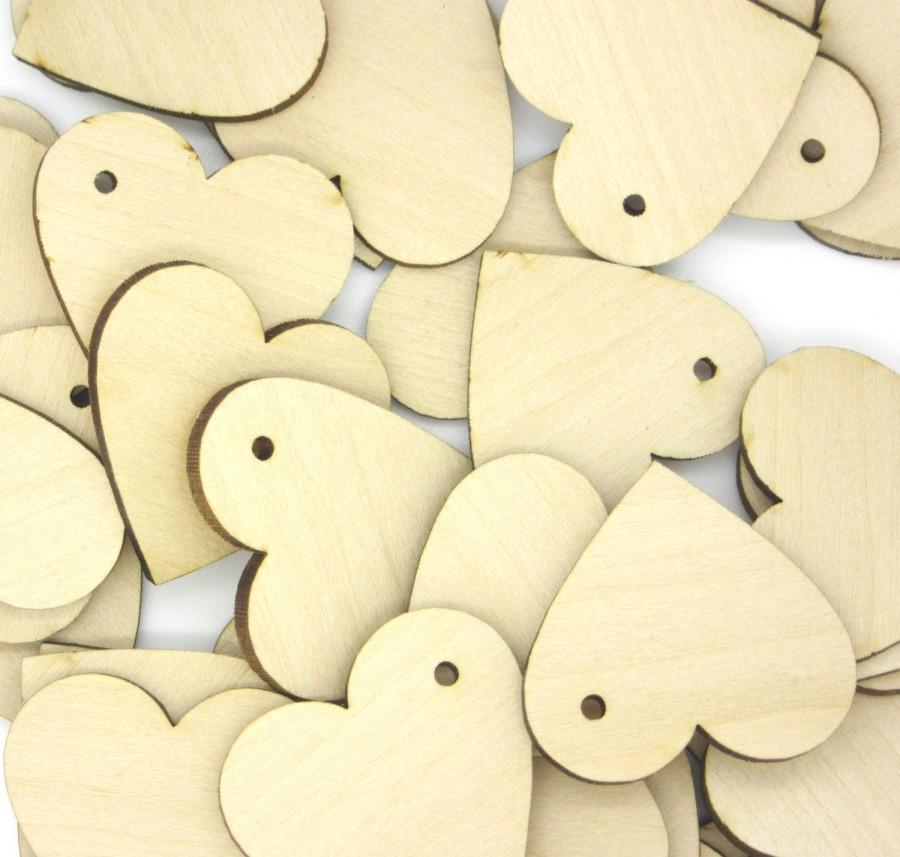
- Durable and Long-Lasting: Wood is a durable material, ensuring your laser cut hearts will last for years to come.
- Versatile: Laser cut wooden hearts can be used for a wide range of applications, from home décor to personalized gifts and special occasions.
DOWNLOAD SVG FILES FOR LASER CUTTING
H3: Choosing the Right Wood for Laser Cutting
The type of wood you choose for laser cutting will impact the appearance and durability of your hearts. Consider the following factors:
- Hardness: Harder woods, such as maple and oak, will produce more precise cuts but require higher laser power.
- Small Wooden Laser Cut House H1: Small Wooden Laser Cut House: A Comprehensive Guide To Crafting A Mini Architectural Masterpiece
- Laser Cutter And Engraver For Wood Laser Cutter And Engraver For Wood: A Comprehensive Guide
- Wood 3d Laser Engraving Wood 3D Laser Engraving: A Comprehensive Guide
- Wood Laser Engraver And Cutter Wood Laser Engraver And Cutter: A Comprehensive Guide
- Wooden Laser Cut Flowers H1: Wooden Laser Cut Flowers: A Guide To Crafting Enchanting Floral Decor
- Customization: Laser cutting enables you to create unique and personalized hearts with your own designs or messages.
- Intricate Designs: The laser’s precision allows for intricate and delicate designs, adding an elegant touch to your creations.
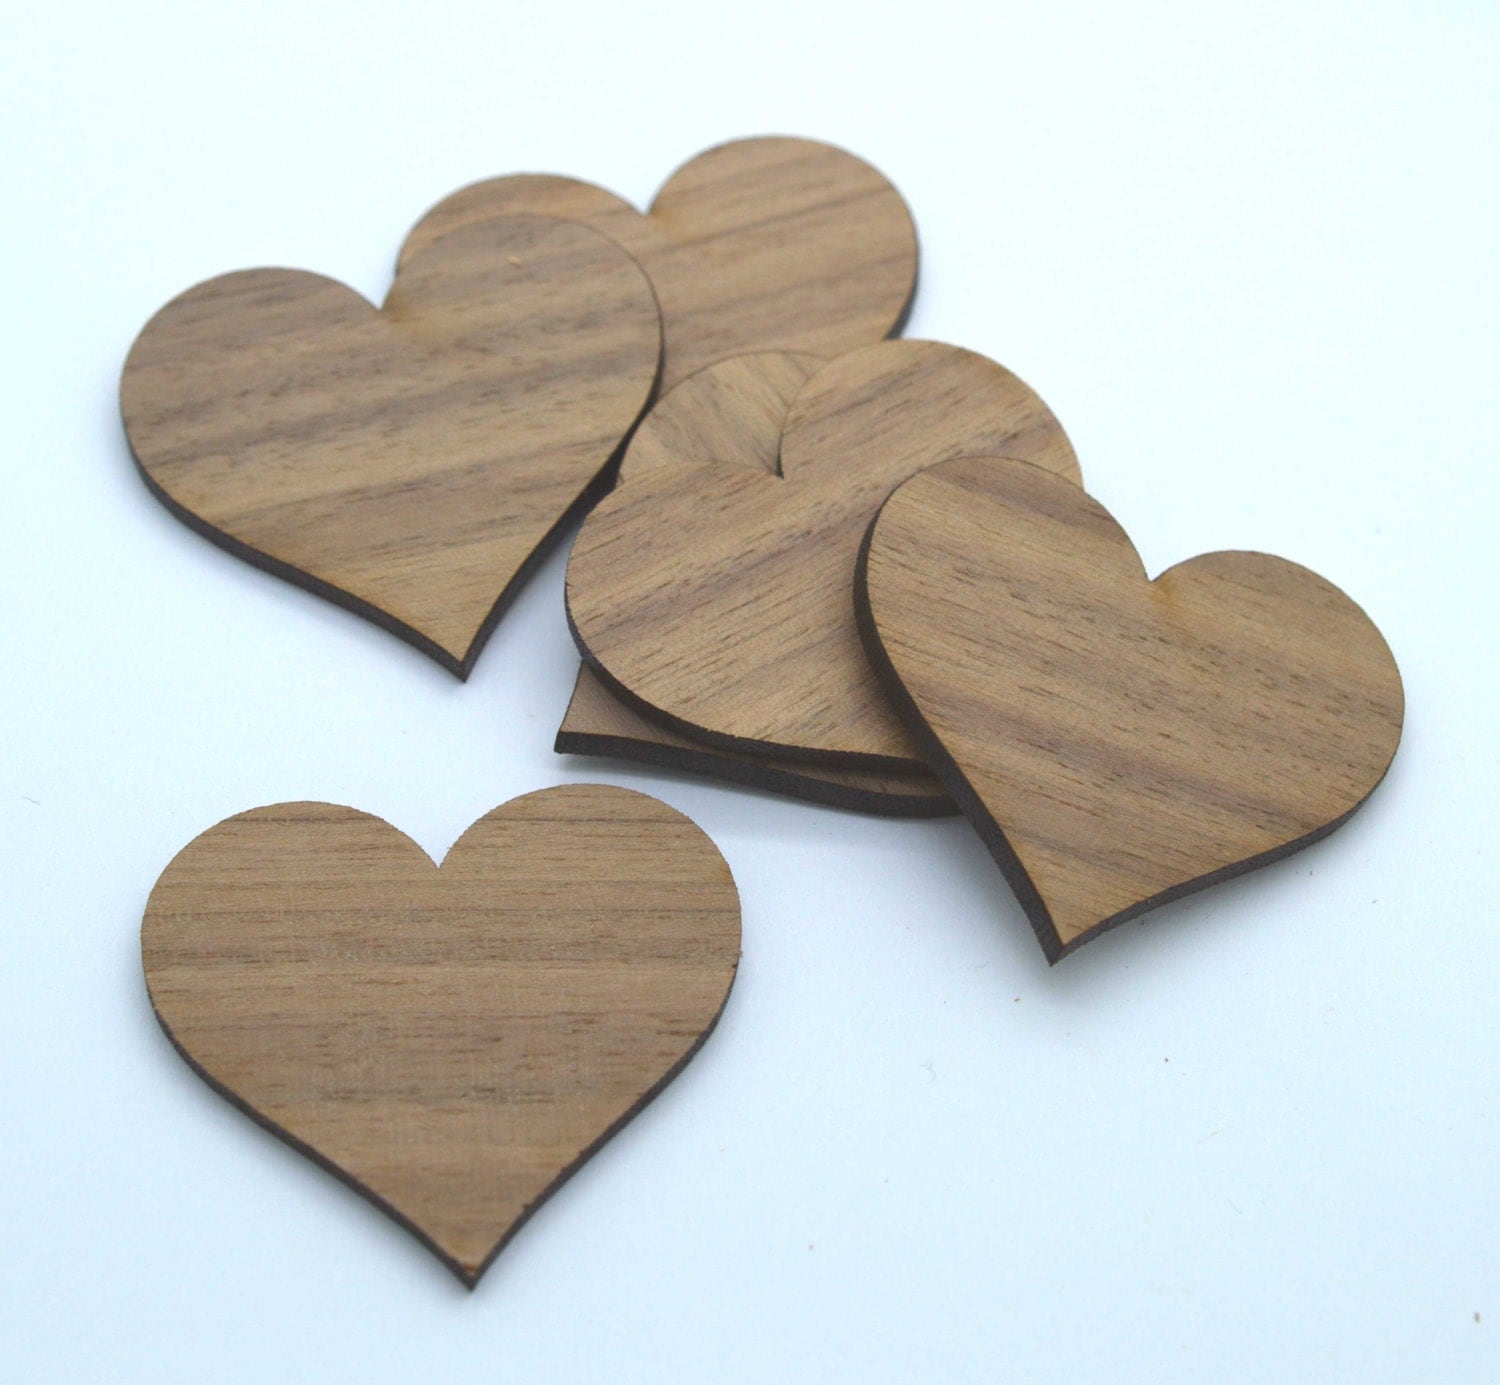
- Grain: The grain pattern of the wood can add visual interest to your hearts. Choose a wood with a grain pattern that complements your design.
- Color: The natural color of the wood will determine the overall appearance of your hearts. Consider staining or painting to enhance the color.
- Simplicity: Intricate designs can be beautiful, but they may require higher laser power and more time to cut. Start with simple designs and gradually increase complexity as you gain experience.
- Vector Graphics: Use vector graphics software to create your designs. Vector graphics are scalable and can be easily resized without losing quality.
- Test Cuts: Before committing to a full-scale cut, make test cuts on scrap wood to ensure your design and laser settings are correct.
- Laser Machine: Use a laser cutting machine with sufficient power and a cutting head designed for wood.
- Laser Settings: Adjust the laser power, speed, and focus based on the thickness and type of wood you are using.
- Safety Precautions: Wear appropriate safety gear, including eye protection and a respirator.
- Sanding: Sand the edges of your hearts to remove any rough edges or splinters.
- Staining or Painting: Enhance the appearance of your hearts by staining or painting them in your desired color.
- Sealing: Protect your finished hearts with a clear sealant to preserve their beauty and durability.
- Home Décor: Create decorative wall hangings, table centerpieces, and other home décor items with laser cut wooden hearts.
- Gifts: Personalize gifts for friends and family with custom-designed laser cut wooden hearts.
- Special Occasions: Add a special touch to weddings, anniversaries, and other special occasions with laser cut wooden hearts as decorations or favors.
- Crafts: Use laser cut wooden hearts as embellishments for scrapbooking, card making, and other crafts.

H1: Understanding Laser Cut Wooden Hearts
Laser cutting involves using a highly focused laser beam to precisely cut and engrave materials, including wood. This process allows for precise and intricate designs, making it ideal for creating wooden hearts with complex patterns, text, and images.
H2: Benefits of Laser Cut Wooden Hearts
DOWNLOAD SVG FILES FOR LASER CUTTING
H4: Designing Your Laser Cut Wooden Hearts
When designing your hearts, consider the following tips:

H2: Cutting and Finishing Laser Cut Wooden Hearts
Once your design is finalized, it’s time to cut and finish your wooden hearts:
H3: Cutting
H4: Finishing
H2: Applications of Laser Cut Wooden Hearts
Laser cut wooden hearts can be used for a wide range of applications, including:
H2: Conclusion
Laser cut wooden hearts are a versatile and creative way to add a personal touch to your home, gifts, and special occasions. With the precision and versatility of laser cutting technology, you can create unique and intricate designs that showcase the natural beauty of wood.
FAQs
Q: What is the best type of wood for laser cutting hearts?
A: Maple, oak, and birch are popular choices due to their hardness and durability.
Q: How do I adjust the laser settings for cutting wood hearts?
A: Adjust the laser power, speed, and focus based on the thickness and type of wood you are using. Consult the manufacturer’s instructions for specific settings.
Q: Can I paint or stain laser cut wooden hearts?
A: Yes, you can enhance the appearance of your hearts by staining or painting them in your desired color. Use a clear sealant to protect the finished surface.