


Laser Cut Wooden Tulips: A Guide to Crafting Unique and Beautiful Floral Art
Introduction
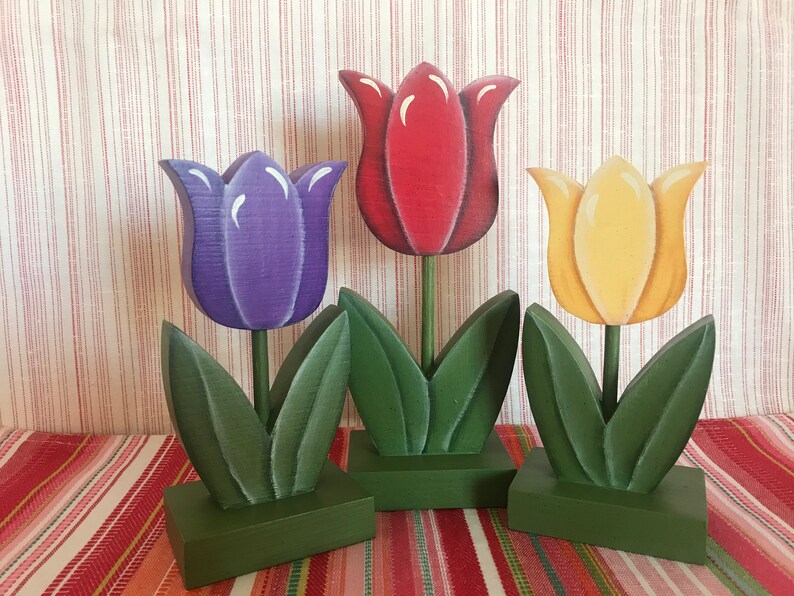
Laser cutting technology has revolutionized the way we create decorative items, including stunning wooden tulips. These intricate floral pieces add a touch of elegance and charm to any home or event space. This comprehensive guide will provide you with all the information you need to create your own laser cut wooden tulips, from choosing the right materials to finishing techniques.


Table of Content
- 1 Laser Cut Wooden Tulips: A Guide to Crafting Unique and Beautiful Floral Art
- 1.1 Introduction
- 2 H1: Materials and Equipment
- 2.2 H2: Laser Cutter
- 2.3 H2: Other Equipment
- 3 H1: Materials and Equipment
- 3.4 H2: Wood Selection
- 3.5 H2: Laser Cutter
- 4 H3: Design and Preparation
- 4.6 H2: Tulip Design
- 4.7 H2: Wood Preparation
- 5 H4: Laser Cutting Process
- 5.8 H2: Safety First
- 5.9 H2: Laser Settings
- 5.10 H2: Laser Cutting
- 6 H5: Finishing Techniques
- 6.11 H2: Sanding and Smoothing
- 6.12 H2: Assembly
- 6.13 H2: Painting or Staining (Optional)
- 7 H6: Conclusion
- 8 FAQs
- 8.14 Q: What is the best wood for laser cutting tulips?
- 8.15 Q: How do I prevent burn marks when laser cutting wood?
- 8.16 Q: Can I use a different material besides wood to create tulips?
- 8.17 Q: How do I make the tulips stand upright?
H1: Materials and Equipment
The choice of wood is crucial for the quality and appearance of your tulips. Hardwoods such as oak, maple, or walnut are ideal for laser cutting as they produce clean and precise cuts. Softwoods like pine or cedar can also be used, but they may require more care during the cutting process.
H2: Laser Cutter
A laser cutter is the primary tool for creating laser cut wooden tulips. Choose a machine with sufficient power and precision to handle the thickness of wood you are using.
H2: Other Equipment
In addition to the wood and laser cutter, you will need the following equipment:
- Safety glasses
- Dust mask
- Sandpaper
- Wood glue
- Laser Cut Wooden Tree Shapes H1: Laser Cut Wooden Tree Shapes: Elevate Your Décor With Nature’s Charm
- Wooden Laser Cut Light Box H1: Illuminate Your Space With Wooden Laser Cut Light Boxes: A Guide To Beauty And Functionality
- Laser Cut Wood Panels Near Me Laser Cut Wood Panels Near Me: A Comprehensive Guide
- Wooden Laser Cut Gifts Wooden Laser Cut Gifts: A Timeless Expression Of Creativity And Thoughtfulness
- Laser Cut Wood Houses Laser Cut Wood Houses: A Comprehensive Guide To Design, Construction, And Benefits
- Paint or stain (optional)

DOWNLOAD SVG FILES FOR LASER CUTTING

Laser cutting technology has revolutionized the way we create decorative items, including stunning wooden tulips. These intricate floral pieces add a touch of elegance and charm to any home or event space. This comprehensive guide will provide you with all the information you need to create your own laser cut wooden tulips, from choosing the right materials to finishing techniques.
H1: Materials and Equipment
H2: Wood Selection
DOWNLOAD SVG FILES FOR LASER CUTTING
The choice of wood is crucial for the quality and appearance of your tulips. Hardwoods such as oak, maple, or walnut are ideal for laser cutting as they produce clean and precise cuts. Softwoods like pine or cedar can also be used, but they may require more care during the cutting process.
H2: Laser Cutter
A laser cutter is the primary tool for creating laser cut wooden tulips. Choose a machine with sufficient power and precision to handle the thickness of wood you are using.
H3: Design and Preparation
H2: Tulip Design

Choose a tulip design that complements your desired style and application. There are numerous free and paid designs available online.
H2: Wood Preparation

Before laser cutting, sand the wood to ensure a smooth surface. This will prevent burn marks and ensure clean cuts.
H4: Laser Cutting Process
H2: Safety First

Always wear safety glasses and a dust mask when operating a laser cutter.
H2: Laser Settings
Adjust the laser settings based on the thickness and type of wood you are using. Use a lower power setting for thinner wood to avoid burning.
H2: Laser Cutting

Load the wood into the laser cutter and start the cutting process. Allow ample time for the laser to complete the cuts.
H5: Finishing Techniques
H2: Sanding and Smoothing
Sand the cut pieces to remove any rough edges or splinters. Use fine-grit sandpaper for a smooth finish.
H2: Assembly
Apply wood glue to the joining surfaces of the tulip petals and stem. Press the pieces together firmly and allow the glue to dry completely.
H2: Painting or Staining (Optional)
If desired, paint or stain the tulips to achieve the desired color and finish. Allow the paint or stain to dry thoroughly before handling.
H6: Conclusion
Creating laser cut wooden tulips is a rewarding and enjoyable craft that can add a personal touch to your home décor or gift-giving. By following the steps outlined in this guide, you can create beautiful and unique floral art that will bring joy for years to come.
FAQs
Q: What is the best wood for laser cutting tulips?
A: Hardwoods like oak, maple, or walnut produce the best results.
Q: How do I prevent burn marks when laser cutting wood?
A: Use a lower power setting and avoid cutting too quickly.
Q: Can I use a different material besides wood to create tulips?
A: Yes, materials like acrylic or leather can also be used, but the laser settings may need to be adjusted.
Q: How do I make the tulips stand upright?
A: Insert a wire or wooden dowel into the stem of the tulip and secure it with glue.


