Laser Cutting Wooden Lamp: A Comprehensive Guide
Introduction
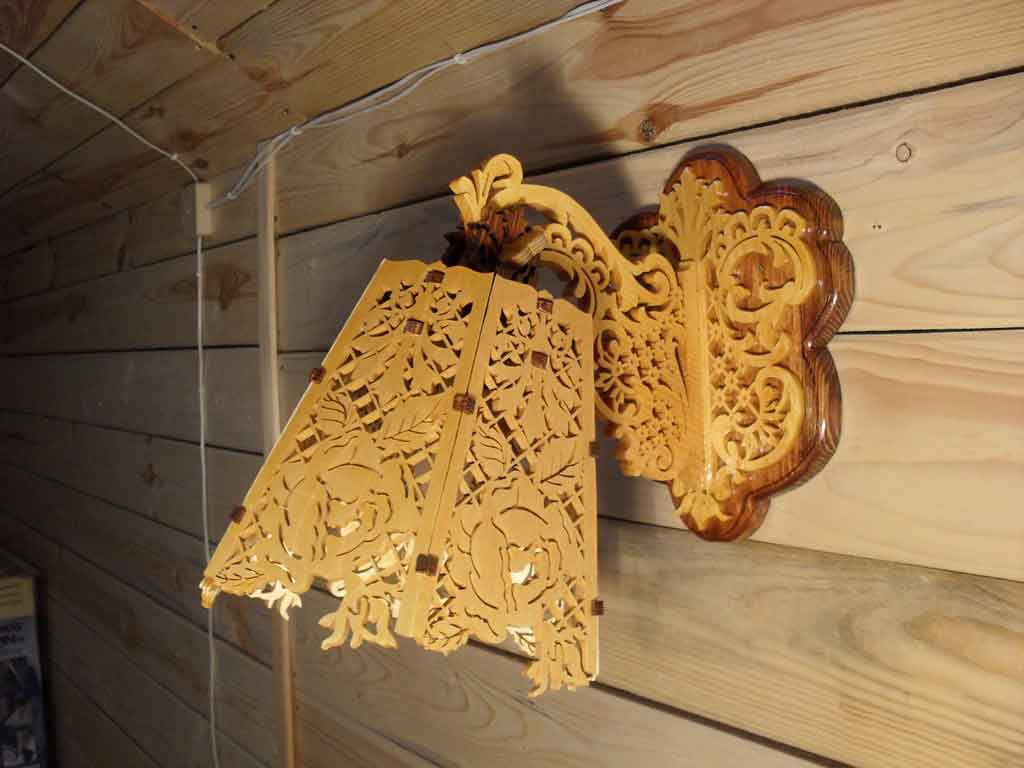
Laser cutting has revolutionized the woodworking industry, enabling artisans and makers to create intricate and personalized wooden products. Among these, wooden lamps stand out for their unique aesthetic appeal and functional versatility. This article delves into the world of laser cutting wooden lamps, providing a comprehensive guide to the process, materials, and techniques involved.


Table of Content
Materials and Equipment
The choice of wood for a laser-cut lamp is crucial. Different woods have varying properties that affect the cutting process and final product.
- Hardwoods: Oak, maple, and mahogany offer durability and intricate grain patterns.
- Softwoods: Pine, cedar, and basswood are softer and easier to cut, but may require additional finishing.
- Plywood: Engineered wood with multiple layers, providing strength and stability.
DOWNLOAD SVG FILES FOR LASER CUTTING

H2: Laser Cutter Selection
Laser cutters vary in power, wavelength, and bed size. For wooden lamps, a CO2 laser cutter with a wavelength of 10.6 μm is commonly used. The bed size should accommodate the desired lamp dimensions.
Design and Preparation
H2: Designing the Lamp
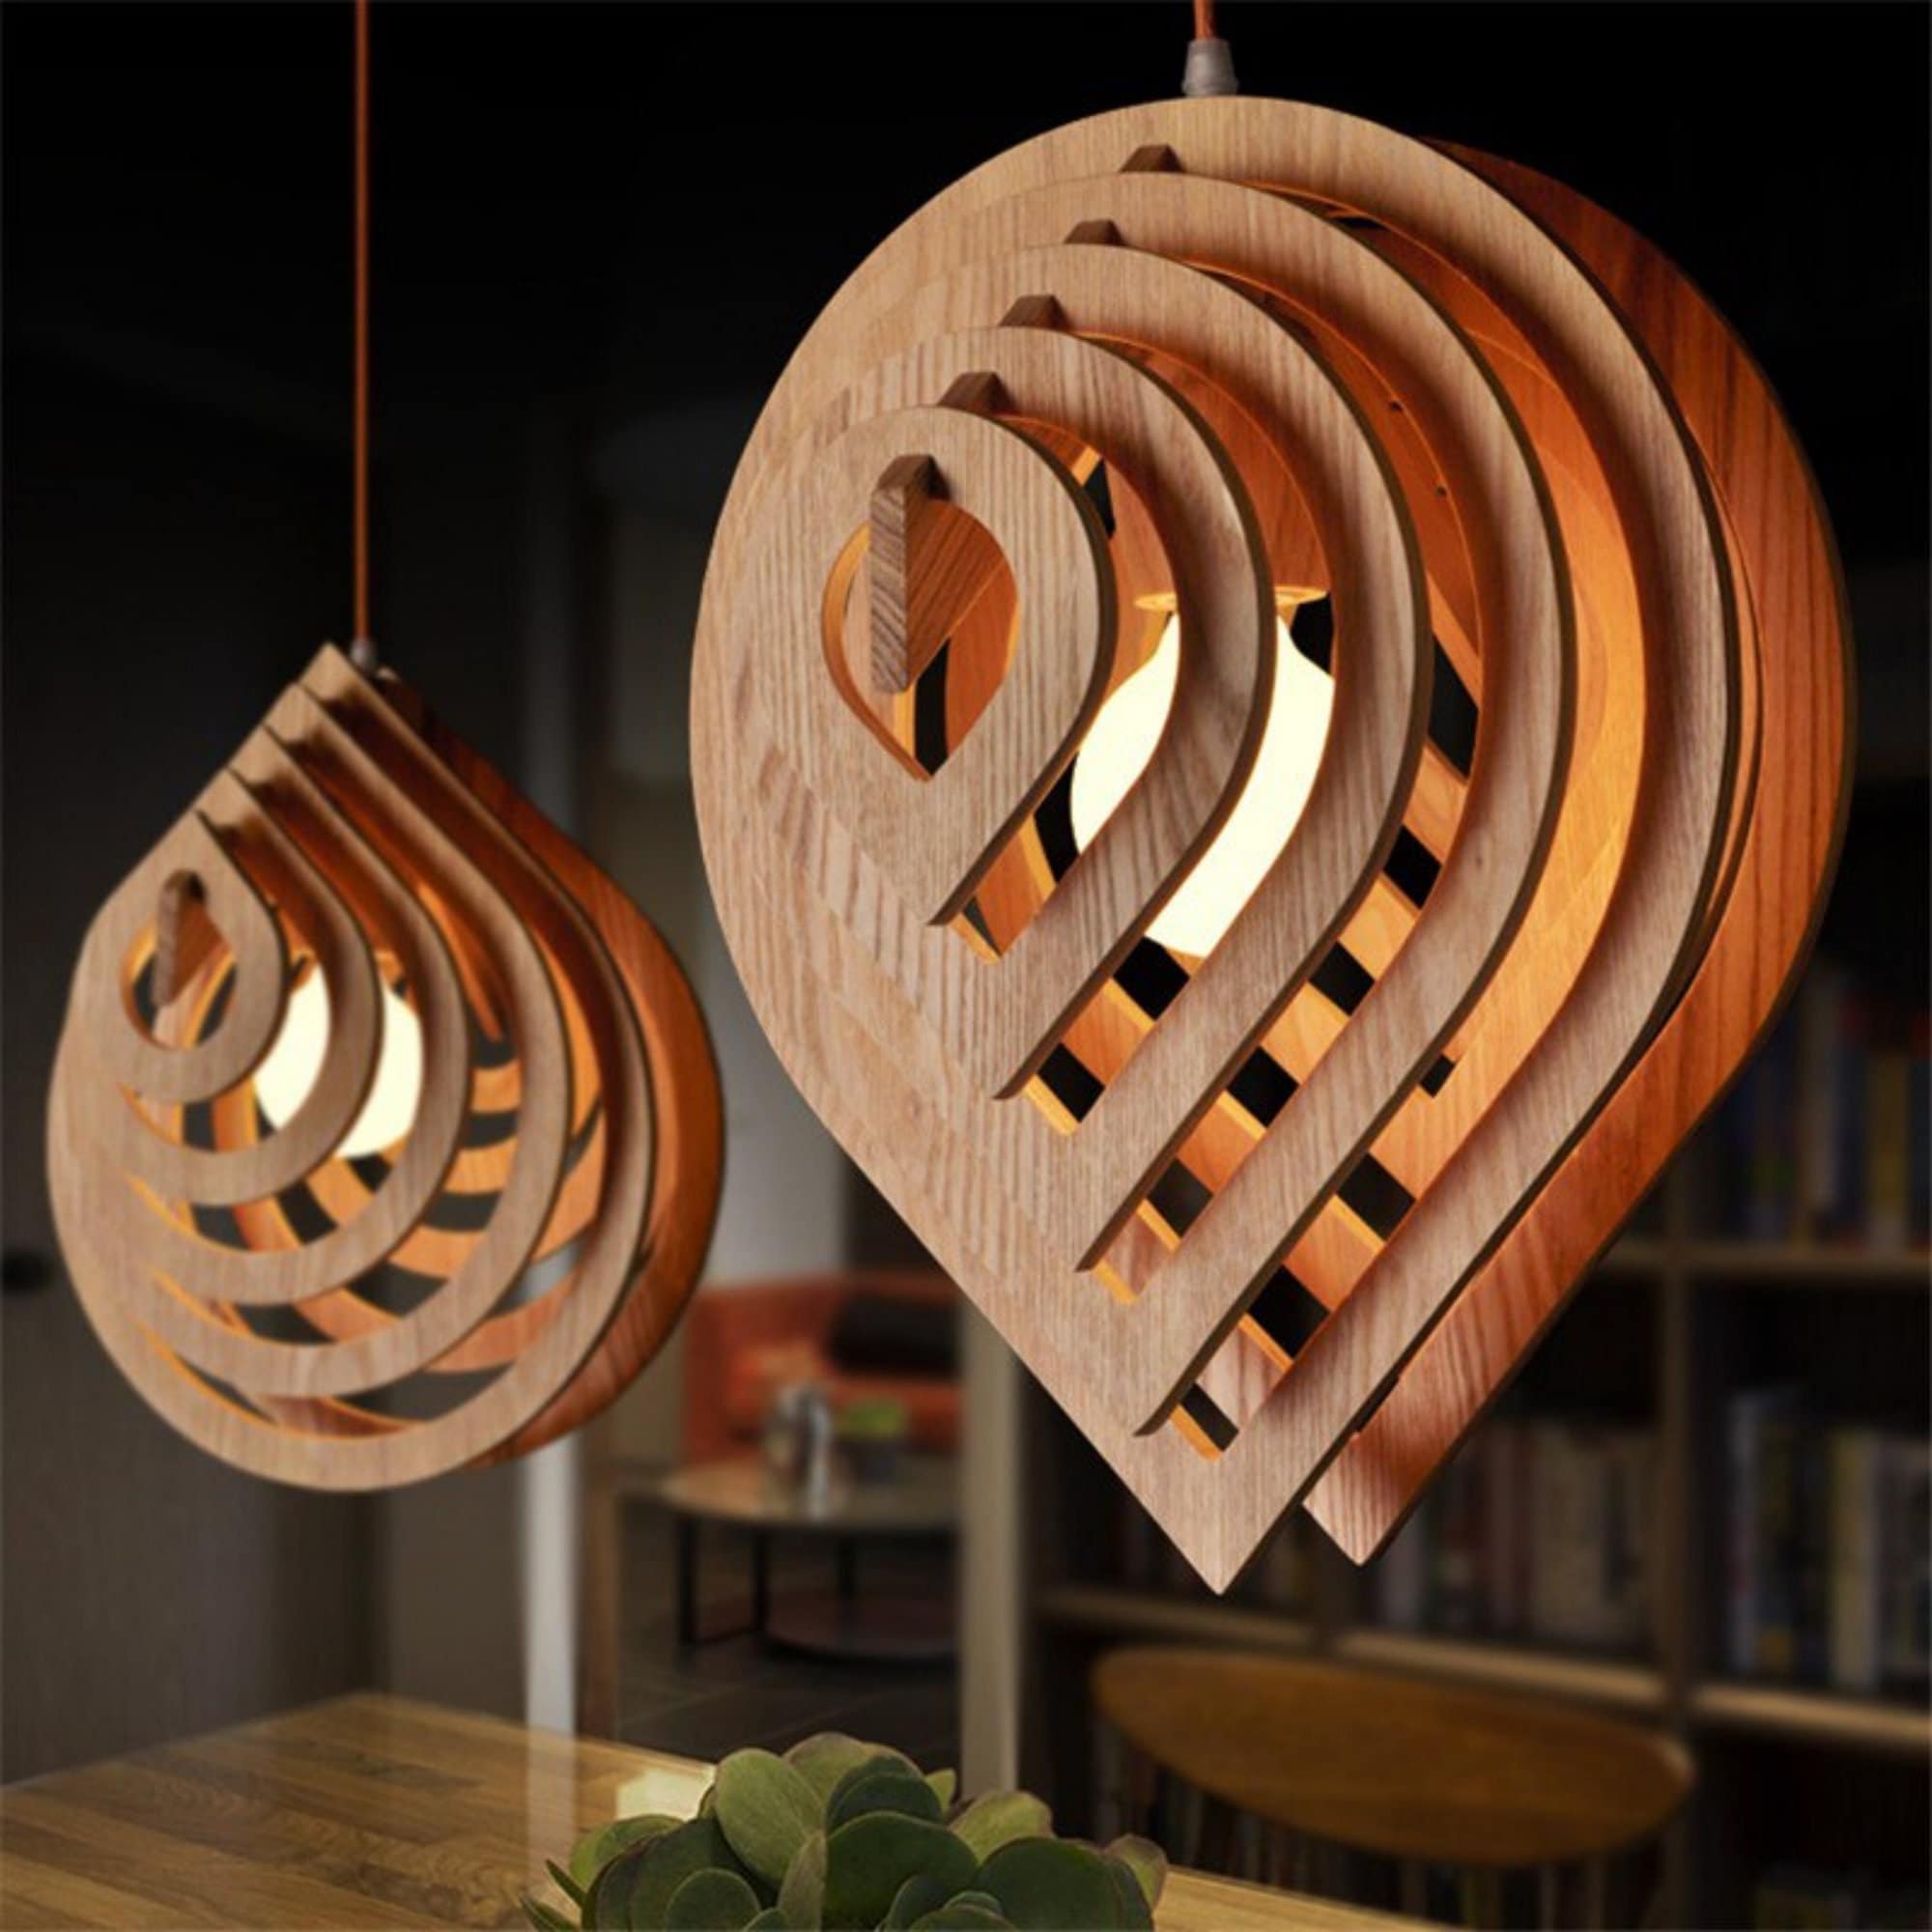
Laser cutting has revolutionized the woodworking industry, enabling artisans and makers to create intricate and personalized wooden products. Among these, wooden lamps stand out for their unique aesthetic appeal and functional versatility. This article delves into the world of laser cutting wooden lamps, providing a comprehensive guide to the process, materials, and techniques involved.
- Wooden Laser Cut Family Tree H1: Embracing Family Bonds With Wooden Laser Cut Family Trees
- Laser Cut Wooden Shapes Australia Laser Cut Wooden Shapes Australia: Unleashing Creativity With Precision
- Laser Cut Wooden Hearts Laser Cut Wooden Hearts: A Guide To Crafting Unique And Personalized Creations
- Laser Cut Wooden Stars Laser Cut Wooden Stars: A Guide To Crafting Stunning Ornaments And Decorations
- Laser Cut Wooden Shapes Uk Laser Cut Wooden Shapes UK: A Comprehensive Guide To Customization And Versatility
Materials and Equipment
H2: Choosing the Right Wood
DOWNLOAD SVG FILES FOR LASER CUTTING
The choice of wood for a laser-cut lamp is crucial. Different woods have varying properties that affect the cutting process and final product.
- Hardwoods: Oak, maple, and mahogany offer durability and intricate grain patterns.
- Size and Shape: Determine the overall dimensions and shape of the lamp.
- Cut Patterns: Design intricate cutouts and patterns to create visual interest.
- Light Source: Plan for the placement of the light source and any necessary wiring.
- Sanding: Smooth the surface to remove any imperfections.
- Cleaning: Remove dust and debris to prevent burning during cutting.
- Masking: Apply masking tape to protect areas that should not be cut.
- Power: Adjust the laser power based on the wood thickness and desired cut depth.
- Speed: Determine the optimal cutting speed to achieve clean cuts.
- Focus: Ensure the laser beam is properly focused to minimize burn marks.
- Raster Engraving: Creates shallow cuts or engravings on the surface of the wood.
- Vector Cutting: Cuts through the wood to create intricate shapes and patterns.
- Scoring: Creates shallow grooves to guide bending or assembly.
- Sanding: Smooth the edges and remove any rough spots.
- Staining or Painting: Apply a finish to enhance the wood’s appearance and protect it.
- Sealing: Use a clear sealant to protect the finish from moisture and UV damage.
- Glue: Use wood glue to join the laser-cut pieces.
- Clamps: Hold the pieces in place while the glue dries.
- Wiring: Install the light source and any necessary wiring.
- Burn Marks: Adjust the laser power or speed.
- Rough Edges: Sand the edges after cutting.
- Parts Not Fitting Properly: Check the design file and laser cutter settings.
- Use High-Quality Wood: Invest in good-quality wood to ensure a durable and aesthetically pleasing lamp.
- Experiment with Different Designs: Explore various cut patterns and designs to create unique lamps.
- Pay Attention to Detail: Take your time during the cutting and finishing process to achieve a professional-looking result.
The design process involves creating a digital file in a software program such as CorelDraw or Adobe Illustrator. Consider the following factors:


H2: Preparing the Wood
Before laser cutting, prepare the wood by:

Laser Cutting Process
H2: Setting Up the Laser Cutter
H2: Laser Cutting Techniques
Finishing and Assembly
H2: Finishing the Lamp
H2: Assembling the Lamp
Troubleshooting and Tips
H2: Common Problems and Solutions
H2: Tips for Success
Conclusion
Laser cutting wooden lamps is a rewarding and accessible craft that allows for endless creativity and personalization. By understanding the materials, equipment, and techniques involved, you can create stunning and functional wooden lamps that will illuminate your home with style and sophistication.
FAQs
Q: What is the best wood for laser cutting lamps?
A: Hardwoods like oak and maple offer durability and intricate grain patterns.
Q: What laser power is recommended for cutting wood?
A: Adjust the laser power based on the wood thickness, typically ranging from 10 to 20 watts.
Q: How do I prevent burn marks during laser cutting?
A: Set the laser speed appropriately and ensure the laser beam is properly focused.