Laser Cutting Ender 3: A Comprehensive Guide to Enhancing Your 3D Printer’s Capabilities
Introduction
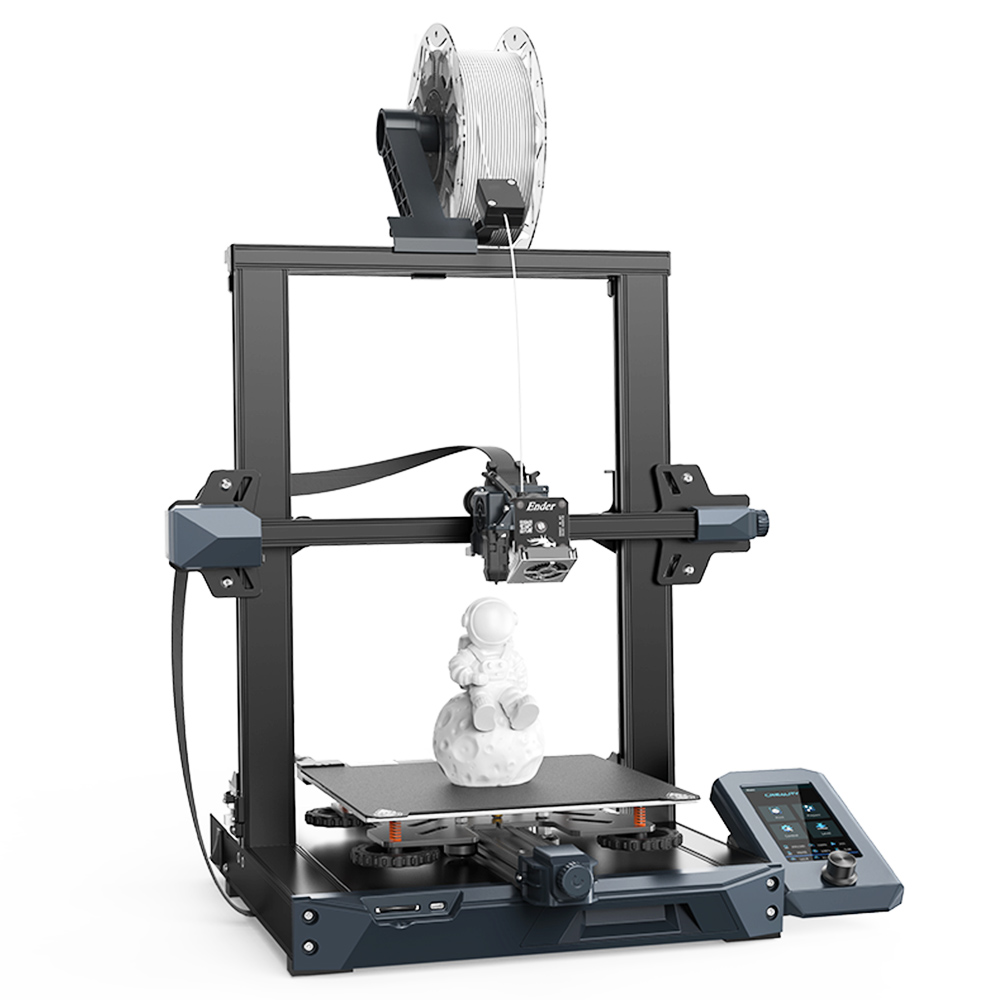
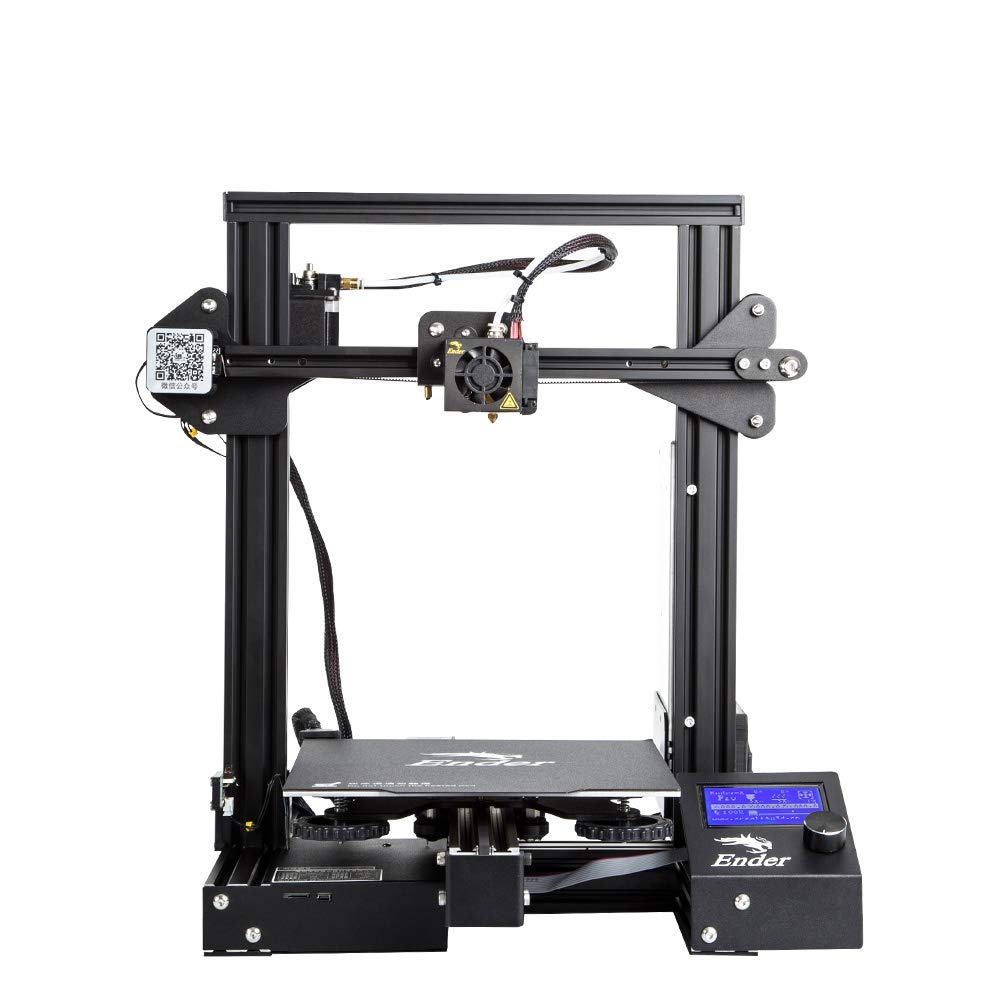
The Ender 3, a popular and affordable 3D printer, can be transformed into a versatile laser cutting machine with the addition of a laser module. This upgrade opens up new possibilities for customization, prototyping, and small-scale manufacturing. This article provides a comprehensive guide to laser cutting with the Ender 3, covering everything from hardware and software setup to project design and safety considerations.
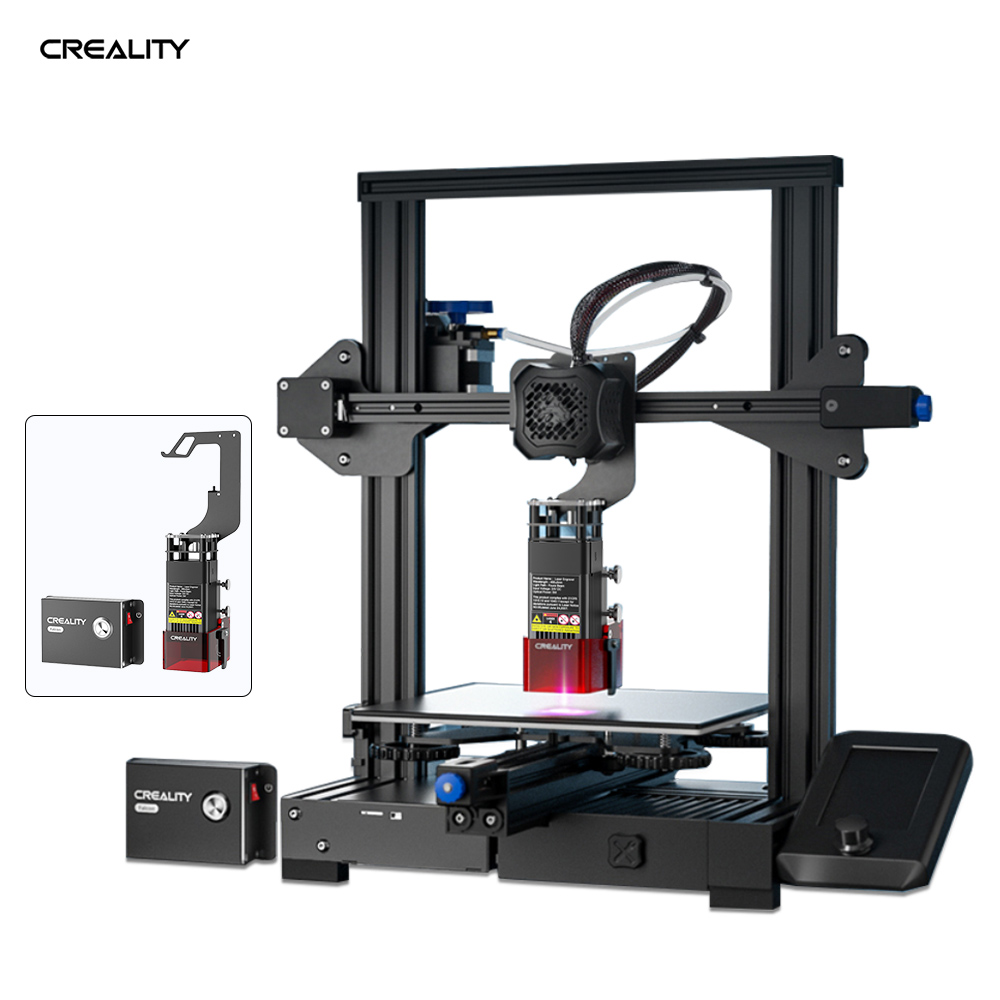

Table of Content
- 1 Laser Cutting Ender 3: A Comprehensive Guide to Enhancing Your 3D Printer’s Capabilities
- 1.1 Introduction
- 1.2 H1: Hardware Setup
- 1.3 H2: Software Setup
- 1.4 H1: Hardware Setup
- 1.5 H2: Installing the Laser Module
- 1.6 H1: Project Design
- 1.7 H2: Creating Laser Cutting Designs
- 1.8 H2: Materials for Laser Cutting
- 1.9 H1: Safety Considerations
- 1.10 H2: Laser Safety
- 1.11 H2: Fire Prevention
- 1.12 H1: Troubleshooting Common Issues
- 1.13 H2: Laser Not Firing
- 1.14 H2: Cutting Too Deep or Not Deep Enough
- 1.15 H1: Conclusion
- 1.16 FAQs
H1: Hardware Setup
- Choose a Compatible Laser Module: Select a laser module designed for the Ender 3.
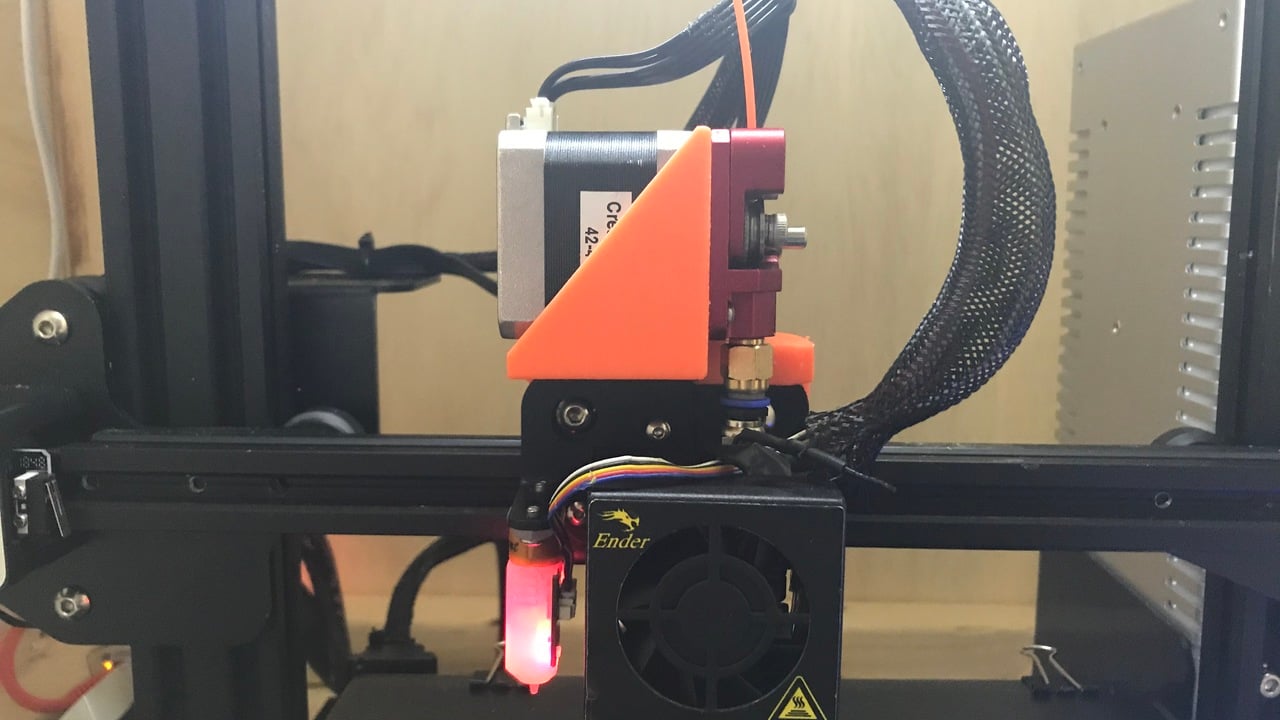
- Mount the Module: Attach the laser module to the printer’s carriage using the provided brackets.
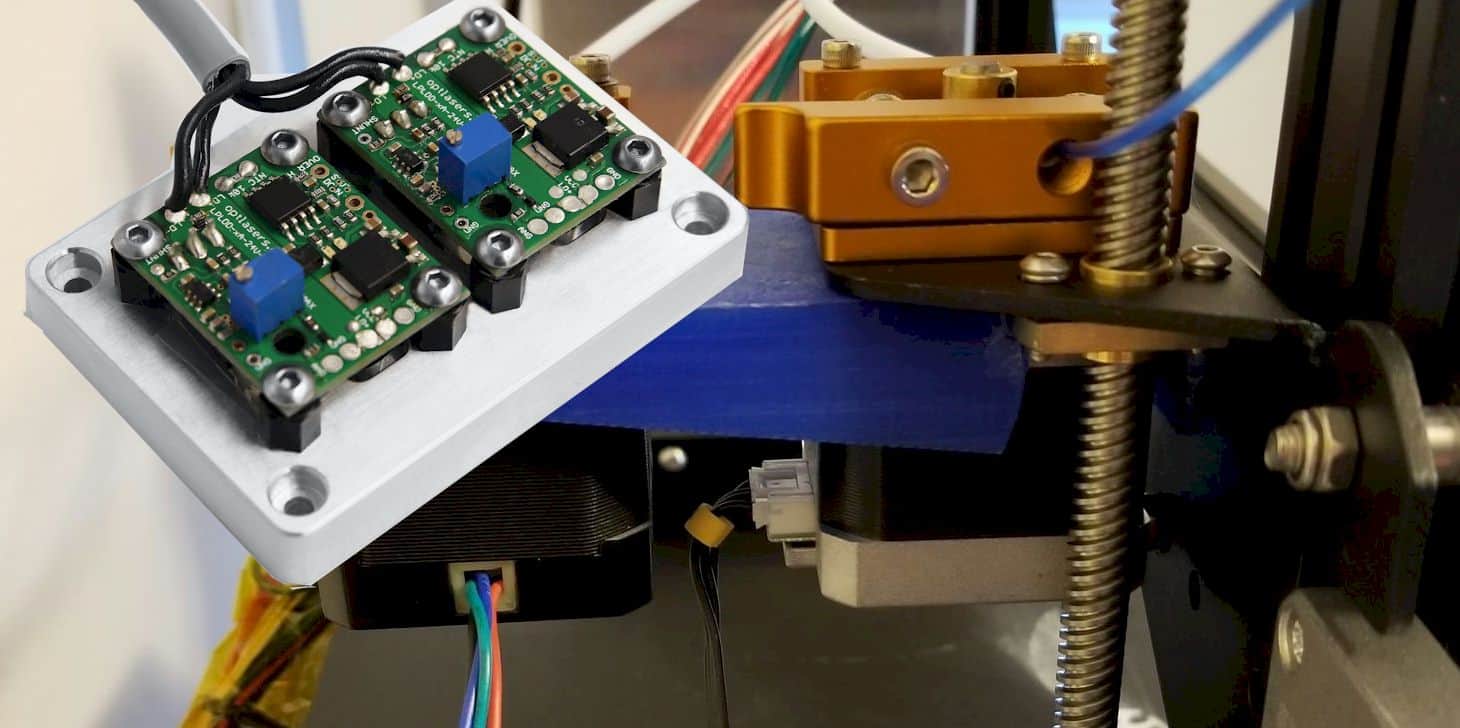
- Connect the Wiring: Connect the laser module to the printer’s control board.
H2: Software Setup

- Install Laser Cutting Software: Download and install laser cutting software compatible with the Ender 3, such as LaserGRBL.
- Configure Printer Settings: Adjust printer settings in the software to match the laser module’s specifications.
- Set Laser Parameters: Determine the laser power, speed, and focus for different materials.
- 3d Laser Cutting Metal 3D Laser Cutting Metal: A Comprehensive Guide
- Laser 3d Cutter Laser 3D Cutter: A Comprehensive Guide
- 3d Printing And Laser Cutting 3D Printing And Laser Cutting: A Comprehensive Guide
- 3d Laser Cut Wood 3D Laser Cut Wood: Unlocking Intricate Designs And Precision Craftsmanship
- 3d Cutting Design 3D Cutting Design: Unleashing Precision And Creativity In Manufacturing
- Choose a Compatible Laser Module: Select a laser module designed for the Ender 3.
- Mount the Module: Attach the laser module to the printer’s carriage using the provided brackets.
- Use Vector Graphics: Laser cutting requires vector-based designs in formats such as SVG or DXF.
- Optimize Designs: Minimize line segments and avoid small, intricate details.
- Consider Material Thickness: Adjust laser settings based on the thickness of the material being cut.
- Wood: Plywood, MDF, and balsa wood are suitable for laser cutting.
- Acrylic: Transparent or colored acrylic can be cut and engraved.
- Leather: Thin leather can be cut and engraved for custom designs.
- Paper: Cardstock and paper can be cut for intricate patterns.
- Wear Safety Gear: Use laser safety glasses and protective gloves.
- Enclose the Laser Area: Create an enclosure to prevent laser exposure.
- Avoid Reflections: Laser beams can bounce off reflective surfaces, posing a safety hazard.
- Use a Non-Flammable Surface: Cut materials on a fire-resistant surface.
- Have a Fire Extinguisher Nearby: Keep a fire extinguisher within reach.
- Monitor the Cutting Process: Stay attentive and observe the cutting process for any signs of fire.
- Check Laser Module: Ensure the laser module is connected and powered on.
- Adjust Laser Settings: Verify that the laser power and speed are set appropriately.
- Clean the Laser Lens: Remove any debris or dust from the laser lens.
- Calibrate Laser Focus: Adjust the laser focus to achieve the desired cutting depth.
- Adjust Laser Power: Increase or decrease the laser power to control the cutting depth.
- Consider Material Thickness: Ensure the laser settings are optimized for the material being cut.
The Ender 3, a popular and affordable 3D printer, can be transformed into a versatile laser cutting machine with the addition of a laser module. This upgrade opens up new possibilities for customization, prototyping, and small-scale manufacturing. This article provides a comprehensive guide to laser cutting with the Ender 3, covering everything from hardware and software setup to project design and safety considerations.
H1: Hardware Setup
H2: Installing the Laser Module
H1: Project Design
H2: Creating Laser Cutting Designs

H2: Materials for Laser Cutting

H1: Safety Considerations
H2: Laser Safety
H2: Fire Prevention
H1: Troubleshooting Common Issues
H2: Laser Not Firing
H2: Cutting Too Deep or Not Deep Enough
H1: Conclusion
Laser cutting with the Ender 3 expands the printer’s capabilities, allowing for precise cutting and engraving of various materials. By following the steps outlined in this guide, you can safely and effectively upgrade your Ender 3 to a versatile laser cutting machine. Explore the potential of laser cutting to enhance your projects and unlock new possibilities in customization and prototyping.
FAQs
Q: What materials can the Ender 3 laser cut?
A: Wood, acrylic, leather, paper, and other thin materials.
Q: How do I ensure safety when laser cutting?
A: Wear safety gear, enclose the laser area, and avoid reflections.
Q: What software is recommended for laser cutting with the Ender 3?
A: LaserGRBL or similar software compatible with the printer.
Q: How do I troubleshoot laser not firing issues?
A: Check connections, adjust settings, and clean the laser lens.
Q: Can I cut thick materials with the Ender 3 laser?
A: No, the laser module is suitable for cutting thin materials only.