Laser Cut Reindeer Head: A Festive and Intricate DIY Project
The holiday season is upon us, and what better way to celebrate than with a festive and intricate DIY project? A laser cut reindeer head is the perfect way to add a touch of holiday cheer to your home décor.
What You’ll Need


Table of Content
To make a laser cut reindeer head, you will need the following materials:
DOWNLOAD SVG FILES FOR LASER CUTTING
Step-by-Step Instructions
- Prepare the design file. Download a reindeer head design file from a reputable source. Open the file in a vector graphics software program and make any necessary adjustments to the size or shape.
- Deer Head Laser Cut Deer Head Laser Cut: A Comprehensive Guide To Precision Crafting
- Laser Cut Bear Laser Cut Bear: A Comprehensive Guide
- Animal Laser Cut Animal Laser Cut: Revolutionizing Pet Grooming And Beyond
- Laser Cut Australian Animals Laser Cut Australian Animals: Bringing The Wild Into Your Home
- Laser Cut Giraffe Laser Cut Giraffe: An Exquisite Masterpiece Of Precision And Art
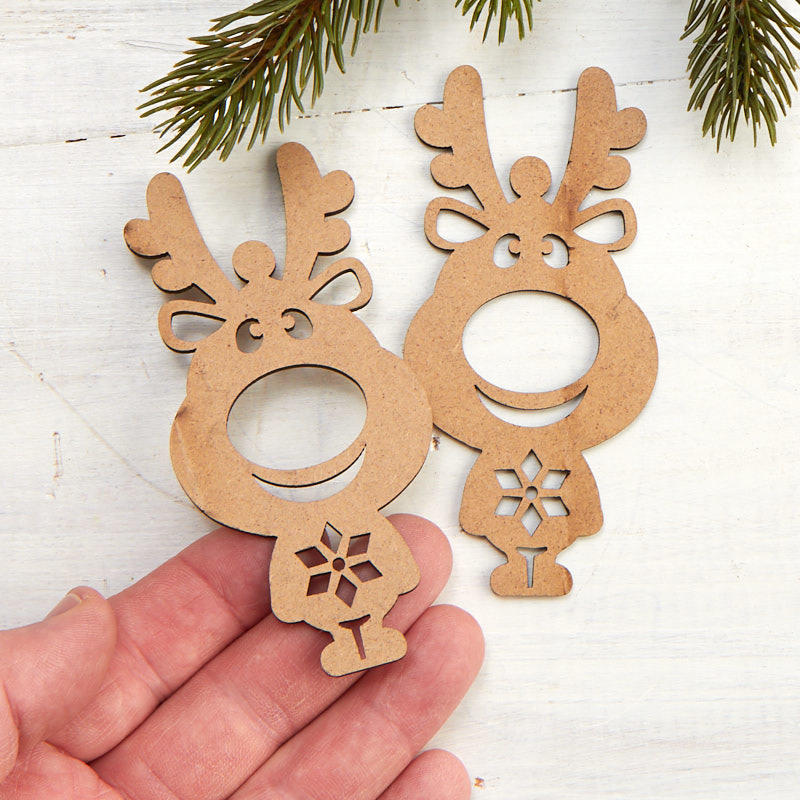
- 1/4-inch thick plywood or MDF
- Laser cutter
- Reindeer head design file
- Cut the reindeer head. Place the plywood or MDF on the laser cutter and cut the reindeer head design. Be sure to use the correct settings for the material you are using.
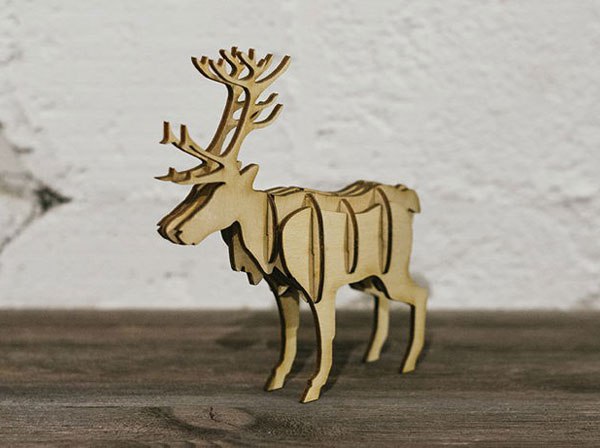
- Assemble the reindeer head. Apply wood glue to the edges of the reindeer head pieces and assemble them. Use clamps to hold the pieces together while the glue dries.
- Sand the reindeer head. Once the glue has dried, sand the reindeer head to smooth any rough edges.
- Paint or stain the reindeer head (optional). If desired, paint or stain the reindeer head to match your décor.

What You’ll Need
To make a laser cut reindeer head, you will need the following materials:
DOWNLOAD SVG FILES FOR LASER CUTTING


Conclusion

A laser cut reindeer head is a beautiful and unique way to add a touch of holiday cheer to your home. With a little bit of time and effort, you can create a stunning piece of art that will be treasured for years to come.
FAQs
Q: What is the best material to use for a laser cut reindeer head? 
A: 1/4-inch thick plywood or MDF is the best material to use for a laser cut reindeer head. These materials are strong and durable, and they can be easily cut with a laser cutter.
Q: What are the best settings for laser cutting reindeer head?
A: The best settings for laser cutting reindeer head will vary depending on the type of laser cutter you are using. However, a good starting point is to use a power setting of 50% and a speed setting of 25%.
Q: How do I assemble a laser cut reindeer head? 
A: To assemble a laser cut reindeer head, apply wood glue to the edges of the reindeer head pieces and assemble them. Use clamps to hold the pieces together while the glue dries.
Q: How do I paint or stain a laser cut reindeer head?
A: If desired, paint or stain the reindeer head to match your décor. Be sure to use a paint or stain that is suitable for the material you are using.