Butterfly Layer Cut Tutorial: A Step-by-Step Guide to Voluminous, Flowing Locks
Introduction
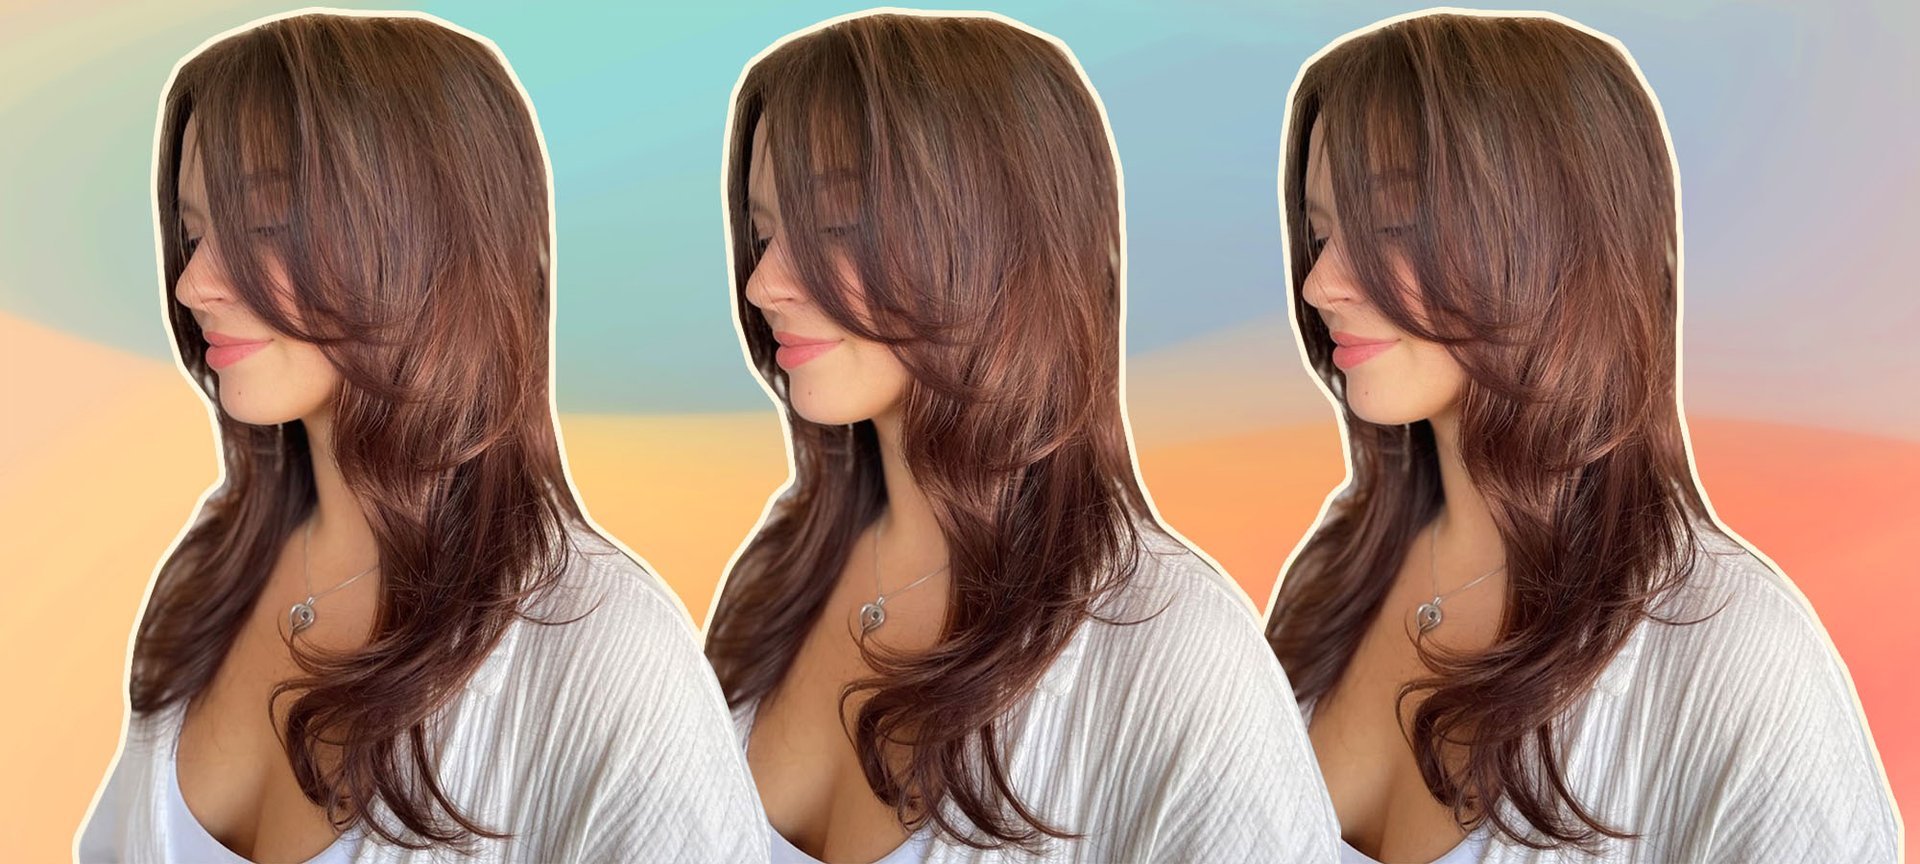
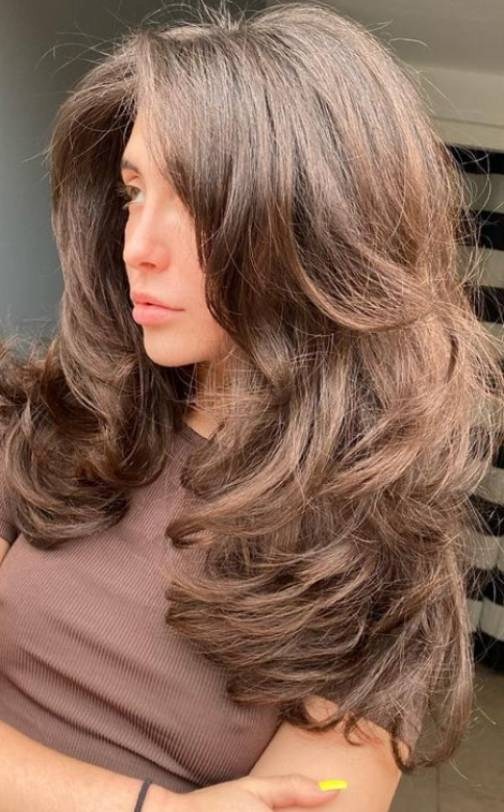
Embrace the ethereal beauty of butterfly layer cuts, a hairstyle that mimics the delicate wings of a butterfly. This layered masterpiece creates an illusion of volume and movement, framing your face with soft, cascading tresses. Whether you’re a seasoned hairstylist or a DIY enthusiast, this comprehensive tutorial will guide you through the steps to achieve a stunning butterfly layer cut at home.

Table of Content
- 1 Butterfly Layer Cut Tutorial: A Step-by-Step Guide to Voluminous, Flowing Locks
- 1.1 Introduction
- 1.2 Tools and Materials
- 1.3 Step 1: Prepare Your Hair
- 1.4 Tools and Materials
- 1.5 Step 2: Section Your Hair
- 1.6 Step 3: Create the Butterfly Layer
- 1.7 Step 4: Continue Layering
- 1.8 Step 5: Blend the Layers
- 1.9 Step 6: Add Texture (Optional)
- 1.10 Step 7: Style and Finish
- 1.11 Conclusion
- 1.12 Frequently Asked Questions
Tools and Materials
DOWNLOAD SVG FILES FOR LASER CUTTING
Step 1: Prepare Your Hair
- Wash and condition your hair thoroughly.
- Towel dry your hair to remove excess moisture.
- Laser Cutting 3d Animal Puzzle Template Laser Cutting 3D Animal Puzzle Template: A Comprehensive Guide
- Butterfly Free Laser Cut Butterfly Free Laser Cut: Unlocking Intricate Designs With Precision
- Wooden Puzzle Animal Laser Cut Wooden Puzzle Animal Laser Cut: A Comprehensive Guide
- Butterfly Layer Cut Hair Butterfly Layer Cut Hair: A Comprehensive Guide
- Animal Cute Drawing Animal Cute Drawing: A Comprehensive Guide To Capturing The Cuteness Of Nature
- Hair cutting shears
- Hair comb
- Sectioning clips
- Comb your hair to remove any tangles or knots.
- Divide your hair into two equal sections, creating a part from the center of your forehead to the nape of your neck.
- Clip up one section to keep it out of the way.
- Take a small section of hair from the front of the head, just above your forehead.
- Comb the hair straight up and hold it perpendicular to your head.
- Cut the hair at a 45-degree angle, creating a short, triangular layer.
- Repeat this process on the other side of your forehead.
- Continue taking small sections of hair from the front and sides of your head.
- Comb each section straight up and cut at a 45-degree angle, creating a series of short, triangular layers.
- Gradually increase the length of the layers as you move towards the back of your head.
- Once you have created all the butterfly layers, use your scissors to gently blend them together.
- Cut the edges of the layers at a slight angle to create a soft, feathered effect.
- For added texture and movement, use a razor or texturizing shears to thin out the ends of the layers.
- Be careful not to over-thin the hair, as this can weaken it.
- Spray your hair with water to dampen it.
- Use a round brush to blow dry your hair, directing the airflow towards the ends of your hair to create volume.
- Apply a light hold hairspray to keep your layers in place.
Embrace the ethereal beauty of butterfly layer cuts, a hairstyle that mimics the delicate wings of a butterfly. This layered masterpiece creates an illusion of volume and movement, framing your face with soft, cascading tresses. Whether you’re a seasoned hairstylist or a DIY enthusiast, this comprehensive tutorial will guide you through the steps to achieve a stunning butterfly layer cut at home.
Tools and Materials
DOWNLOAD SVG FILES FOR LASER CUTTING

Step 2: Section Your Hair
Step 3: Create the Butterfly Layer
Step 4: Continue Layering
Step 5: Blend the Layers
Step 6: Add Texture (Optional)
Step 7: Style and Finish
Conclusion
Congratulations! You have now successfully created a stunning butterfly layer cut. This versatile hairstyle will enhance your natural beauty, adding volume, movement, and a touch of ethereal charm to your locks. Embrace the transformative power of butterfly layers and enjoy the compliments that come your way.
Frequently Asked Questions
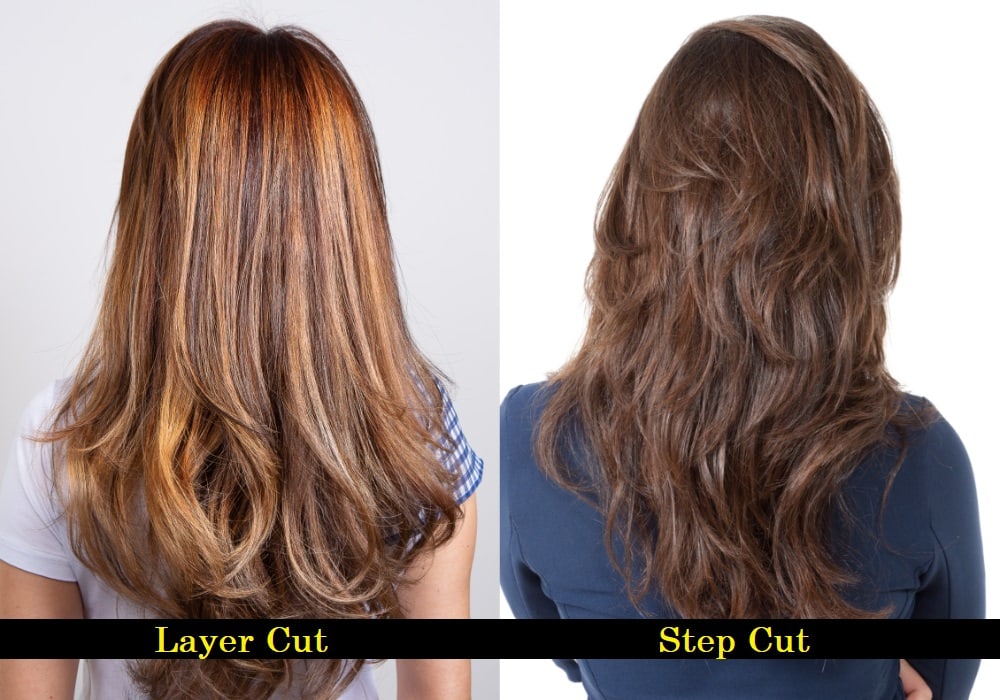
Q: What is the difference between a butterfly layer cut and a regular layer cut?
A: A butterfly layer cut creates short, triangular layers that are cut at a 45-degree angle, while a regular layer cut involves cutting layers at a more horizontal angle. This difference creates a more dramatic and voluminous effect with butterfly layer cuts.
Q: How often should I get my butterfly layer cut trimmed?
A: To maintain the shape and volume of your butterfly layer cut, it is recommended to get it trimmed every 6-8 weeks.
Q: Can I style a butterfly layer cut on my own?
A: Yes, with a little practice, you can style a butterfly layer cut at home. Use a round brush to blow dry your hair and create volume, and finish with a light hold hairspray to keep your layers in place.
Q: Is a butterfly layer cut suitable for all hair types?
A: Butterfly layer cuts are generally suitable for all hair types, but they work particularly well on fine or medium hair. If you have thick or coarse hair, you may need to thin out the layers to prevent your hair from looking too heavy.