Cricut Wood Etching: A Comprehensive Guide for Beginners and Experts
Introduction
Cricut wood etching is a versatile and rewarding craft that allows you to create intricate designs and personalized items from the comfort of your home. This guide will provide you with everything you need to know about Cricut wood etching, from choosing the right materials to mastering advanced techniques.


Table of Content
- 1 Cricut Wood Etching: A Comprehensive Guide for Beginners and Experts
- 1.1 Introduction
- 1.2 Choosing the Right Materials
- 1.3 Preparing Your Design
- 1.4 Setting Up Your Cricut Machine
- 1.5 Etching Your Wood
- 1.6 Choosing the Right Materials
- 1.7 Preparing Your Design
- 1.8 Finishing Your Etched Wood
- 1.9 Advanced Techniques
- 1.10 Troubleshooting Common Issues
- 1.11 Conclusion
- 1.12 Frequently Asked Questions (FAQs)
Choosing the Right Materials
Engraving Bit: Invest in a high-quality engraving bit designed for Cricut machines. The bit should be sharp and have a carbide tip for durability.
Safety Gear: Wear safety glasses and a dust mask when etching wood to protect yourself from flying debris and dust particles.
Preparing Your Design
Design Software: Use Cricut Design Space to create or import your etching design. Choose fonts and images that are compatible with wood etching.
Reverse Your Design: Wood etching removes material from the surface, so you need to reverse your design before cutting. This ensures that the etched image appears correctly on the finished product.
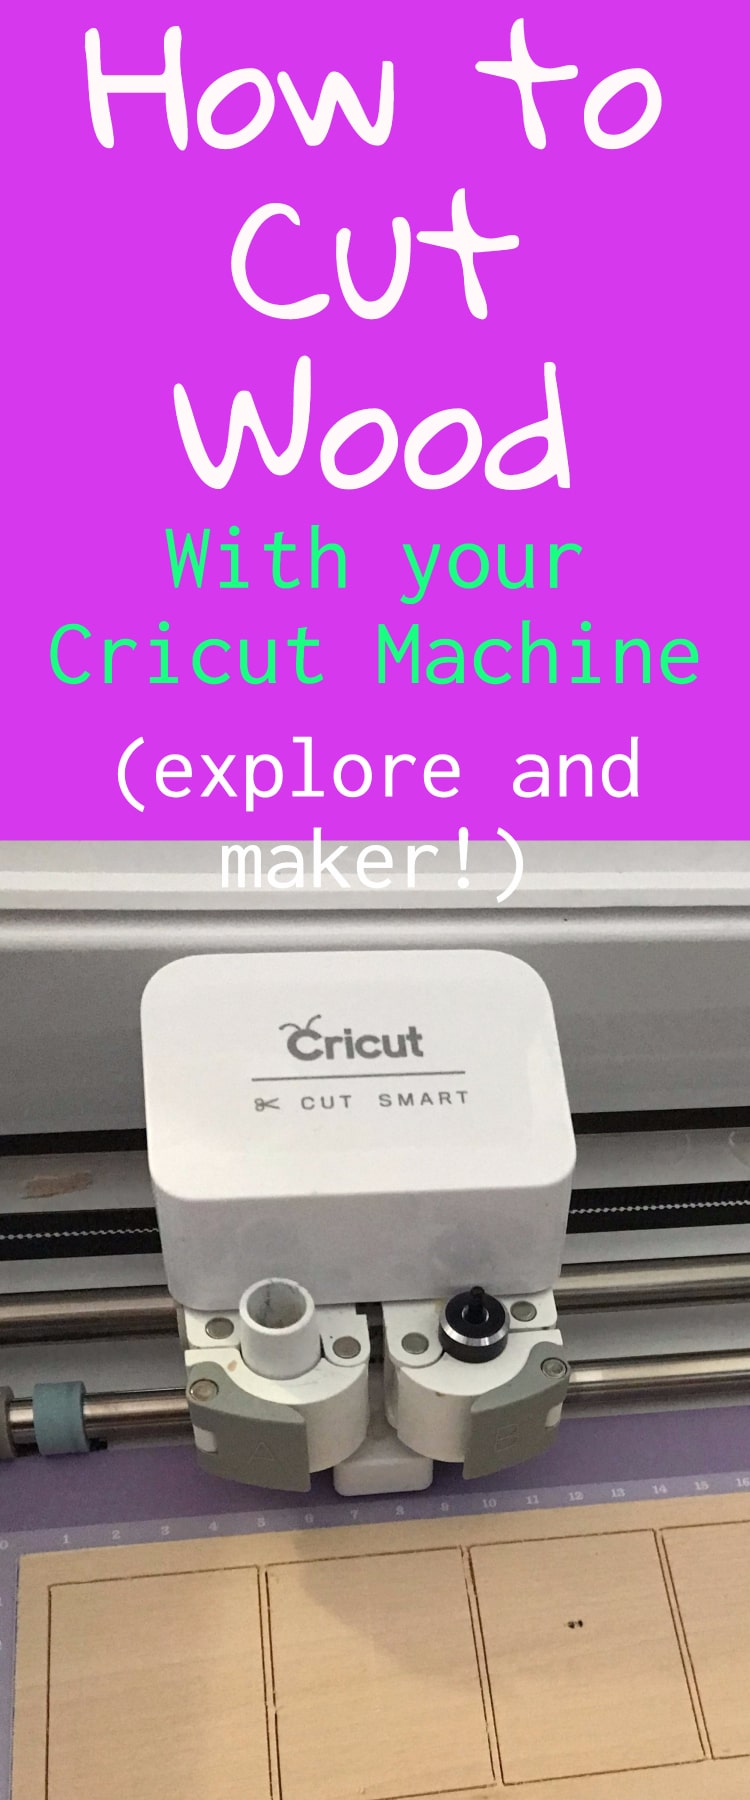
Setting Up Your Cricut Machine
DOWNLOAD SVG FILES FOR LASER CUTTING

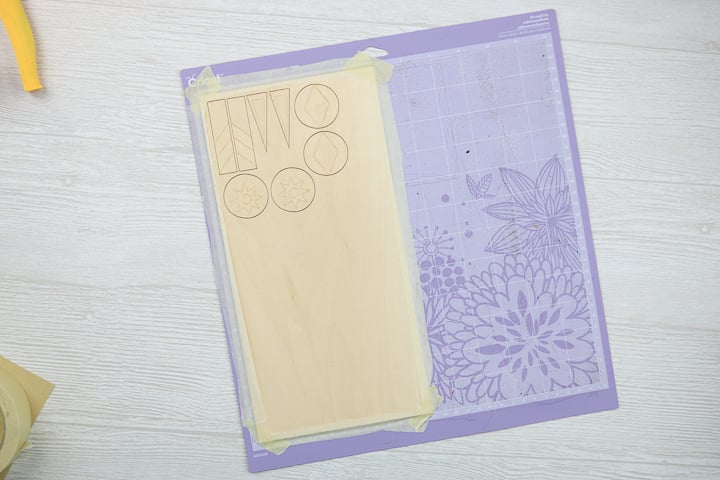
Load the Wood: Place the wood onto the Cricut cutting mat and secure it firmly with masking tape.
Insert the Engraving Bit: Install the engraving bit into the Cricut machine and adjust the depth setting according to the thickness of the wood.
Etching Your Wood

Start the Etching Process: Press the "Go" button on the Cricut machine to begin etching. Monitor the process and adjust the speed or pressure as needed.
Cricut wood etching is a versatile and rewarding craft that allows you to create intricate designs and personalized items from the comfort of your home. This guide will provide you with everything you need to know about Cricut wood etching, from choosing the right materials to mastering advanced techniques.
- Custom Laser Wood Cutouts Custom Laser Wood Cutouts: Elevate Your Projects With Precision And Creativity
- Best Laser Wood Engraver Best Laser Wood Engraver: A Comprehensive Guide For Precision And Creativity
- Laser Wood Cut Outs Laser Wood Cut Outs: A Comprehensive Guide To Precision And Versatility
- Fiber Laser On Wood Fiber Laser On Wood: A Comprehensive Guide
- 3d Wood Laser Cutter 3D Wood Laser Cutter: Revolutionizing Woodworking With Precision And Efficiency
Choosing the Right Materials
Wood: Select wood that is smooth and free of knots or blemishes. Hardwoods like oak, maple, and cherry produce crisp and detailed etchings, while softer woods like pine and balsa are easier to cut but may yield less precise results.
DOWNLOAD SVG FILES FOR LASER CUTTING
Engraving Bit: Invest in a high-quality engraving bit designed for Cricut machines. The bit should be sharp and have a carbide tip for durability.
Safety Gear: Wear safety glasses and a dust mask when etching wood to protect yourself from flying debris and dust particles.
Preparing Your Design
Remove the Wood: Once the etching is complete, carefully remove the wood from the cutting mat. Use a soft brush to remove any loose debris.

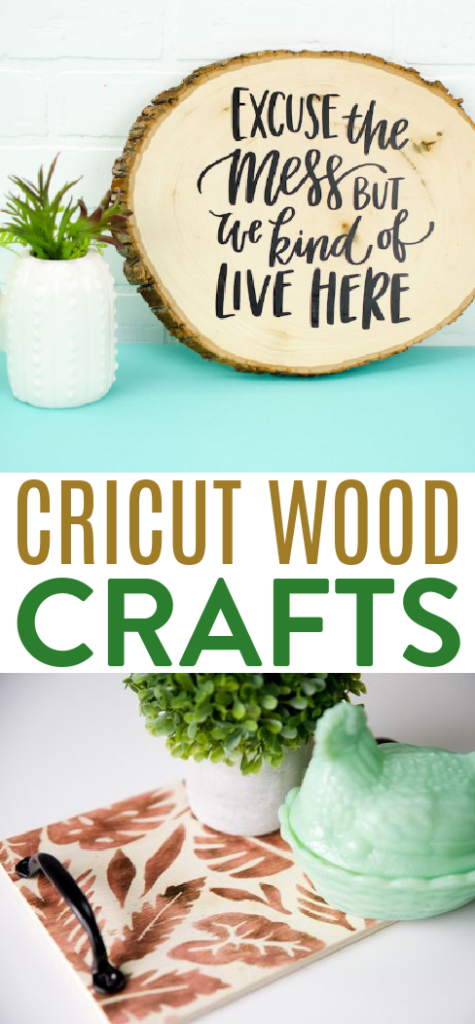
Finishing Your Etched Wood
Sanding: Smooth the etched surface with fine-grit sandpaper to remove any sharp edges or rough spots.
Sealing: Protect the etched design from moisture and wear by applying a clear sealant, such as polyurethane or lacquer.

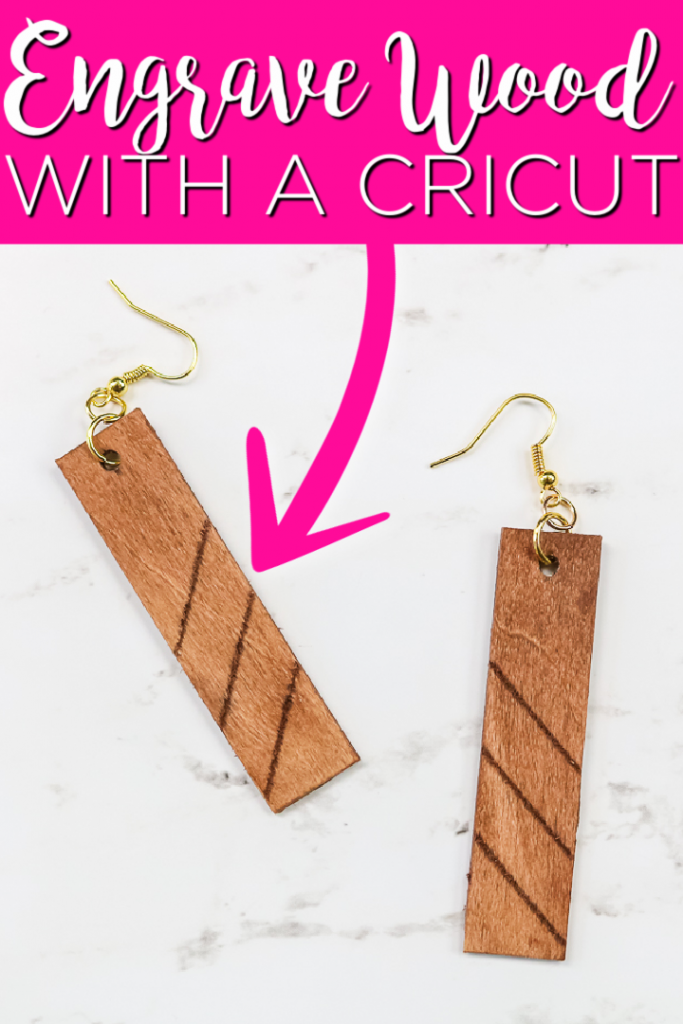
Advanced Techniques
Multi-Pass Etching: Create deeper or more complex etchings by repeating the etching process multiple times.
Inlay Etching: Inlay different materials, such as acrylic or metal, into the etched design for a unique and eye-catching effect.
3D Etching: Use a V-bit to create 3D designs that add depth and dimension to your etchings.
Troubleshooting Common Issues
Blurred Etching: Ensure that the engraving bit is sharp and the depth setting is appropriate for the wood.
Uneven Etching: Check that the wood is flat and securely fastened to the cutting mat. Adjust the speed and pressure settings as needed.
Burn Marks: Reduce the speed or pressure settings to prevent the laser from overheating the wood.
Conclusion
Cricut wood etching is a versatile and rewarding craft that allows you to create personalized items and unique works of art. By following the steps outlined in this guide, you can master the techniques and unleash your creativity. Remember to experiment with different materials, designs, and finishes to discover the endless possibilities of Cricut wood etching.
Frequently Asked Questions (FAQs)
Q: What types of wood are best for etching?
A: Hardwoods like oak, maple, and cherry yield crisp etchings, while softer woods like pine and balsa are easier to cut.
Q: Can I etch other materials besides wood?
A: Yes, you can etch acrylic, leather, cork, and other materials that are compatible with Cricut machines.
Q: How do I prevent burn marks?
A: Reduce the speed or pressure settings to avoid overheating the wood.
Q: How do I seal my etched wood?
A: Apply a clear sealant, such as polyurethane or lacquer, to protect the design from moisture and wear.
Q: Can I use a regular drill bit for wood etching?
A: No, use a high-quality engraving bit designed for Cricut machines for optimal results.