Engraving Wood with Laser Cutter: A Comprehensive Guide
Introduction
Laser engraving on wood has become an increasingly popular technique for creating intricate designs, personalized items, and decorative pieces. With the advent of affordable laser cutters, this technology is now accessible to hobbyists, small businesses, and makers alike. This comprehensive guide will provide you with everything you need to know about laser engraving wood, from choosing the right materials to mastering the cutting and engraving process.


Table of Content
- 1 Engraving Wood with Laser Cutter: A Comprehensive Guide
- 1.1 Introduction
- 1.2 H1: Choosing the Right Wood for Laser Engraving
- 1.3 H1: Setting Up Your Laser Cutter
- 1.4 H1: Choosing the Right Wood for Laser Engraving
- 1.5 H1: The Laser Engraving Process
- 1.6 H1: Tips for Successful Laser Engraving
- 1.7 H1: Applications of Laser Engraving on Wood
- 1.8 Conclusion
- 1.9 FAQs
H1: Choosing the Right Wood for Laser Engraving
- Grain: The grain of the wood will affect the direction and precision of your engraving. Hardwoods with a tight grain, such as maple or cherry, produce cleaner and more detailed engravings.
- Density: The density of the wood will influence the depth and speed of your engraving. Denser woods, such as oak or walnut, require more power and longer cutting times.
- Color and Texture: The natural color and texture of the wood can enhance the aesthetic appeal of your engraved design. Consider using contrasting woods or applying stains or finishes to highlight the engraved areas.
H1: Setting Up Your Laser Cutter
DOWNLOAD SVG FILES FOR LASER CUTTING

Before you start engraving, it’s crucial to ensure that your laser cutter is properly set up and calibrated.
- Software: Most laser cutters require specialized software to control the engraving process. Make sure you have the appropriate software installed and configured.
- Calibration: Calibrate your laser cutter to determine the optimal power and speed settings for your chosen wood. This will ensure precise and consistent engravings.
- Hard Wood Laser Cutter Hard Wood Laser Cutter: A Comprehensive Guide
- Laser Branding Wood Laser Branding Wood: A Comprehensive Guide
- Laser Cut Wooden Keyrings Laser Cut Wooden Keyrings: A Timeless And Versatile Accessory
- Laser Cut Letter Wooden Sign Laser Cut Letter Wooden Sign: A Comprehensive Guide
- Laser Cut Wooden Bookmarks Laser Cut Wooden Bookmarks: A Guide To Crafting Personalized And Unique Keepsakes
- Grain: The grain of the wood will affect the direction and precision of your engraving. Hardwoods with a tight grain, such as maple or cherry, produce cleaner and more detailed engravings.
- Density: The density of the wood will influence the depth and speed of your engraving. Denser woods, such as oak or walnut, require more power and longer cutting times.
- Ventilation: Laser engraving produces fumes, so it’s essential to have proper ventilation to remove them from the work area.
- Prepare the Design: Design your image or text using a vector-based software program (e.g., Adobe Illustrator). Save the design in a compatible format (e.g., DXF, SVG).
- Import the Design: Import your design into the laser cutter software and position it on the wood surface.
- Set the Parameters: Determine the appropriate power, speed, and focus settings for your wood type and design.
- Start the Engraving: Once the settings are configured, initiate the engraving process. The laser beam will trace the design, creating the engraved image.
- Monitor the Process: Keep an eye on the engraving process to ensure that it’s proceeding as intended. Adjust the settings if necessary.
- Use High-Quality Wood: Choose wood with a tight grain and consistent texture for optimal results.
- Calibrate Your Laser Cutter Regularly: Ensure accurate and repeatable engravings by calibrating your laser cutter frequently.
- Experiment with Settings: Find the ideal combination of power, speed, and focus settings for your specific wood and design.
- Use Proper Ventilation: Protect yourself from harmful fumes by using adequate ventilation during the engraving process.
- Clean the Lens: Keep the laser lens clean to maintain optimal beam quality and engraving precision.
- Personalized Gifts: Create custom engraved items such as cutting boards, coasters, and jewelry with names, logos, or special messages.
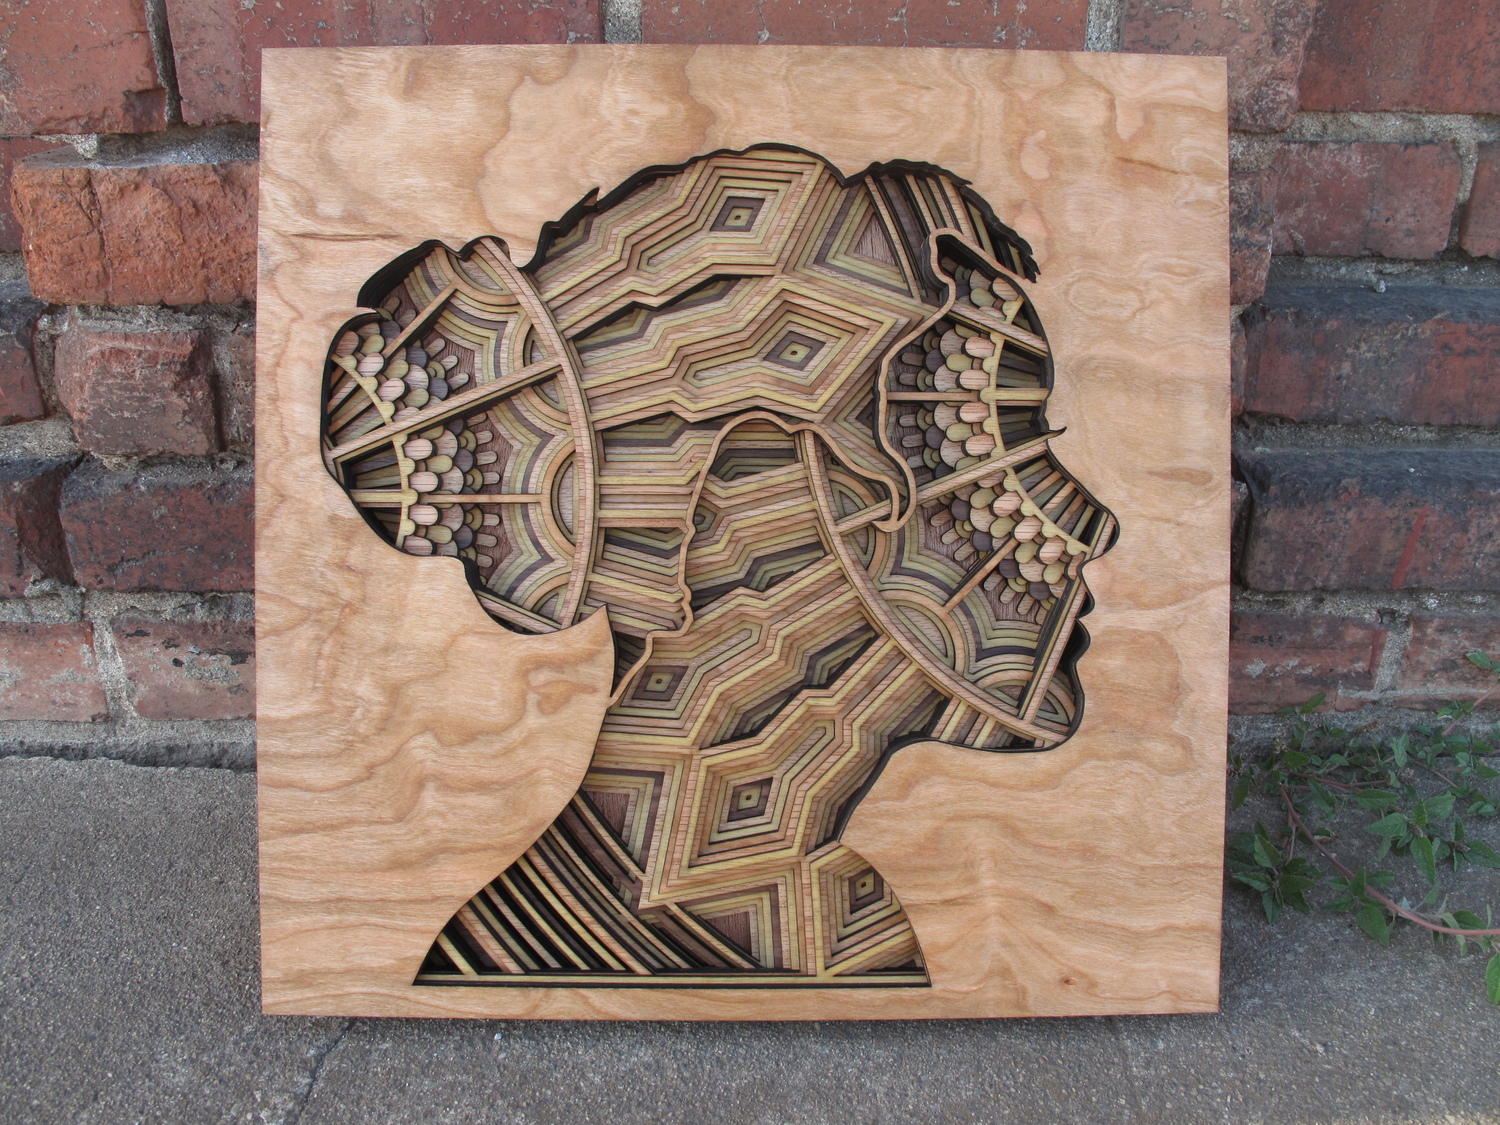
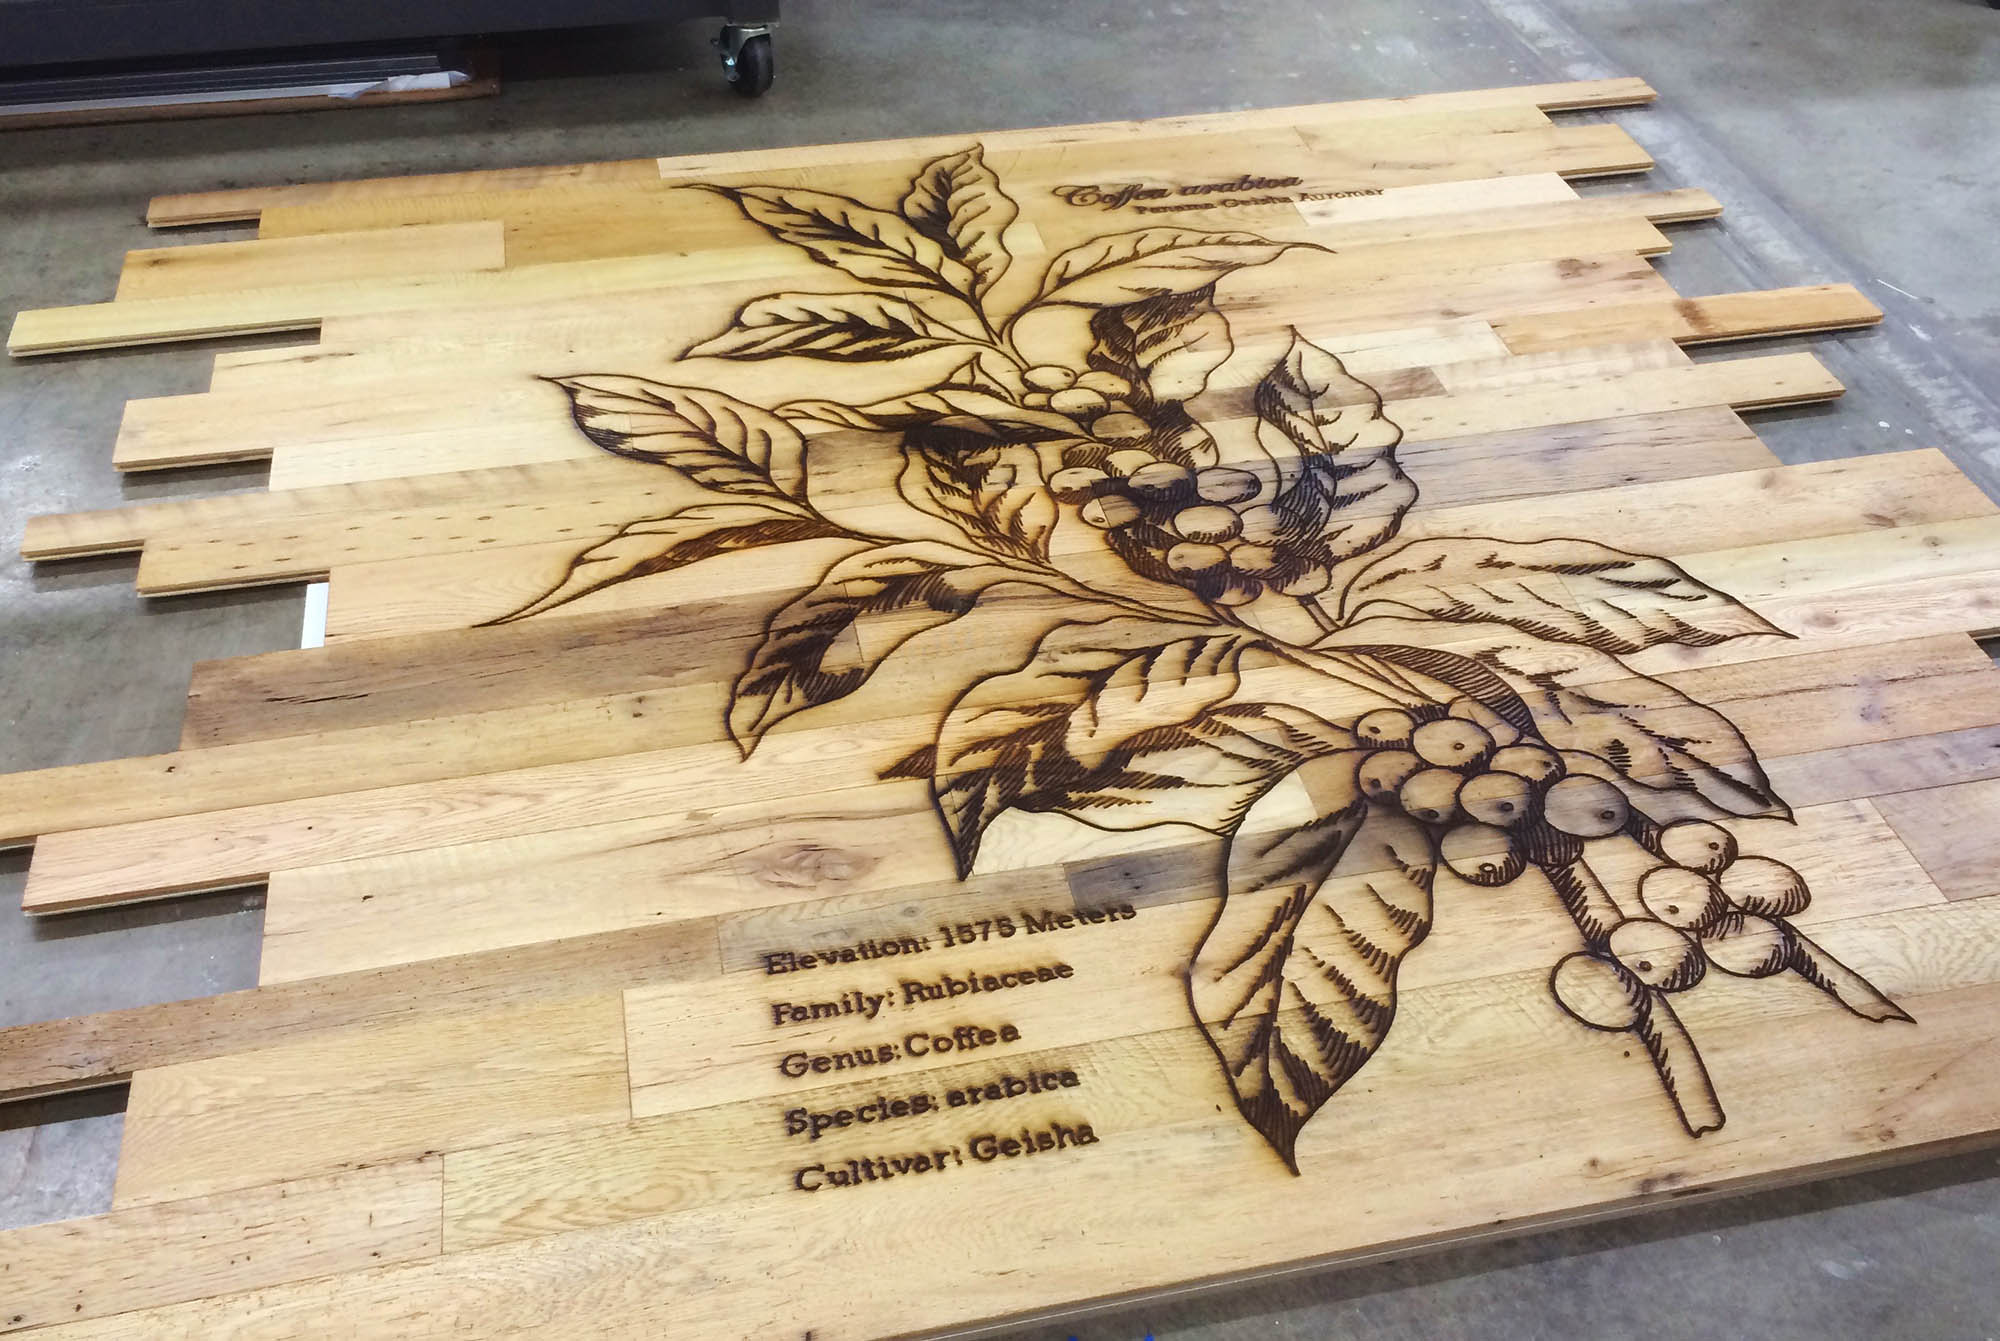
- Decorative Items: Engrave intricate designs, patterns, and images on wooden signs, plaques, and wall art.
- Signage and Branding: Use laser engraving to create professional-looking signs, logos, and branding materials.
- Product Prototyping: Rapidly create wooden prototypes of products or parts for design validation and testing.
- Architectural Details: Engrave decorative elements, trim, and molding for custom architectural projects.

Laser engraving on wood has become an increasingly popular technique for creating intricate designs, personalized items, and decorative pieces. With the advent of affordable laser cutters, this technology is now accessible to hobbyists, small businesses, and makers alike. This comprehensive guide will provide you with everything you need to know about laser engraving wood, from choosing the right materials to mastering the cutting and engraving process.
H1: Choosing the Right Wood for Laser Engraving
The type of wood you choose will significantly impact the quality and appearance of your engraved design. Here are some factors to consider:
DOWNLOAD SVG FILES FOR LASER CUTTING

H1: The Laser Engraving Process
The laser engraving process involves directing a high-powered laser beam onto the wood surface, vaporizing or burning away the material to create the desired design. Here’s a step-by-step guide:


H1: Tips for Successful Laser Engraving
H1: Applications of Laser Engraving on Wood
Laser engraving on wood has a wide range of applications, including:
Conclusion
Laser engraving on wood is a versatile and powerful technique that allows you to create unique and personalized items. By understanding the principles of laser engraving, choosing the right materials, and following the proper steps, you can achieve stunning results. Whether you’re a hobbyist, entrepreneur, or maker, laser engraving on wood can open up a world of creative possibilities.
FAQs
Q: What is the best wood for laser engraving?
A: Hardwoods with a tight grain, such as maple, cherry, and oak, produce clean and detailed engravings.
Q: How do I determine the appropriate laser settings?
A: Calibrate your laser cutter to find the optimal power, speed, and focus settings for your specific wood and design.
Q: Can I engrave images onto wood?
A: Yes, you can engrave vector-based images (e.g., DXF, SVG) onto wood using laser engraving.
Q: What are the safety precautions for laser engraving on wood?
A: Proper ventilation is essential to remove fumes. Wear appropriate safety gear, including eye protection and a respirator.
Q: Can I sell laser-engraved wooden items?
A: Yes, you can sell laser-engraved wooden items, but check for any copyright or trademark restrictions on the designs you use.