


Laser Cut Happy Birthday: A Comprehensive Guide to Crafting Personalized Celebrations
Introduction
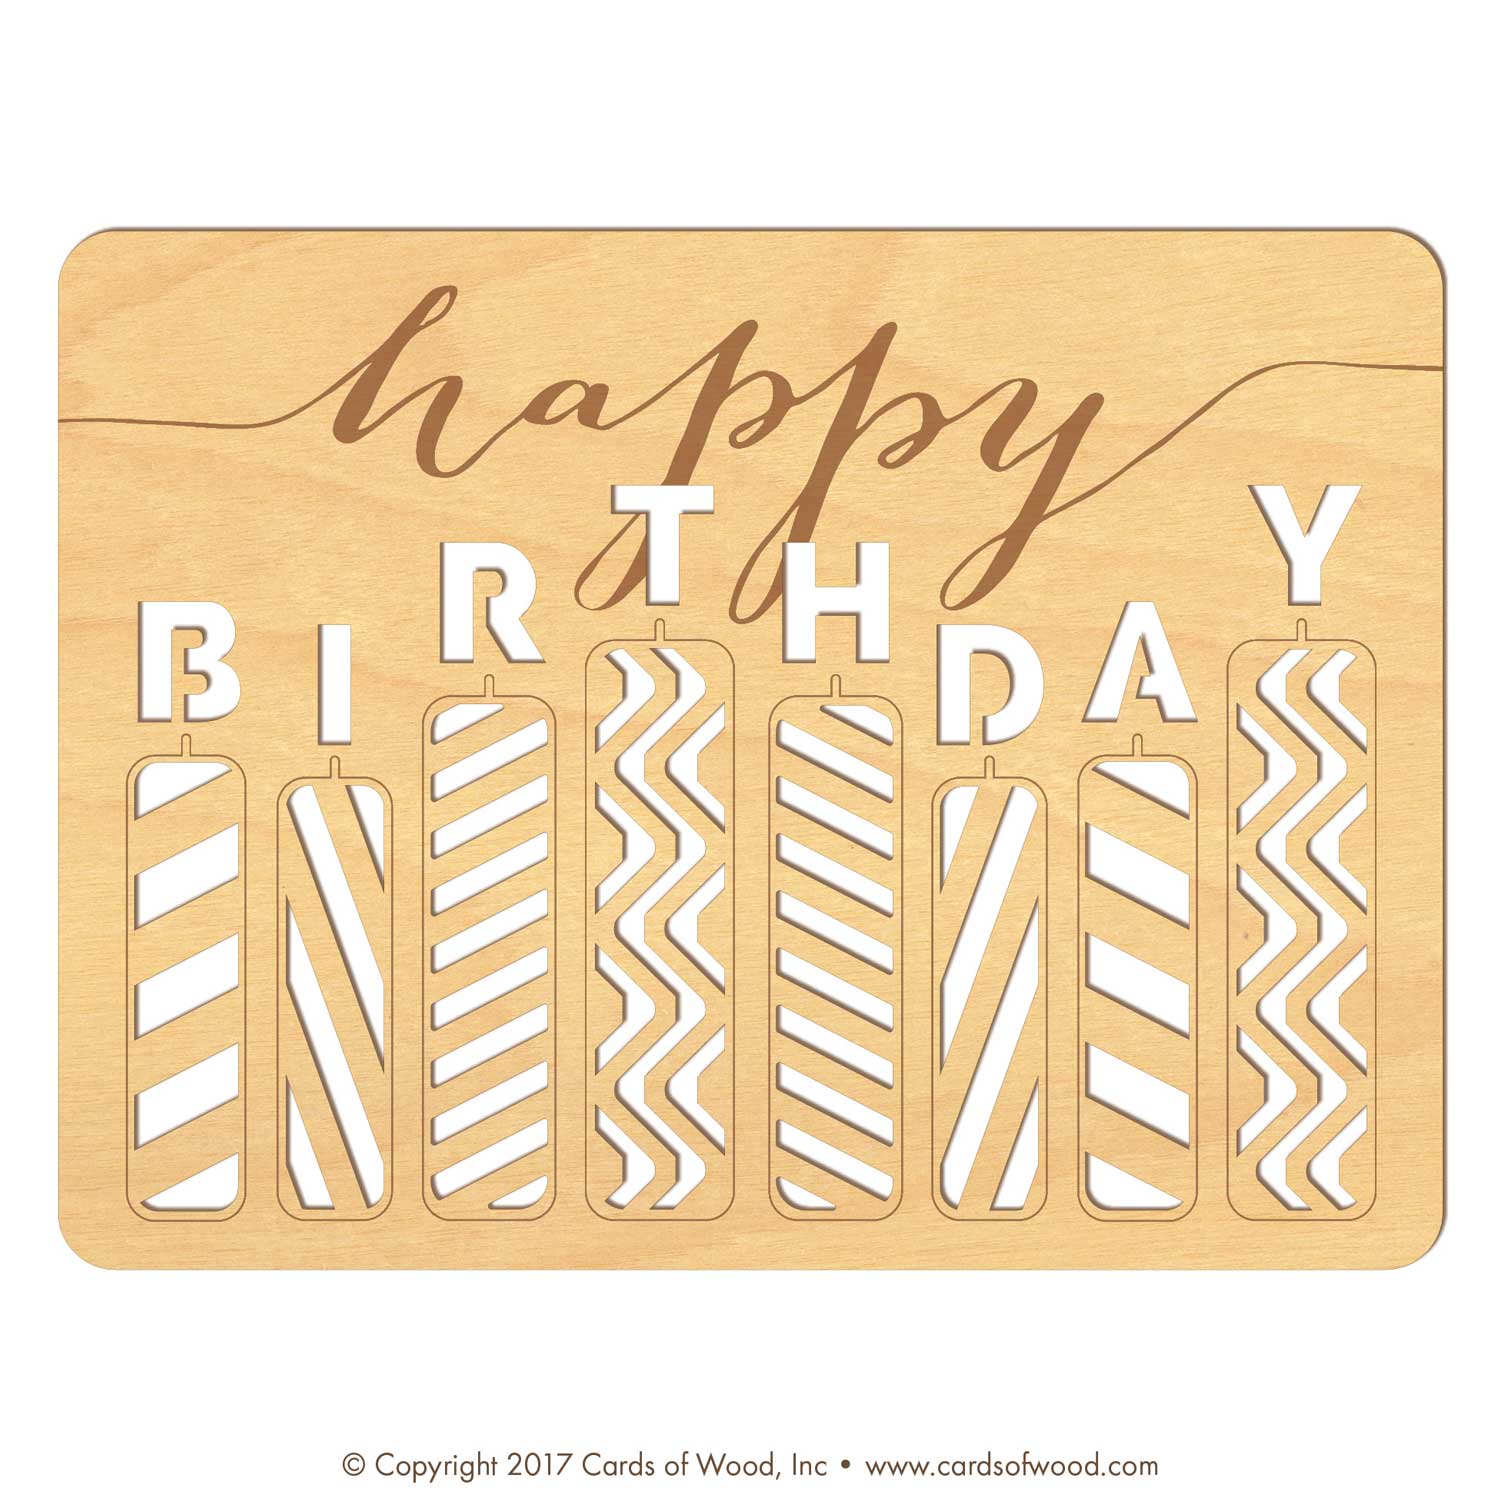
Laser cutting technology has revolutionized the world of crafting, opening up endless possibilities for personalized creations. Among the most popular applications of laser cutting is the creation of intricate and eye-catching "Happy Birthday" decorations, perfect for adding a special touch to any birthday celebration. This comprehensive guide will delve into the world of laser cut Happy Birthday designs, providing detailed instructions, design inspiration, and tips for creating stunning and memorable decorations.


Table of Content
- 1 Laser Cut Happy Birthday: A Comprehensive Guide to Crafting Personalized Celebrations
- 1.1 Introduction
- 1.2 H1: Selecting the Perfect Design
- 1.3 H1: Preparing Your Materials
- 1.4 H1: Selecting the Perfect Design
- 1.5 H1: Laser Cutting Your Design
- 1.6 H1: Finishing Your Decoration
- 1.7 H1: Design Inspiration
- 1.8 H1: Tips for Laser Cutting Happy Birthday Decorations
- 1.9 H1: Conclusion
- 1.10 FAQs
H1: Selecting the Perfect Design
H2: Classic Fonts
For a timeless and sophisticated look, consider using classic fonts such as Times New Roman, Arial, or Helvetica. These fonts are easy to read and will complement any birthday theme.
H2: Elegant Swirls
Add a touch of elegance to your decoration with intricate swirls and flourishes. These designs can be customized to create a unique and personalized look.
H2: Whimsical Characters
For a fun and playful atmosphere, choose designs featuring whimsical characters such as animals, fairies, or superheroes. These characters will delight children and adults alike.
DOWNLOAD SVG FILES FOR LASER CUTTING

H1: Preparing Your Materials
Once you have selected your design, it’s time to gather the necessary materials.
H2: Wood
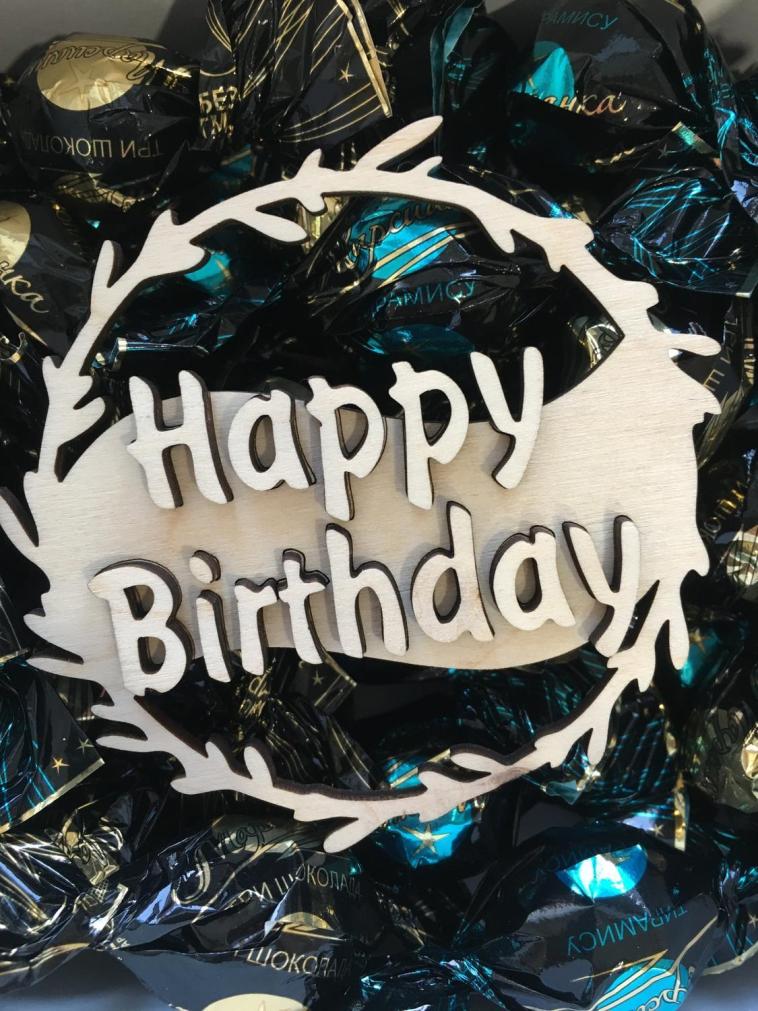
Wood is a popular choice for laser cutting Happy Birthday decorations due to its durability and versatility. Choose a wood type that is suitable for laser cutting, such as birch, maple, or cherry.
Laser cutting technology has revolutionized the world of crafting, opening up endless possibilities for personalized creations. Among the most popular applications of laser cutting is the creation of intricate and eye-catching "Happy Birthday" decorations, perfect for adding a special touch to any birthday celebration. This comprehensive guide will delve into the world of laser cut Happy Birthday designs, providing detailed instructions, design inspiration, and tips for creating stunning and memorable decorations.
- Personalised Laser Cut Birthday Cards Personalised Laser Cut Birthday Cards: A Unique And Memorable Way To Celebrate
- Laser Cut Birthday Cake Toppers Laser Cut Birthday Cake Toppers: A Unique And Personalized Touch For Your Special Day
- Happy Birthday Laser Cut Acrylic Stick H1: Elevate Your Celebrations With Happy Birthday Laser Cut Acrylic Stick: A Guide To Customization And Unforgettable Memories
- Laser Cut Template Laser Cut Template: A Comprehensive Guide
- Laser Cut Birthday Card Template Free Laser Cut Birthday Card Template Free: Unleash Your Creativity
H1: Selecting the Perfect Design
The first step in creating a laser cut Happy Birthday decoration is choosing the right design. There are countless options available, from classic fonts and elegant swirls to whimsical characters and playful motifs.
DOWNLOAD SVG FILES FOR LASER CUTTING
H2: Classic Fonts
For a timeless and sophisticated look, consider using classic fonts such as Times New Roman, Arial, or Helvetica. These fonts are easy to read and will complement any birthday theme.
H2: Elegant Swirls
H2: Acrylic

Acrylic is another excellent material for laser cutting, offering a sleek and modern look. It is also available in a wide range of colors and finishes.
H2: Paper
Paper is a more affordable option for laser cutting Happy Birthday decorations. However, it is less durable than wood or acrylic and may require additional support.
H1: Laser Cutting Your Design
With your materials prepared, it’s time to laser cut your design.

H2: Setting Up Your Laser Cutter
Follow the manufacturer’s instructions to set up your laser cutter correctly. Ensure that the laser power, speed, and focus are optimized for the material you are using.
H2: Loading Your Design

Import your design into the laser cutter software and position it on the material. Adjust the settings as needed to ensure proper cutting.
H2: Cutting Your Design
Start the laser cutting process and monitor it closely. Adjust the settings if necessary to achieve the desired cut quality.
H1: Finishing Your Decoration

Once your design is cut, it’s time to finish it off.
H2: Sanding and Finishing
For wood or acrylic decorations, sand the edges to smooth them out. You can also apply a clear finish to protect the material and enhance its appearance.
H2: Painting or Staining
If desired, you can paint or stain your decoration to match your party theme or personal preferences. Use high-quality paints or stains that are suitable for the material you are using.
H2: Assembling Your Decoration
If your decoration consists of multiple pieces, assemble them using glue or other appropriate adhesives. Ensure that the pieces are aligned correctly and securely attached.
H1: Design Inspiration
In need of some design inspiration? Here are a few ideas to get you started:
H2: Monogrammed Happy Birthday
Create a personalized decoration by incorporating the birthday person’s initials or name into the design.
H2: Age-Specific Designs
Celebrate the birthday person’s age with a design that features their age, such as a number-shaped decoration or a design with age-appropriate motifs.
H2: Themed Designs
Match your decoration to the party theme, such as a princess-themed design for a birthday princess or a superhero-themed design for a superhero fan.
H1: Tips for Laser Cutting Happy Birthday Decorations
H2: Use High-Quality Materials
The quality of your decoration will depend on the quality of the materials you use. Invest in high-quality wood, acrylic, or paper for best results.
H2: Experiment with Settings
Don’t be afraid to experiment with the laser cutter settings to achieve the desired cut quality. Adjust the power, speed, and focus until you are satisfied with the results.
H2: Use a Test Piece
Before cutting your final design, test the settings on a scrap piece of material to ensure that they are correct. This will help you avoid wasting materials and time.
H1: Conclusion
Laser cut Happy Birthday decorations are a beautiful and personalized way to celebrate any birthday. By following the steps outlined in this guide, you can create stunning decorations that will add a special touch to your party. From selecting the perfect design to finishing your decoration, this guide has provided you with everything you need to know to create memorable and eye-catching laser cut Happy Birthday decorations.
FAQs
Q: What is the best material for laser cutting Happy Birthday decorations?
A: Wood, acrylic, and paper are all suitable materials for laser cutting Happy Birthday decorations. The best choice depends on your desired look, durability, and budget.
Q: How do I design my own Happy Birthday decoration?
A: You can use online design software or graphic design software to create your own Happy Birthday design. You can also find inspiration from online resources or design templates.
Q: Can I use a laser cutter to cut other materials besides wood, acrylic, and paper?
A: Yes, laser cutters can cut a wide variety of materials, including fabric, leather, metal, and glass. However, it is important to adjust the laser cutter settings accordingly to ensure proper cutting.


