Wood Laser Cutter for Beginners: A Comprehensive Guide
Introduction
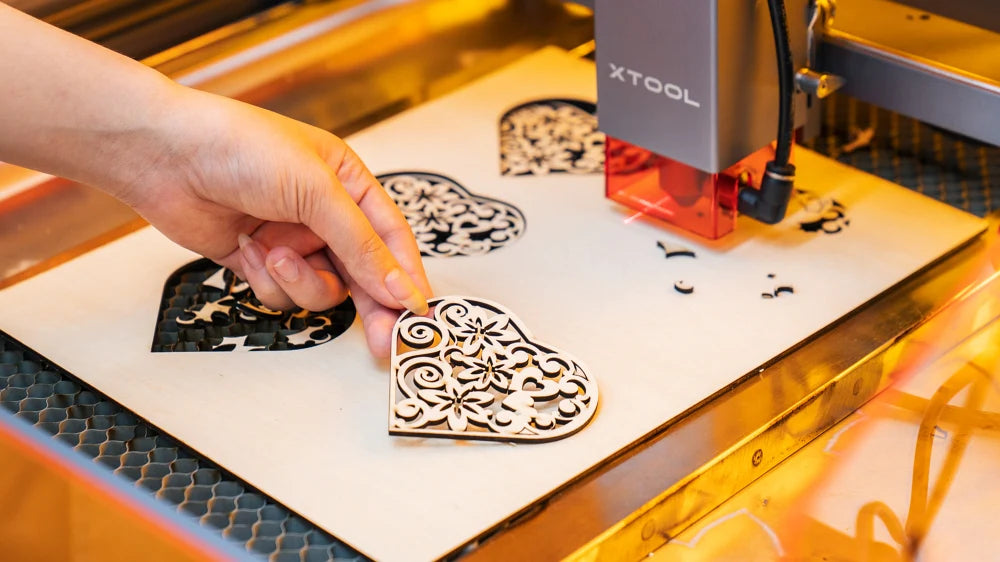
Embarking on the journey of wood laser cutting can be both exciting and overwhelming for beginners. This comprehensive guide will provide you with the essential knowledge and insights to navigate the world of wood laser cutting, empowering you to unleash your creativity and produce stunning projects.

Table of Content
- 1 Wood Laser Cutter for Beginners: A Comprehensive Guide
- 1.1 Introduction
- 1.2 H1: Understanding Wood Laser Cutters
- 1.3 H1: Understanding Wood Laser Cutters
- 1.4 H1: Choosing the Right Wood for Laser Cutting
- 1.5 H1: Setting Up and Operating a Wood Laser Cutter
- 1.6 H1: Cutting and Engraving Techniques
- 1.7 H1: Post-Processing and Finishing
- 1.8 H1: Troubleshooting Common Problems
- 1.9 H1: Conclusion
- 1.10 FAQs
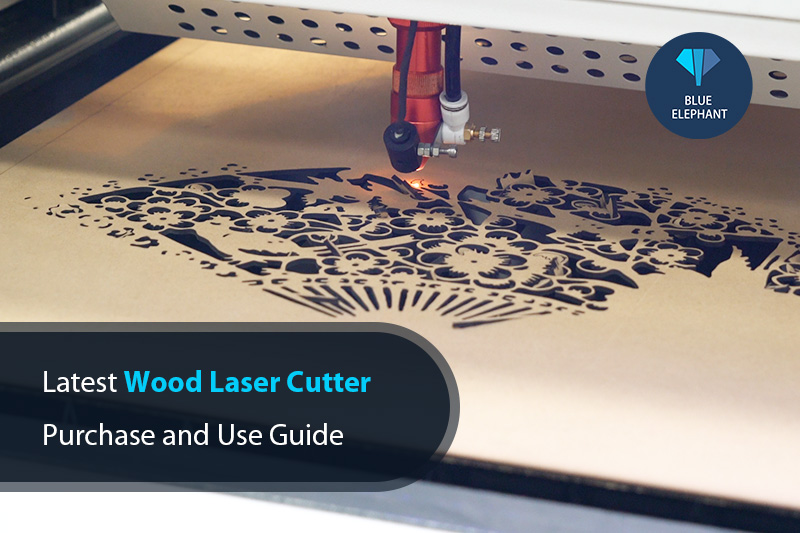
H1: Understanding Wood Laser Cutters
- CO2 Laser Cutters: Utilize carbon dioxide gas to create powerful laser beams, ideal for cutting a wide range of woods.
- Diode Laser Cutters: Compact and portable, suitable for intricate engraving and cutting thin wood materials.
- Fiber Laser Cutters: Generate highly focused laser beams, capable of cutting thick and dense woods with precision.
H3: Key Features to Consider
DOWNLOAD SVG FILES FOR LASER CUTTING
- Power: Measured in watts, determines the thickness and speed of cutting.
- Laser Spot Size: Smaller spot sizes result in finer cuts and engravings.
- Cutting Area: The size of the work surface limits the dimensions of projects.
- Wooden Laser Cut Light Box H1: Illuminate Your Space With Wooden Laser Cut Light Boxes: A Guide To Beauty And Functionality
- Laser Cut Wooden Tulips Laser Cut Wooden Tulips: A Guide To Crafting Unique And Beautiful Floral Art
- Wooden Laser Cut Ideas Wooden Laser Cut Ideas: Unleashing Creativity And Precision
- Wooden Laser Cut Frame Wooden Laser Cut Frame: An Artistic Expression With Precision
- Laser Saw For Wood Laser Saw For Wood: The Ultimate Guide To Precision Cutting
- CO2 Laser Cutters: Utilize carbon dioxide gas to create powerful laser beams, ideal for cutting a wide range of woods.
- Diode Laser Cutters: Compact and portable, suitable for intricate engraving and cutting thin wood materials.
- Software Compatibility: Ensure compatibility with design software for seamless workflow.
- Hardwoods: Oak, maple, cherry, provide durability and intricate grain patterns.
- Softwoods: Pine, fir, cedar, offer versatility and ease of cutting.
- Plywood: Layers of thin wood glued together, combining strength and flexibility.
- Grain Orientation: Affects the cutting speed and edge quality.
- Moisture Content: Dry wood is less likely to warp or char during cutting.
- Thickness: Determine the appropriate laser power and cutting settings.
- Wear proper safety gear, including goggles, gloves, and a respirator.
- Ensure adequate ventilation to remove fumes and particles.
- Supervise the laser cutter during operation to prevent accidents.
- Install the laser cutting software and connect it to the machine.
- Import your designs and adjust settings according to the wood type and thickness.
- Calibrate the laser head to ensure accurate cutting.
- Focus the laser beam for optimal cutting performance.
- Position the wood material on the work surface and secure it firmly.
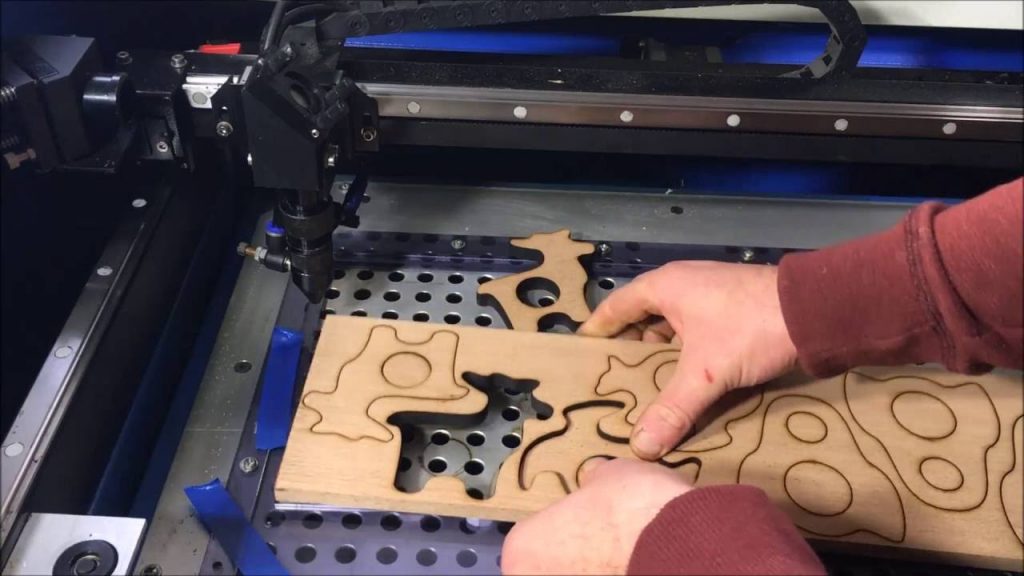
- Vector Cutting: Cuts along predefined paths, creating sharp and precise lines.
- Raster Cutting: Removes material by burning away small areas, resulting in smooth surfaces and detailed engravings.
- Line Engraving: Creates shallow lines and text on the surface of the wood.
- Raster Engraving: Produces detailed images and textures by varying the laser power and dwell time.
- Remove any charred or melted material from the cut edges.
- Sand the surfaces to smooth out any rough edges or imperfections.
- Staining: Apply stains or dyes to enhance the wood’s color and grain.
- Sealing: Protect the finished project from moisture and wear with clear finishes such as varnish or polyurethane.
- Check laser power, focus, and cutting speed.
- Ensure the wood is dry and free of knots or voids.
- Reduce laser power or increase cutting speed.
- Use air assist to remove fumes and debris from the cutting zone.
- Calibrate the laser head and ensure the material is properly secured.
- Check the belt tension and gear alignment of the machine.
Embarking on the journey of wood laser cutting can be both exciting and overwhelming for beginners. This comprehensive guide will provide you with the essential knowledge and insights to navigate the world of wood laser cutting, empowering you to unleash your creativity and produce stunning projects.
H1: Understanding Wood Laser Cutters
H2: Types of Wood Laser Cutters
DOWNLOAD SVG FILES FOR LASER CUTTING

H1: Choosing the Right Wood for Laser Cutting
H2: Types of Wood Suitable for Laser Cutting


H3: Factors to Consider
H1: Setting Up and Operating a Wood Laser Cutter
H2: Safety Precautions
H3: Software Setup
H4: Machine Setup
H1: Cutting and Engraving Techniques
H2: Cutting Techniques
H3: Engraving Techniques
H1: Post-Processing and Finishing
H2: Cleaning and Sanding
H3: Finishing Techniques
H1: Troubleshooting Common Problems
H2: Laser Not Cutting Through
H3: Charring or Burning
H4: Misalignment or Distortion
H1: Conclusion
Wood laser cutting offers limitless possibilities for creating custom projects, from intricate engravings to precision-cut furniture. By understanding the fundamentals of wood laser cutters, choosing the right wood, and following proper cutting and post-processing techniques, beginners can embark on this exciting journey with confidence.
FAQs
Q: What is the best laser cutter for beginners?
A: Consider a CO2 laser cutter with a power of around 40-60 watts for versatility and affordability.
Q: Can I cut plywood with a wood laser cutter?
A: Yes, plywood can be laser cut, but it requires careful attention to grain orientation and moisture content.
Q: How do I prevent the wood from burning or charring?
A: Use air assist, reduce laser power, or increase cutting speed to minimize burning.
Q: What is raster engraving?
A: Raster engraving involves varying the laser power and dwell time to create detailed images and textures on the wood surface.